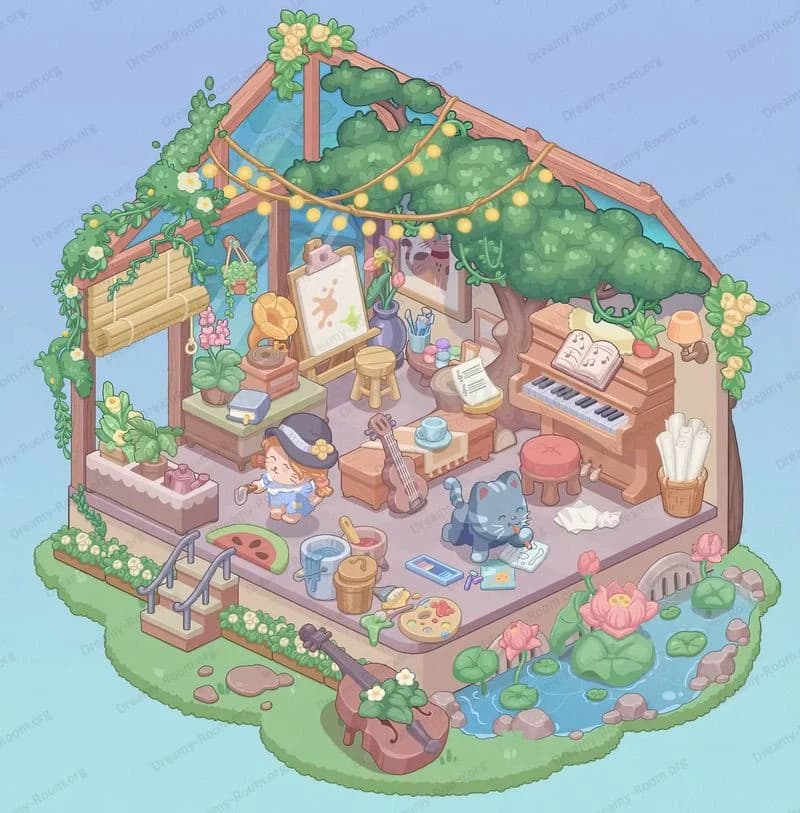
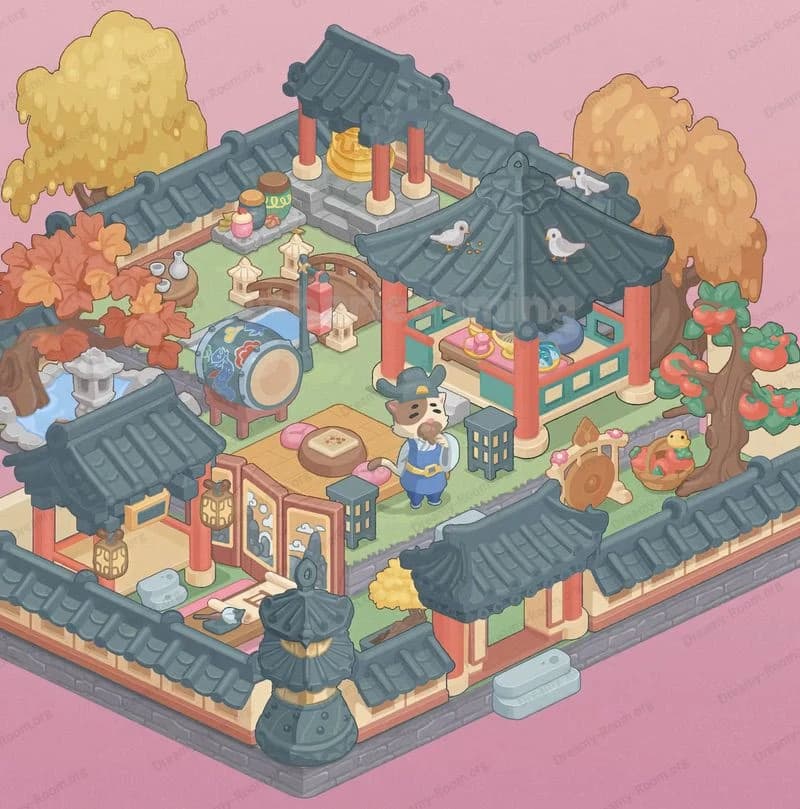
Dreamy Room Level 209
Dreamy Room Level 209 guide - Dreamy Room 209 Walkthrough & Solution.

Important Notice Regarding Level Numbering
Due to frequent changes in Dreamy Room's level numbering and differences between platforms (Android/iOS) – for example, level 209 on Android might not be the same as level 209 on iOS – the text guide below may not always match the images and video above. Please prioritize the image and video guides. If you find that the guide content doesn't match your current level, please visit the All Level Walkthroughs page to find the correct guide based on level images. Thank you for your understanding.
Dreamy Room Level 209 Walkthroughs & Guide
Step 1. Place the Fast Food Truck in the Left Corner of Dreamy Room Level 209
To begin, focus on the empty platform’s left corner adjacent to the brick half-wall. In Dreamy Room Level 209, the small blue and white mobile food truck capped with a giant hot dog and drink must be aligned perfectly. Carefully drag the truck model until its front bumper sits flush against the sidewalk curb, ensuring the oversized hot dog top aligns with the street edge for Dreamy Room Level 209 decor. Double-check that the vehicle’s roof garnish centers above the driver’s seat window, a critical detail for Dreamy Room Level 209. Correct placement of this key element anchors the entire scene before moving on to other decorations in Dreamy Room Level 209.
Step 2. Affix the “Hang Rong” Sign and Brick Accent in Dreamy Room Level 209
Next, set your focus on the left boundary area where an unadorned yellow wall meets the pavement. In Dreamy Room Level 209, there is a narrow brick panel piece that perfectly fits against the lower left section of the wall. Slide this brick accent into place so it covers the blank area and aligns flush with the sidewalk edge for a realistic street effect in Dreamy Room Level 209. Then, select the “Hang Rong” signpost, rotate it to stand perpendicular to the wall, and insert the base firmly into the ground for immersive presentation in Dreamy Room Level 209. Always confirm in Dreamy Room Level 209 that both the brick and the sign are perfectly level before proceeding to build the storefront canopy.
Step 3. Install the Red-and-White Striped Awning over the Stall in Dreamy Room Level 209
Select the striped fabric awning piece and hover it above your newly constructed storefront. In Dreamy Room Level 209, the red-and-white striped canopy requires precise alignment over the wooden service counter. Lower the awning until its rear edge rests flush against the yellow wall, ensuring the front edge extends evenly across the countertop for ideal shading in Dreamy Room Level 209. Rotate the support poles to 45 degrees so they tuck neatly under the awning in the virtual environment of Dreamy Room Level 209. Pay attention to symmetric spacing of the stripes and poles, as this detail greatly influences the final look in Dreamy Room Level 209. Confirm stability before adding further decorative elements.
Step 4. Build the Wooden Service Counter and Sink Unit in Dreamy Room Level 209
Drag out the wooden counter model complete with storage cabinets and countertop sink to place directly beneath the awning. In Dreamy Room Level 209, this piece must align flush with the back wall and sit on the tiled floor pattern to create a seamless transition between indoors and outdoors. Adjust the sink basin so its faucet points outward, visible to passersby, which enhances the open-air market feel in Dreamy Room Level 209. Use the rotational handles to set the counter’s depth at exactly two tile units from the front edge to match real-world proportions in Dreamy Room Level 209. Once positioned correctly, lock the placement to prevent accidental movement in Dreamy Room Level 209.
Step 5. Mount the Blue Water Tank on the Roof in Dreamy Room Level 209
From your inventory, select the cylindrical water tank asset colored blue and beige, and position it atop the tiled rooftop section. In Dreamy Room Level 209, this tank sits behind the service counter and must rest on the rooftop ledge, framed by trailing vines yet to be placed. Carefully nudge the tank backward until its supporting legs straddle the roof edge, ensuring it looks stable in Dreamy Room Level 209. Confirm that the tank’s inlet pipe points toward the building’s interior wall, reflecting realistic plumbing design in Dreamy Room Level 209. Once mounted correctly, you should see the tank atop the stall and ready for the next decorative layer without tilting in Dreamy Room Level 209.
Step 6. Add Vines and the Leafy Egg Nest in Dreamy Room Level 209
Locate the vine asset in the greenery section and drag multiple vine strands around the rooftop and awning supports in Dreamy Room Level 209. Adjust each vine’s curvature until it frames the roof beam and support poles, creating a natural overhead canopy effect for Dreamy Room Level 209. Then select the nest containing three white eggs and position it atop the densest leaf cluster above the service counter, serving as a charming focal detail in Dreamy Room Level 209. Balance the nest so it rests securely without clipping through roof tiles, confirming the placement is stable in Dreamy Room Level 209.
Step 7. Arrange Street Tables and Stools on the Sidewalk in Dreamy Room Level 209
From the furniture category, pick out the small plastic tables and matching stools colored blue and red. In Dreamy Room Level 209, three tables should be placed along the sidewalk edge: one next to the truck, another in front of the counter, and a third near where the lamppost will stand. Arrange two stools around each table and tuck an extra stool in the corner to enhance realism for Dreamy Room Level 209. Verify that all table legs align with the pavement grooves, ensuring proper perspective in Dreamy Room Level 209. Lock each piece once placement feels natural on the sidewalk in Dreamy Room Level 209.
Step 8. Place the Cat and Fast Food Items on the Tables in Dreamy Room Level 209
Select the cheerful orange-and-white cat figurine from the characters section and place it seated at the table adjacent to the truck in Dreamy Room Level 209. Next, add a plate of golden fries and a tall milkshake with whipped cream in the cat’s paw position to simulate snack time in Dreamy Room Level 209. On the other tables, you can leave settings empty or add cups and napkins for variety; ensure that these small accessories are oriented facing the sidewalk for visual flow in Dreamy Room Level 209. Adjust the cat’s head tilt so it faces the food items naturally, capturing playful interaction that brings life to Dreamy Room Level 209.
Step 9. Add Condiment Bottles and Jars on the Counter in Dreamy Room Level 209
Navigate to the accessory tab and choose the ketchup and mustard squeeze bottles, placing them side by side on the service counter for easy customer reach in Dreamy Room Level 209. In addition, select two glass jars filled with pickled ingredients and position them at the counter’s far end to accent the mini market vibe in Dreamy Room Level 209. Rotate each bottle and jar so that its label faces forward toward the sidewalk for branding clarity in Dreamy Room Level 209. Balance spacing evenly, leaving room for imagined cooking utensils, which players can simulate adding if desired in Dreamy Room Level 209. Once you’re satisfied, lock the grouping so these props remain in place.
Step 10. Position the Lamppost and Electrical Boxes in Dreamy Room Level 209
Finally, bring out the tall streetlight post model and place it on the right sidewalk edge in Dreamy Room Level 209. Next, attach two small electrical box assets to the lower half of the post, stacking them vertically as you see in the completed scene for Dreamy Room Level 209. Make sure the lamppost base sits flush with the curb lip and the electrical boxes do not overlap the pole texture in Dreamy Room Level 209. Rotate the lamp head to angle slightly toward the sidewalk, illuminating the seating area for Dreamy Room Level 209. Lock both the post and accessories before stepping back to admire your work.
Notes and Precautions
Players should remember that slight misalignments can compromise the aesthetic outcome in Dreamy Room Level 209, so always use grid snapping where available. Avoid excessive rotation of small props like bottles or stools that may lead to clipping issues in Dreamy Room Level 209. The interactive layering system in Dreamy Room Level 209 lets you fine-tune the depth order of items—if a vine or drink jar disappears behind another object, adjust its layer index immediately. Additionally, save your progress periodically to prevent data loss when making micro-adjustments. Finally, preview lighting and camera angles before finalizing your layout to ensure every detail remains visible and correctly positioned.
Tips and Tricks from Top Players
Mastering the placement challenge in Dreamy Room Level 209 often requires strategic planning and efficient use of the object inventory. To speed up your workflow, organize frequently used items like the truck, counter, and awning into a quick-access favorites list if the game supports custom palettes. Experienced players recommend building the largest structural pieces first—such as the brick wall, awning, and water tank—before placing smaller decorative assets. This approach reduces the chance of hidden collision issues and overlapping layers. When tweaking vines and the egg nest, use small positional nudges rather than rotation to avoid unexpected clipping. Lastly, practice zooming out to check overall composition and zooming in for micro-alignments, a technique highly endorsed among advanced enthusiasts.
Final Scene Description
An inviting outdoor fast food stall sits against a golden façade, its blue and white truck parked to the left with a giant hot dog and cup perched atop. A red and white striped awning extends over a wooden service counter equipped with a sink, condiment bottles, and jars of ingredients. Rich green vines frame the rooftop and support poles, culminating in a leafy nest of eggs above the counter. On the raised sidewalk platform, three tables and several stools in blue and red cluster beside the truck and in front of the stall. A playful orange-and-white cat enjoys fries and a milkshake at one table, while empty stools await customers. To the right, a lamppost with electrical boxes anchors the scene. The subtle lighting and cheerful colors emphasize every carefully placed item, capturing the cozy charm of this street corner vignette.


