Dreamy Room Level 191
Dreamy Room Level 191 guide - Dreamy Room 191 Walkthrough & Solution.

Important Notice Regarding Level Numbering
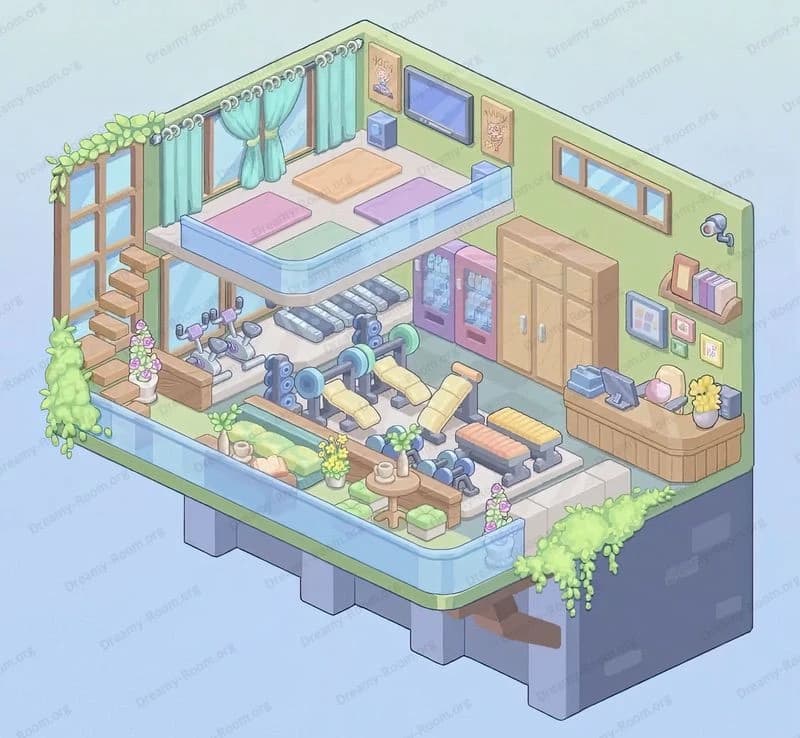
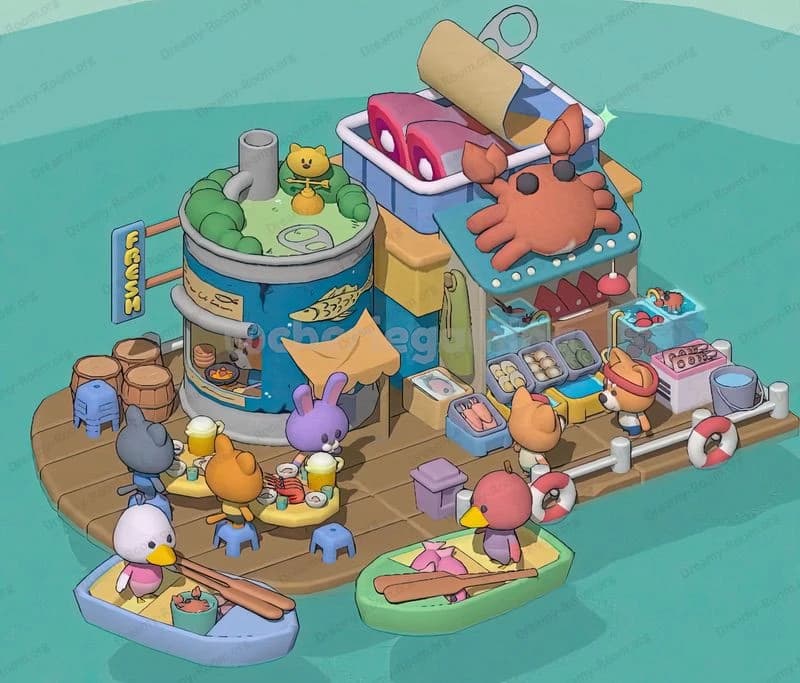
Due to frequent changes in Dreamy Room's level numbering and differences between platforms (Android/iOS) – for example, level 191 on Android might not be the same as level 191 on iOS – the text guide below may not always match the images and video above. Please prioritize the image and video guides. If you find that the guide content doesn't match your current level, please visit the All Level Walkthroughs page to find the correct guide based on level images. Thank you for your understanding.
Dreamy Room Level 191 Walkthroughs & Guide
Step 1. Place the sliding wooden lattice door in the left wall of Dreamy Room Level 191
In Dreamy Room Level 191, the first object you’ll place is the sliding wooden lattice door on the left wall . This key feature in Dreamy Room Level 191 not only marks the entrance but also sets the aesthetic tone for your ramen café. In Dreamy Room Level 191, the sliding door aligns flush with the wooden wainscoting, fitting into the lower third of the wall paneling just above floor level. Make sure in Dreamy Room Level 191 that the door is centered within the left panel segment, as precise alignment will guide your subsequent decoration steps. Once the door is in place, attach the small wooden signboard just above it, ensuring the hand-painted Japanese script is legible and evenly illuminated. Finish the left wall by hanging a string of five small paper lanterns along the top beam, and secure two red ornamental lanterns—a single large lantern beside the signboard and a triple-stacked set on the outermost wall.
Step 2. Place the wooden shelving unit with succulents in the back corner of Dreamy Room Level 191
In Dreamy Room Level 191, step two focuses on anchoring the rear corner with a tall three-tier wooden shelving unit. Mount the shelf flush against the back walls, perfectly aligned beneath the row of transom windows for optimal balance. In Dreamy Room Level 191, the top shelf is then topped with three vibrant succulents: place a spiky green plant in a teal pot on the right, a clustered-leaf succulent in a lavender bowl at center, and a grassy accent plant in a rectangular planter on the left. A second shelf in Dreamy Room Level 191 holds six purple sake bottles in a neat row, while the lower shelf stores six green sake jars with white labels to complete the arrangement. After establishing the shelf, add three vertical wooden menu boards on the right-hand wall of the corner, spacing them evenly and ensuring their carved Japanese characters are centered within each board. Finally, position the national flag atop the adjoining corner pole so that it waves directly over your cozy setup in Dreamy Room Level 191.
Step 3. Place the scroll paintings and potted plant on the right wall of Dreamy Room Level 191
In Dreamy Room Level 191, the third step is dedicated to right-wall ambiance. Begin by hanging two elegant vertical scroll paintings beneath the transom windows: set the left scroll featuring delicate blossoms six inches from the corner, and the right scroll depicting a Torii gate and red sun four inches to its right. In Dreamy Room Level 191, precise spacing of these artworks enhances visual harmony. Next, place a robust potted plant on the floor five inches from the counter’s right edge; the lush foliage should lean slightly inward for a welcoming touch. Finally, in Dreamy Room Level 191, double-check that the wooden paneling grooves align with both scroll rods and the plant’s pot base to maintain a seamless, balanced look.
Step 4. Place the light blue refrigerator, date calendar, and red Noren banners in Dreamy Room Level 191
In Dreamy Room Level 191, step four outfits the back counter area with key fixtures. Slide a light-blue refrigerator against the rear wall, aligning its left edge three inches from the corner for perfect symmetry. As part of Dreamy Room Level 191’s charm, affix a small paper calendar marked “16” to the beam just beneath the lantern rail so that patrons can glimpse the date. Next, hang the signature red Noren banners across the counter opening: drape evenly spaced fabric strips with white Japanese lettering from the left support to the right. Finally, in Dreamy Room Level 191, secure a single large red paper lantern beneath the center beam to cast a warm, inviting glow over your workspace.
Step 5. Place the glass sushi display case and cash registers in Dreamy Room Level 191
In Dreamy Room Level 191, step five outfits your main service counter with essential customer-facing appliances. Begin by sliding the glass sushi display case onto the right side of the countertop, positioning it flush with the bar edge so that rolls are perfectly showcased. In Dreamy Room Level 191, proper alignment ensures the curved glass front follows the countertop molding. Next, place two gray cash registers side by side just to the left of the display case, leaving a two-inch gap for menus to rest between. In Dreamy Room Level 191, make sure each register sits level on the wooden surface and that their screens tilt inward for quick order entry.
Step 6. Place the chef cat and cooking utensils in Dreamy Room Level 191
In Dreamy Room Level 191, step six brings your kitchen to life by adding the beloved chef cat and its tools. First, position the yellow chef cat figurine on the counter behind the center, slightly left of the refrigerator, ensuring its headband faces outward toward customers. In Dreamy Room Level 191, this placement highlights the chef’s welcoming stance. Next, set two black frying pans on the countertop: one atop the built-in cooktop with a sunny-side-up egg and another beside a wooden cutting board bearing a ceramic fish. In Dreamy Room Level 191, orient the fish head-left to mirror the pan’s curvature. Finally, place a stack of six white plates just behind the fish, accompanied by a single knife at the counter’s edge to complete your noodle-bar workspace.
Step 7. Place the sushi platters and utensil containers in Dreamy Room Level 191
In Dreamy Room Level 191, step seven outfits the counter’s front with fresh sushi and handy utensils. Begin by placing a gray pottery platter holding two salmon nigiri immediately to the right of the registers. In Dreamy Room Level 191, this starter plate should sit one inch from the register base for ease of access. Next, center a wooden board with three mixed nigiri—salmon, tuna, and egg—directly in front of the utensil holders, aligning it parallel to the counter edge. In Dreamy Room Level 191, symmetry here is key. On the far right, set a larger wooden platter with four assorted nigiri at the end of the bar. Finally, in Dreamy Room Level 191, position two dark ceramic cups filled with spoons and a third vessel of chopsticks beside them, placing everything within easy reach of every diner.
Step 8. Place the seating and cat diners in Dreamy Room Level 191
In Dreamy Room Level 191, step eight populates your shop with seating and charming cat patrons. First, align five round stools with red cushions beneath the front of the counter, spacing each two inches apart. In Dreamy Room Level 191, seat a gray-blue cat with a bowtie on the first stool, a yellow-furred cat in pink on the second, leave the third stool empty, and place an orange cat in green atop the fourth; save the fifth for future guests. Next, in Dreamy Room Level 191, arrange walkway tables: the first round table at left holds a ramen bowl with a white-furred cat in blue, the second remains empty in the center, and the third near the corner sports a purple teapot alongside a calico cat in mint. Finally, place two low square tables at the bottom right—seat a pink-shirted cat enjoying onigiri on the left table and a striped-gray cat savoring sushi rolls on the right, each flanked by two red stools.
Notes and Precautions
In Dreamy Room Level 191, precise placement rules are essential to achieving a polished layout. Avoid overlapping objects in Dreamy Room Level 191; any slight intersection will prevent the game from registering your décor as complete. Watch out for z-order conflicts in Dreamy Room Level 191—smaller scrolls or lanterns may become hidden behind larger banners if layered incorrectly. Double-check that all seating—bar stools and walkway tables—is in place before finishing, since Dreamy Room Level 191 only registers completion after every dining spot is configured. Additionally, this level includes gentle snowflake animations around the service counter; avoid blocking window overlays to let those wintry details shine.
Tips and Tricks from top player
In Dreamy Room Level 191, top players recommend using the copy-and-paste tool to duplicate identical stools or sushi platters, ensuring perfect spacing without tedious manual tweaking. Because Dreamy Room Level 191 rewards symmetry, enable the 1° rotation feature for subtle angle adjustments along walls. Veteran decorators save time in Dreamy Room Level 191 by pre-staging all sushi plates on one side of the counter before distributing them, reducing placement errors. Finally, remember to adjust your camera angle when you play Dreamy Room Level 191—shifting to a side or overhead view can reveal hidden gaps behind larger fixtures, allowing flawless alignment.
Final Scene Description
In the final scene of Dreamy Room Level 191, players behold a cozy ramen shop bustling with feline guests. A sliding wooden lattice door sits beneath a signboard and dangling lanterns on the left. At the back, a three-tier shelf holds succulents, purple sake bottles, and green jars, topped by a waving flag and three wooden menu boards. Two vertical scroll paintings hover above a potted plant on the right. The central counter in Dreamy Room Level 191 holds a light-blue refrigerator, a calendar showing ‘16’, and vibrant red Noren banners. Its surface showcases a glass sushi display case, dual registers, frying pans, a fish platter, and stacked plates. Three sushi platters and utensil jars line the front beneath five red stools occupied by three cats. Along the walkway, Dreamy Room Level 191 delights with three round tables—ramen, empty, and tea—and two square sushi tables with content felines. Subtle snowflake animations drift above, completing the nostalgic ambiance of Dreamy Room Level 191.


