Dreamy Room Level 192
Dreamy Room Level 192 guide - Dreamy Room 192 Walkthrough & Solution.

Important Notice Regarding Level Numbering
Due to frequent changes in Dreamy Room's level numbering and differences between platforms (Android/iOS) – for example, level 192 on Android might not be the same as level 192 on iOS – the text guide below may not always match the images and video above. Please prioritize the image and video guides. If you find that the guide content doesn't match your current level, please visit the All Level Walkthroughs page to find the correct guide based on level images. Thank you for your understanding.
Dreamy Room Level 192 Walkthroughs & Guide
Step 1. Place the Wooden Dock at the Center of the Room
In Dreamy Room Level 192, the first crucial decision is laying the foundation by placing the large wooden dock at the room’s center. Begin by selecting the rectangular brown dock asset and orient it so that its curved edge faces the viewer. Accurate placement in Dreamy Room Level 192 ensures all maritime elements align perfectly around this base. Center the dock both horizontally and vertically on the grid, as Dreamy Room Level 192’s coordinate system will determine how subsequent objects snap into place. Careful alignment in Dreamy Room Level 192 is essential; if the dock shifts even a single unit, water-themed props and structural elements will float off-center. Once the dock sits precisely in the middle of Dreamy Room Level 192, you create a clear canvas for building the seaside market atmosphere. Remember to lock the dock asset in Dreamy Room Level 192 before moving on to prevent accidental adjustments.
Step 2. Place the Cylindrical Fish Shop in the Back-Left Corner
In Dreamy Room Level 192, your next task is to position the charming cylindrical fish shop at the back-left corner. Select the blue cylinder model and slide it flush against the dock’s rear and left edge. This precise location in Dreamy Room Level 192 ensures visitors can approach the service window from the center. In Dreamy Room Level 192, the curved wall should align so the fish graphic faces forward, inviting players to admire its bright colors. The fish shop’s pipe assembly extends upward, and Dreamy Room Level 192 will automatically adjust its height to clear the room’s ceiling. Confirm that the cylinder sits firmly against the dock planks in Dreamy Room Level 192, allowing a one-unit gap at the back wall so water textures show behind it. Once you confirm the fish shop base in Dreamy Room Level 192 is locked, rotate the model slightly if you want the service window angled at 15 degrees to catch more light. However, in Dreamy Room Level 192, it’s recommended to keep it parallel to the dock for a balanced look. By following these placement guidelines in Dreamy Room Level 192, you avoid spatial conflicts when you later install stools, signage, and other decorative assets.
Step 3. Add the “FRESH” Sign, Pipe Assembly, and Barrel Cluster to the Fish Shop
In this part of Dreamy Room Level 192, focus on embellishing the fish shop’s exterior by attaching the neon “FRESH” sign on its left support bar. In the asset palette for Dreamy Room Level 192, choose the vertical sign object and align it so it stands two units above the dock surface and one unit left of the cylinder’s edge. Next, arrange the grey pipe assembly along the shop’s left curve, ensuring each joint in Dreamy Room Level 192 lines up without clipping. Finally, group three wooden barrels nearby: one behind the sign, two staggered beside the pipe. Dreamy Room Level 192 will allow you to fine-tune their rotation so they sit naturally against the shop wall. Proper spacing within Dreamy Room Level 192 avoids collision with passing characters and keeps the area looking organized and inviting. Confirm barrel alignment by toggling the grid overlay in Dreamy Room Level 192, ensuring they rest squarely on the dock without floating.
Step 4. Place the Cat Figurine and Pea Mound on the Fish Shop Roof
In Dreamy Room Level 192, whimsical details transform a simple shop into a memorable landmark. For this, place the small mound of bright green peas at the center of the fish shop roof, exactly above the service window. Next, add the yellow cat figurine atop that pea mound, aligning its base to avoid intersection with the metal pipe outlet. Dreamy Room Level 192 supports gravity-based placement, so make tiny vertical adjustments until the cat’s paws sit flush without hovering. Confirm in Dreamy Room Level 192 that the figurine’s shadow falls naturally across the blue cylinder, adding depth. Taking care during this step in Dreamy Room Level 192 ensures that the cat remains perched stably and that the overall silhouette of your seafood scene remains charming and intact. Use orthographic view in Dreamy Room Level 192 if necessary to check roof alignment.
Step 5. Position the Seafood Stall and Crab Sign in the Back-Right Corner
In Dreamy Room Level 192, balance is key, so mirror your fish shop by placing the seafood stall directly to the right of the dock’s back edge. Select the rectangular stall asset, position it flush with the rear boundary and rotate it so the open side faces forward into the room. Dreamy Room Level 192’s grid snapping helps keep it parallel to the dock planks. After anchoring the stall, add the large orange crab sign to its flat roof, centering it two units above the counter surface. In Dreamy Room Level 192, this rooftop icon draws the eye and signals the stand’s menu. Double-check that the crab faces outward, unobstructed by any nearby support beams in Dreamy Room Level 192. Proper alignment here sets the foundation for adding bins, towel racks, and lighting in the next step.
Step 6. Arrange Cans, Display Bins, Lamp, and Towel on the Seafood Stall
In Dreamy Room Level 192, after the main stall structure is in place, it’s time to style the front counter. First, select the tilted open can with two pink fish slices and place it atop the stall roof, just behind the crab sign. Dreamy Room Level 192 ensures your can asset rotates on its hinge, giving a natural look. Next, fill the blue and yellow display bins on the counter with various seafood assets, spacing them evenly across the length. Dreamy Room Level 192 uses a discrete grid for bin slots, so click precisely to avoid overlaps. Drag the red hanging lamp into position three grid units above the counter’s center, then attach the green towel to the stall’s left post. Precision in Dreamy Room Level 192 here complements realism and prevents clipping between props. If you notice any misalignment in Dreamy Room Level 192, use half-unit grid increments to nudge items into perfect position.
Step 7. Set Up Dining Tables, Stools, and Seated Guests
In Dreamy Room Level 192, creating a lively dining area is essential for immersion. Select two round yellow tables of different sizes and place them side by side on the dock’s left side, spacing them two grid units apart. Dreamy Room Level 192 will let you nudge each table by half-unit increments for perfect centering. Around each table, arrange the blue stools: three around the larger table and two around the smaller. In Dreamy Room Level 192, seat the purple bunny, grey cat, and orange cat at the larger table, and position the orange cat and white rabbit at the smaller one. Place frothy beer mugs and noodle bowls on each tabletop using the prop placement tool. Dreamy Room Level 192’s object stacking feature ensures bowls sit securely on the table surface without sinking or floating. Rotate each seating animal slightly toward the center of its table in Dreamy Room Level 192 to enhance natural interactions.
Step 8. Place Boats, Life Rings, and Auxiliary Crates Alongside the Dock
In Dreamy Room Level 192, finishing touches include positioning the watercraft and safety gear. Choose the pastel blue boat asset and dock it at the front-left edge of the wooden platform, then seat the white-and-pink bird inside. Add a bucket of crabs next to the bird, and lay the wooden oar across the boat’s interior. Next, mirror this with the green boat on the front-right edge; place the red bird and starfish inside, angling the oar diagonally. Dreamy Room Level 192’s snapping helpers guide you to align each vessel one unit from the dock’s perimeter. Finally, attach two white lifebuoys with red stripes to the railing posts—one on the left, one on the right of the seafood stall—and position a purple crate and a blue bucket near the right railing. This final arrangement in Dreamy Room Level 192 brings cohesion to your seaside scenario.
Notes and Precautions
In Dreamy Room Level 192, players must exercise patience and attention to detail to avoid common pitfalls. Always begin by locking the main dock foundation before adding props; otherwise in Dreamy Room Level 192, minor misplacements can cause cascading alignment issues when the camera angle shifts. When positioning items in Dreamy Room Level 192, enable grid snapping and hover over the grid markers to ensure accurate placement—this prevents small offsets that can be visible in close-up views. Be cautious when stacking bowls, mugs, and small props: Dreamy Room Level 192’s physics engine may register slight overlaps as collisions, causing items to float or partially sink into tables if the vertical axis is misjudged. If Dreamy Room Level 192 experiences performance slowdowns with multiple display bins and high-detail textures, temporarily disable dynamic shadows or reduce particle effects. Additionally, avoid rotating props to non-standard angles in Dreamy Room Level 192, as this can break grid alignment and complicate later adjustments. Finally, remember to save your Dreamy Room Level 192 project frequently, and consider creating incremental backups at each major placement milestone to safeguard against unintended edits.
Tips and Tricks from top player
Veteran creators of Dreamy Room Level 192 often leverage the following strategies to streamline their workflow. First, import custom snap presets to quickly align common assets: in Dreamy Room Level 192, you can define a half-unit snap grid for prop placement, significantly reducing manual adjustments. Second, group related objects—such as all service bins or tableware—in Dreamy Room Level 192 into folders to toggle visibility and lock positions while you focus on other areas. Third, take advantage of Dreamy Room Level 192’s lighting presets: switch to warm sunset mode when placing the crab sign and fish shop to preview how direct light interacts with colored surfaces. Fourth, use the mirror tool in Dreamy Room Level 192 to duplicate symmetrical elements on opposite sides of the dock, ensuring perfect balance in your design. Fifth, temporarily switch to an overhead orthographic camera view in Dreamy Room Level 192 when aligning floor tiles and dock planks to eliminate perspective distortion. Finally, embrace keyboard shortcuts in Dreamy Room Level 192—such as pressing ‘C’ to toggle snapping and ‘R’ to reset object rotation—to maintain momentum during lengthy setup sessions.
Final Scene Description
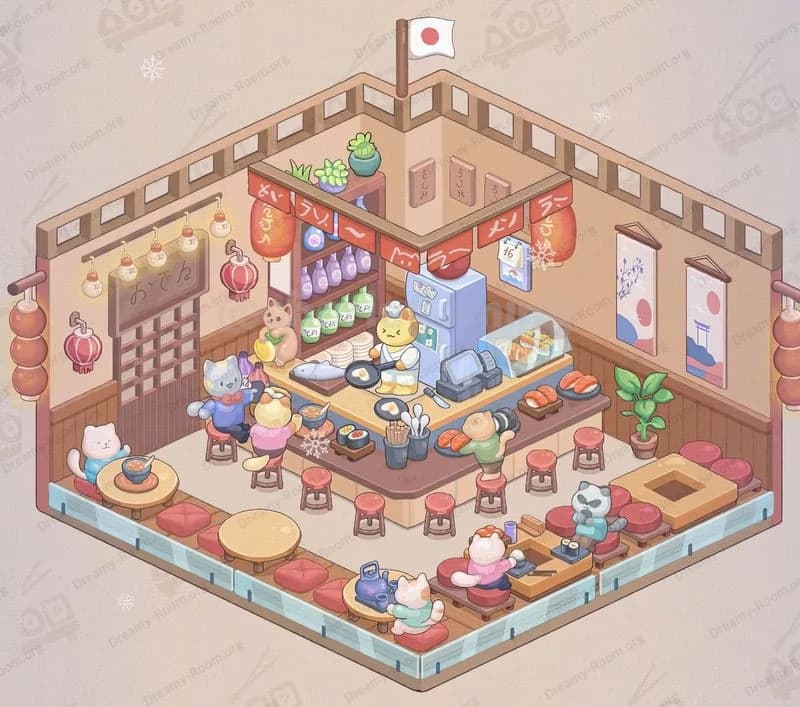
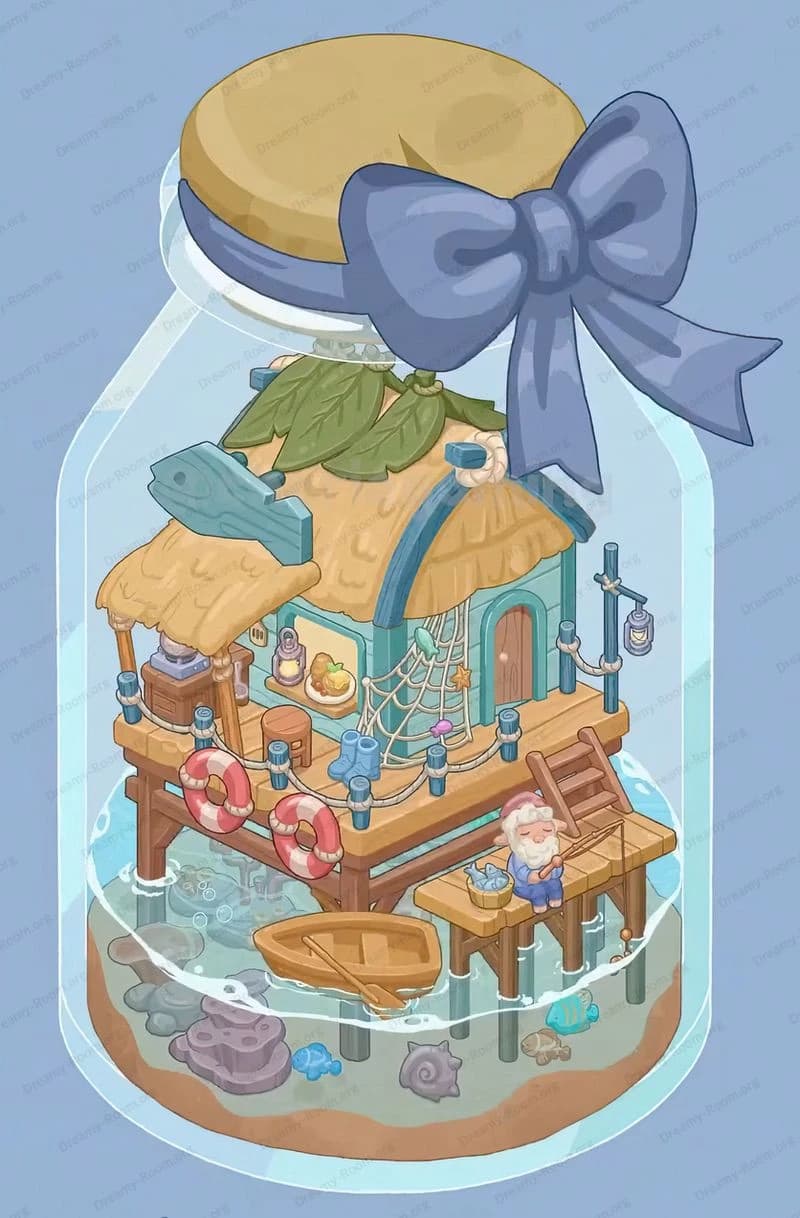
At the conclusion of Dreamy Room Level 192, players are rewarded with a serene and vibrant coastal market diorama, expertly arranged atop a floating wooden dock. The rich brown planks radiate warmth against the tranquil teal waters. On the left, a curved fishery hut with vivid blue siding showcases a cheerful fish emblem, topped by a playful yellow cat figurine perched upon a bed of green peas beside a coiled metal pipe. Adjacent, a bustling seafood stand is crowned by a bright orange crab sign and an open tin of pink fish slices. Below, neatly organized glass bins display fresh catches. Two cheerful round yellow tables host frothy mugs and savory bowls, seated by an assortment of adorable animal friends. In the surrounding water, pastel-colored boats carry birds and starfish toward the dock. White railings with lifebuoys encircle the scene alongside buckets and crates, completing the cozy maritime tableau perfectly.


