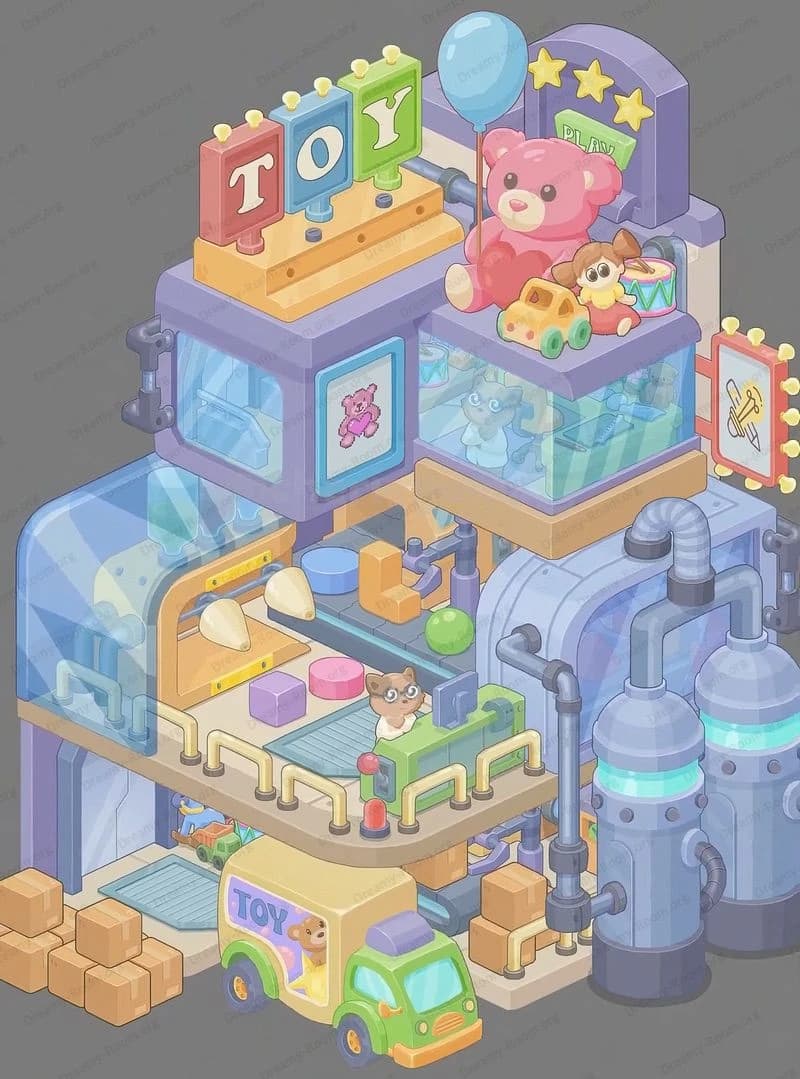
Dreamy Room Level 293
Dreamy Room Level 293 guide - Dreamy Room 293 Walkthrough & Solution.

Important Notice Regarding Level Numbering
Due to frequent changes in Dreamy Room's level numbering and differences between platforms (Android/iOS) – for example, level 293 on Android might not be the same as level 293 on iOS – the text guide below may not always match the images and video above. Please prioritize the image and video guides. If you find that the guide content doesn't match your current level, please visit the All Level Walkthroughs page to find the correct guide based on level images. Thank you for your understanding.
Dreamy Room Level 293 Walkthroughs & Guide
Step 1. Place the raised floor platform and brick tile base in the center.
Start by placing the raised platform — the chunky brick-tiled mattress base — dead center on the lower shelf of the display. In Dreamy Room Level 293 the base is a large tan rectangle with rounded edges and brick lines; it must sit flush with the platform’s ledge so subsequent furniture aligns correctly. Take care to align the base so its front edge is parallel with the display’s front ventilation panel. The game’s main trick in Dreamy Room Level 293 is orientation: if the base is rotated a few degrees off, the bed and table above will look misaligned. Make sure the shadowing matches the base’s left and right edges. Once the brick tile base is secured, the lower kitchen floor and upper bedroom shelves will sit properly on top, making subsequent placements easier in Dreamy Room Level 293.
Step 2. Place the kitchen lower floorboard and big gray base; then add the fridge on the right.
Next in Dreamy Room Level 293, add the lower wooden floorboard layer that sits above the gray machine base. Center it so that its edges match the display’s ledge. Place the white refrigerator on the right side of the lower floor, pressing it against the right inner wall and slightly recessed under the hanging plant. In Dreamy Room Level 293 the fridge has two little magnets and a soft rounded top — put a small magnet sticker on its door and ensure the fridge sits close to the corner, leaving room for the countertop to its left. This correct placement creates the kitchen aisle and opens space for the dining table in the middle. The game stresses exact alignment; a fridge pushed too far forward will block the walkway and upset the visual balance in Dreamy Room Level 293.
Step 3. Place the oven/stove and potted plants on the left of the lower floor.
On the lower left of Dreamy Room Level 293 place the yellow oven/stove unit against the left wall so the oven door faces forward and the stove top lines up with the counter. Put two small pans on the burners (one with stew, one with rice) to capture that lived-in kitchen feel. To the far left add a tall potted plant and a small round planter beside it — the tall green plant sits flush against the corner to balance the large fridge on the right. These left-side placements in Dreamy Room Level 293 ensure the kitchen triangle flows visually; the stove, fridge, and sink/counter form a natural cooking area. If the plant overlaps the oven, nudge it inward slightly so the oven handles remain visible for the camera angle.
Step 4. Place the dining table, two stools, and table accessories in the lower center.
Position the wooden dining table in the exact center of the lower floor area in Dreamy Room Level 293. Place the two round wooden stools in front of the table, evenly spaced. On the table add the green runner, a vase of red roses, a bowl of fruit on the right, and two wine glasses plus a bottle on the left. Make sure the runner’s edge aligns with the table’s front edge. These decorative pieces must be layered: vase centered near the back, glasses in front, fruit bowl to one side — Dreamy Room Level 293’s challenge is placing layers so nothing obscures important items. The table arrangement creates the cozy kitchen dining focal point; correct depth ordering prevents objects from clipping into the stools or fridge.
Step 5. Place the upper bedroom floorboard, bed, large teddy, and pillows.
Now build the upper level in Dreamy Room Level 293. Place the mint checkered bedroom floor slightly inset on the upper shelf and center the rounded bed base against the back wall. Set the bed headboard against the right-back corner and place the large brown teddy bear on the center of the bed; add the star-shaped yellow pillow and two heart and square pillows in a cluster near the teddy. The bedspread should show a round yellow pattern; align its edge with the platform’s corner so the bedside table fits neatly on the right. Dreamy Room Level 293 requires you to tuck pillows under the teddy slightly — that gives natural overlap and prevents floating looks. If the headboard is too far left the bedside lamp won’t sit snugly on the nightstand.
Step 6. Place window, green curtains, wall clock, air conditioner, and wall art.
On the upper left wall of Dreamy Room Level 293, place the wooden window frame and hang the green curtains so they drape slightly inward. Above the window mount the white air conditioner unit and to the left of the window add the flower-shaped wall clock. On the right upper wall, hang the long horizontal artwork with the star mobile and the small framed picture cluster. Make sure the star mobile sits directly above the bed’s center; its hanging stars should dangle in front of the picture. Placement precision in Dreamy Room Level 293 is key: the mobile must not intersect the bedding edge, and the air conditioner must be slightly inset to show the vent detail. Correct vertical spacing will create the intimate bedroom skyline.
Step 7. Place the bedside nightstand, lamp, bookshelf with string lights, coffee table, rug, planter.
On the upper right in Dreamy Room Level 293, set the small bedside nightstand flush against the headboard and put the rounded mushroom lamp on top. Next to the far right wall, place the tall wooden bookshelf and drape the string lights down its right side; add the potted plant on the top shelf and arrange books in the center shelves. In front of the bed place the small wooden coffee table with a teacup, an open book, and the tiny cake; put the round pouf beside it. Add the scalloped round rug slightly off-center in front of the coffee table and a square planter of yellow flowers on the rug’s left side. In Dreamy Room Level 293 these decor pieces must be layered front to back: coffee table in front, pouf slightly to the left, bookshelf hugging the corner — correct ordering prevents clipping and gives depth.
Step 8. Place small extras: floor lamp, night accessories, toaster, countertop items, and outside box.
Finally, add the floor lamp on the upper left near the sofa-like seating, the small bedside accessories (a heart pillow and tiny book), the toaster on the lower counter near the fridge, and the little carton/box outside at the display’s bottom right corner. In Dreamy Room Level 293 position the lamp so its arc reaches the coffee table without intersecting the ceiling. On the lower counter place a blue toaster and a cutting board behind it; keep a hanging trailing plant over the refrigerator from the upper right edge. Place the cardboard box with tape outside the display on the lower right; this finishing touch in Dreamy Room Level 293 signals the room’s arrival and should be slightly open with a glowing object to make the scene feel unpacked.
Notes and Precautions
When arranging items in Dreamy Room Level 293, take care with layering order, depth, and slight rotations. The game’s main challenge is determining correct placement so shadows and overlaps look natural; avoid placing tall objects in front of short ones that should be visible. Always align furniture with platform edges — small misalignments will be visually obvious from the isometric camera angle. Don’t overcrowd the walkway between fridge and table; maintain the small aisle. If an object clips into another, slightly nudge it back along the z-axis — Dreamy Room Level 293 rewards patience and tiny nudges. Finally, always preview from the same camera angle used in the finished scene.
Tips and Tricks from top player
Top players of Dreamy Room Level 293 recommend building from the back wall forward: walls, large floor pieces, then big furniture, then décor, then tiny accessories. Use the grid snap for the big items, then turn off snap for micro adjustments to prevent visible clipping. Save a checkpoint after placing each room layer (lower kitchen, then upper bedroom) so you can revert only the layer with problems. For busy scenes like Dreamy Room Level 293, group small décor into clusters (vase + glasses, book + cake) before final placement to speed alignment. Finally, keep an eye on shadows and make micro nudges — 1–2 pixels can make Dreamy Room Level 293 feel perfectly composed.
Final scene description
The completed Dreamy Room Level 293 scene is a cozy two-story diorama: a sunlit upper bedroom with a round yellow bed crowned by a large brown teddy, star mobile, green curtains, and a wooden bookshelf dressed with string lights; beneath it sits a cozy coffee table, pouf, scalloped rug, and a planter of yellow blooms. The lower kitchen features a warm wooden dining table with a vase of roses, fruit bowl, wine glasses, two stools, a yellow oven with simmering pans, and a white refrigerator with cute magnets. Lush potted plants frame the kitchen, and small countertop appliances like a toaster finish the domestic tableau. Outside the display, a taped cardboard box sits at the base, hinting at recently unpacked memories. Every piece in Dreamy Room Level 293 is deliberately placed so the scene reads as a lived-in, tidy home — the game’s heart lies in finding the exact spot for each object to tell that quiet, comforting story.


