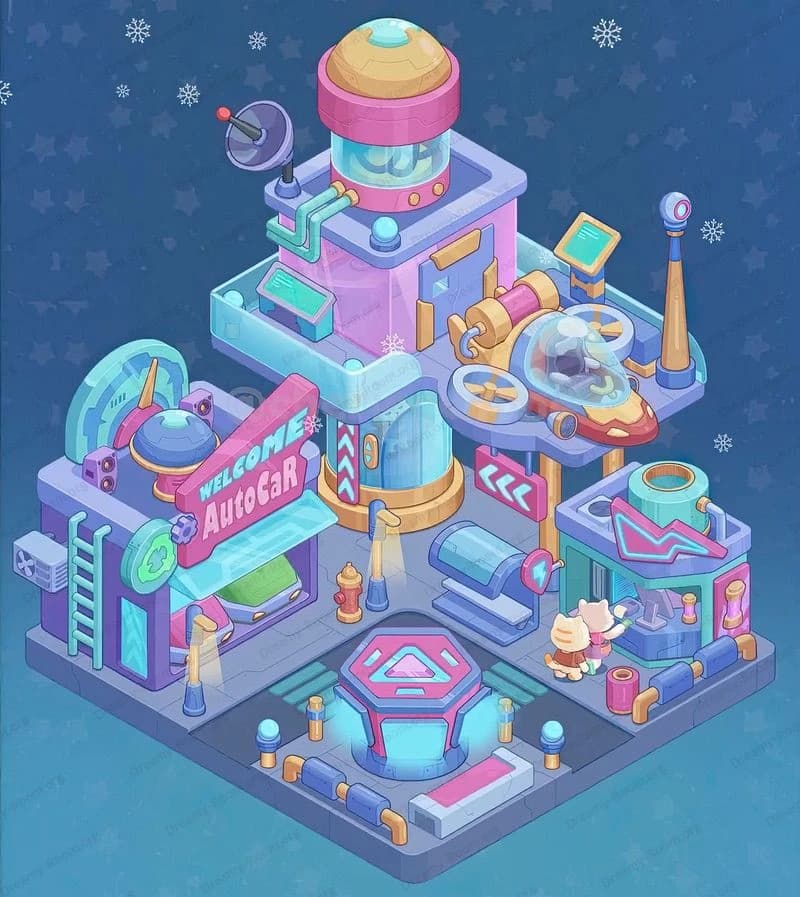
Dreamy Room Level 360
Dreamy Room Level 360 guide - Dreamy Room 360 Walkthrough & Solution.

Important Notice Regarding Level Numbering
Due to frequent changes in Dreamy Room's level numbering and differences between platforms (Android/iOS) – for example, level 360 on Android might not be the same as level 360 on iOS – the text guide below may not always match the images and video above. Please prioritize the image and video guides. If you find that the guide content doesn't match your current level, please visit the All Level Walkthroughs page to find the correct guide based on level images. Thank you for your understanding.
Dreamy Room Level 360 Walkthroughs & Guide
Step 1. Place the base flooring, grassy ledge, and pond (foundation)
Start this Dreamy Room Level 360 by establishing the room's three-zone base: the raised terracotta tile platform, the grassy shelf that wraps the front-right, and the curved pond at the front center. Place the terracotta tiled floor flush with the back wall so it covers the large interior area; align the tiles so their corner points match the image perspective. Next, position the grassy ledge along the front edge of the tile — it should overlap the tile’s front lip and form a rounded grassy border toward the viewer. Finally, drop the crescent-shaped pond centered at the very front edge of the diorama with the curved lip pointing forward; the pond should nestle against the grassy ledge and slightly under the ledge’s right curve. These foundation pieces set spatial relationships for everything in Dreamy Room Level 360, so confirm the tile-to-grass-to-pond alignment matches the image exactly. The challenge here is scale: if the pond sits too low or the tile sits too far forward, later furniture will look cramped. In Dreamy Room Level 360, accurate foundation placement prevents awkward collisions between the tree roots, stepping stones, and the wheelbarrow.
Step 2. Install the big tree trunk and leafy canopy (vertical anchor)
For Dreamy Room Level 360, the large right-side tree is the vertical anchor. Position the trunk’s base on the tile near the right rear corner so its major roots extend over the grassy ledge and slightly onto the pond edge. Angle the trunk so it leans left and up, with a thick horizontal branch stretching over the center. Attach the leafy canopy so it drapes over the upper platform — the canopy should create a ‘roof’ of leaves that overhangs the interior and forms the green cushion where the picnic and hanging bed will rest. Make sure the canopy’s left edge extends toward the left quadrant of the tile and the right edge connects with the trunk’s thick branch; this creates the multi-level shelf seen in Dreamy Room Level 360. Inaccurate trunk placement will push the swing-bed or bunny into awkward places — for Dreamy Room Level 360, the correct trunk-and-canopy alignment is crucial because many objects hang from or sit on those branches.
Step 3. Hang the egg-style swing bed and place nest & mushrooms on branch
Next in this Dreamy Room Level 360 sequence, attach the round egg-swing beneath the thick horizontal branch — center it just left of the trunk so it hangs over the grassy shelf. Ensure the swing's cushion faces forward and the rope connects visibly to the branch. On the far right branch, position the small bird nest with three eggs nestled into the crook. Place a pair of tiny red mushrooms on the grassy shelf directly under the swing (left of the trunk base). These charming elements in Dreamy Room Level 360 create vertical interest and must be placed precisely: the swing should not touch the roofline of the canopy nor overlap the kitchen tiles below. Properly hung, the swing’s shadow and the nest help anchor the upper tier visually and connect the levels of the scene.
Step 4. Arrange plush characters on the upper green shelf (cat, picnic blanket, bunny)
In Dreamy Room Level 360, the upper left-to-center green shelf hosts three soft focal points. Place the pink-bowed cat figure on a scalloped pink picnic mat left of the center; the cat holds a small green bowl, so rotate it to face forward. Next to the cat, drop the small picnic bag or toaster box on the mat’s left side. To the right of the trunk, place the sleepy bunny plush leaning against the trunk’s lower curve, with its back against the root and feet pointing toward the center. Space these characters so they don’t overlap; the cat and bunny should sit comfortably on the green grassy shelf with visible clearance for the hanging swing above. In Dreamy Room Level 360, the emotional balance of the scene comes from these plush placements, so maintain the distances shown in the image to preserve the scene’s cozy vibe.
Step 5. Lay out the kitchen nook (stove, cabinets, sink, hanging utensils, bowls)
Now move inside the tiled area for the cozy kitchen arrangement used in Dreamy Room Level 360. Position the brick stove unit against the back wall slightly left of center, with a round kettle on top and a frying pan hung on the stove’s side. To the right of the stove place a low sink cabinet with a visible faucet and a dish with sliced bread on the counter. Above the stove and sink, hang the wooden spoons and spatulas along the back wall in a neat row. On the left-back corner, set a tall bookcase/cabinet unit stocked with books and small boxes, and hang a round wall clock or pink telephone near it. Place the bag of apples or produce near the stove’s left side so it leans against the bookcase. These kitchen placements in Dreamy Room Level 360 should be flush with the back wall and balanced so the living-chair area (next step) won’t be squeezed. The correct back-wall layout is essential; misaligned cabinets make the dining table and walkway look off-scale.
Step 6. Furnish the sitting area (armchair, table, teapot, stool, rug, books)
For Dreamy Room Level 360, place the plush red armchair slightly left of center on the tiled area — angle it so it faces the small round table. Set the little round table in front of the chair and arrange a turquoise teapot, two cups, and a sugar bowl on the table’s doily. Add a small footstool or pouf in front of the chair and a stack of books on the bookcase shelf to the left. Position a pink handbag or phone resting beside the chair against the bookcase to complete the lived-in look. Ensure the chair and table sit on the tile with room for the garden pathway in front; in Dreamy Room Level 360, the seating group must not block the stepping stones and flowerbed transitions, so leave a clear corridor to the garden path on the right.
Step 7. Plant the front garden (tulips, stepping stones, fence, wheelbarrow, sign, sunflowers)
Next, create the front garden placement that defines Dreamy Room Level 360’s lower-right charm. Place the short curved wooden fence across the left front edge of the grassy area. Plant alternating tulips along the inner edge of the fence, facing slightly outward. Arrange a small pile of round stepping stones leading from the tiled edge down toward the pond; the stones should bend right and terminate near the wheelbarrow. Position the small chalkboard welcome sign on the right-side grass just above the stones and place the wheelbarrow full of red apples to the far-right, adjacent to a cluster of sunflowers near the interior wall. These garden items in Dreamy Room Level 360 must follow the arcs shown: fences, flowers, stones, and wheelbarrow create the visual flow from interior to pond.
Step 8. Final micro-placements and pond creatures (duck, lily, frog, sleeping cat cushion, small details)
Finish Dreamy Room Level 360 with all fine details. On the pond surface place a lily pad with a tiny pink lotus on the right and a happy duck float on the left. Add a round green lily with a smiling frog sitting on it slightly right-of-center in the pond. On the tiled interior near the sink put a sleeping cat cushion or pet bed with a curled cat inside. Scatter the small items: a tiny crate of tomatoes near the counter, a breadknife on a cutting board by the sink, a handful of tulip buds in the soil, a small pair of mushrooms near the tree root, and a tiny chalkboard menu leaning near the front path. Each micro-placement in Dreamy Room Level 360 must match the scale and spacing in the reference — small misplacements accumulate and break the composition. In Dreamy Room Level 360, these last pieces provide personality, so place them with care.
Notes and Precautions
- Remember: the core challenge in Dreamy Room Level 360 is correct placement and layering. Objects must follow the perspective: background items (stove, cabinets) flush to the wall; middle items (chair, table) rest on tiles; foreground items (stones, wheelbarrow) sit on grass.
- Avoid overlapping objects on the same plane — if two items share the exact grid square, the game may reject the arrangement or create clipping artifacts in Dreamy Room Level 360.
- Scale matters: miniature objects (mushrooms, eggs, cups) should be placed last so you can judge scale relative to larger pieces.
- Use the undo and nudging tools to slightly adjust x/y placement; small shifts make a big visual difference in Dreamy Room Level 360.
- If something “snaps” to the wrong layer, remove it and re-place from the inventory to reset its depth.
Tips and Tricks from top player
- Work from back to front: when decorating Dreamy Room Level 360, always place background items first (wall units, stove) then mid-ground (furniture) and finally foreground (garden, pond). This keeps layering correct.
- Use the grid or alignment markers (if the game provides them) to line edges of tiles, grass, and pond — accuracy saves time. Top Dreamy Room Level 360 players rarely eyeball placement; they nudge by single-pixel increments.
- Save a screenshot of your working layout after major placement stages so you can compare and restore positions if you experiment. For Dreamy Room Level 360, saving after foundation, then after tree/canopy, then after interior, is a good habit.
- Small props are the quickest way to fix composition: a mushroom, a pillow, or a tiny sign can hide awkward overlaps and make Dreamy Room Level 360 look intentional.
- If stuck, zoom out: sometimes items appear misaligned only because of zoom. Top Dreamy Room Level 360 players check both close-in and full-view to ensure harmony.
Final Scene Description
The finished Dreamy Room Level 360 feels like a miniature storybook: a warm terracotta-tiled kitchen nestles against the back wall, crowned by a sprawling tree whose leafy canopy becomes an upper green shelf. A swinging egg-bed hangs from a stout branch above a sleepy bunny; a bow-topped cat enjoys tea on a scalloped picnic mat. Inside, a red armchair and tiny round table with a turquoise teapot form a cozy sitting nook beside a bookcase and stove. A stone path winds from the tile edge across tulip beds to a wheelbarrow of apples and a welcome sign. At the front, a curved pond holds a serene duck and a lily with a frog, reflecting the scene. Tiny mushrooms, a bird’s nest, sunflowers, and a sleeping pet cushion add depth. Every item in Dreamy Room Level 360 is placed with intention — the level’s charm comes from the careful, correct placement of objects that feels like arranging memories in a gentle, living vignette.


