Dreamy Room Level 246
Dreamy Room Level 246 guide - Dreamy Room 246 Walkthrough & Solution.

Important Notice Regarding Level Numbering
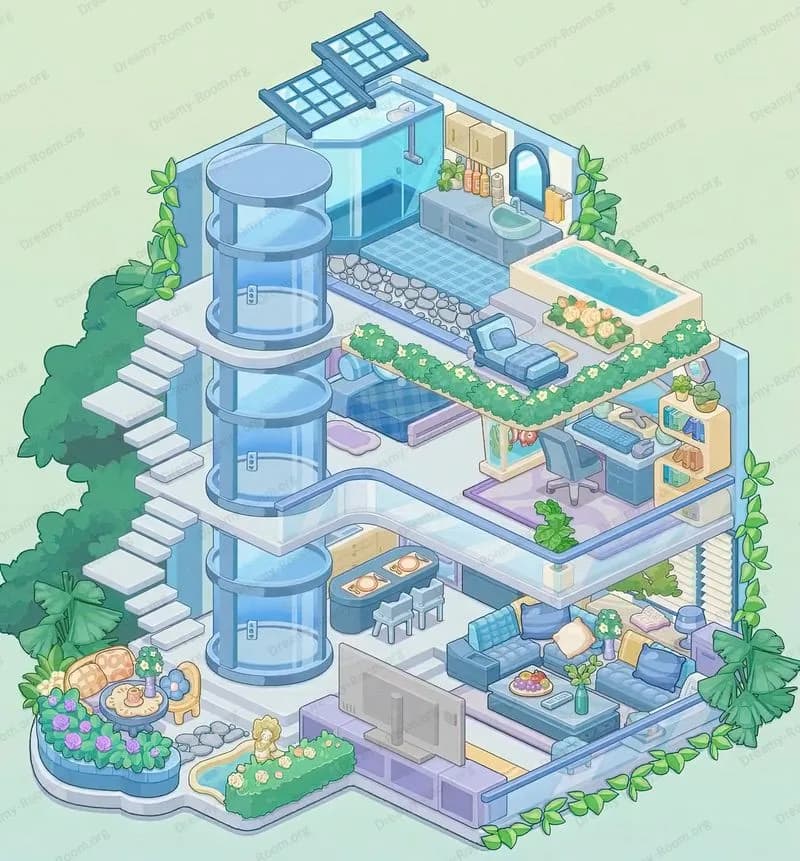
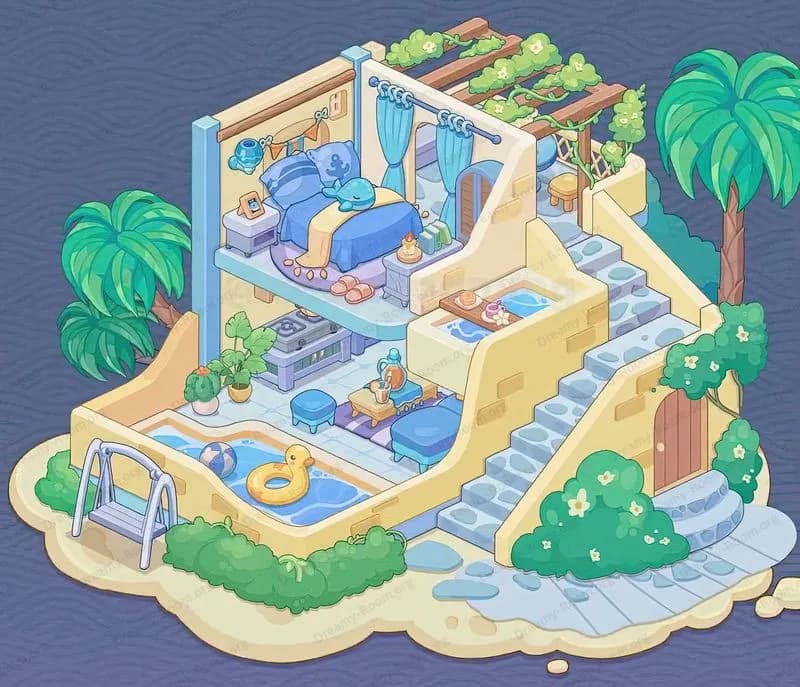
Due to frequent changes in Dreamy Room's level numbering and differences between platforms (Android/iOS) – for example, level 246 on Android might not be the same as level 246 on iOS – the text guide below may not always match the images and video above. Please prioritize the image and video guides. If you find that the guide content doesn't match your current level, please visit the All Level Walkthroughs page to find the correct guide based on level images. Thank you for your understanding.
Dreamy Room Level 246 Walkthroughs & Guide
Step 1. Place the L-shaped counter on the center platform in Dreamy Room Level 246
In Dreamy Room Level 246, the first critical move is to situate the primary work surface: the signature L-shaped counter. The counter must rest flush against the back curve of the pineapple-shaped dome, centered on the checkered floor. Ensure that the longer wing of the L follows the left panel of the dome, while the shorter wing extends to the right, creating a natural flow around the central platform. This placement sets the stage for all subsequent décor in Dreamy Room Level 246, so take care to align the counter perfectly with the floor tiles and dome seam. If the counter is misaligned, later items will look off-center, compromising the harmony of your final layout in Dreamy Room Level 246. Master this foundational step to build a cohesive decorative space that feels both balanced and immersive.
Step 2. Place beverage dispensers and fruit serving station on the left counter area in Dreamy Room Level 246
In Dreamy Room Level 246, Step 2 focuses on establishing the juicery’s heart: the beverage dispensers and serving station. Select the trio of glass dispensers—each filled with a vibrant citrus blend—and mount them on the wooden rack at the left end of the counter. Position them so that the taps face outward, making them easy to access in Dreamy Room Level 246. Immediately beside the dispensers, align the wooden cutting board with one or two fresh watermelon slices artfully arranged. Place a small melon bowl filled with ripe fruit and a slender serving glass with a striped straw next to the cutting board. This arrangement not only adds color contrast but also creates a realistic workflow for your juicery in Dreamy Room Level 246, ensuring players can intuitively pour, slice, and serve at a glance.
Step 3. Install blending and juicing machines along the back wall in Dreamy Room Level 246
In Dreamy Room Level 246, Step 3 brings in the mechanical flair of the juicing process. Begin by placing the pink blender squarely in the center section of the counter’s back row. Align its base with the checkered tile pattern so it appears anchored in the juicery. Just to its right, position the dual-spout juicing machine on a pastel pink stand, ensuring it sits adjacent to the stainless-steel sink basin. Slide the sink slightly left of center so it nests neatly between the blender and juicer, keeping water access central. After that, slide the pastel mini-fridge with the transparent front door into the rightmost alcove by the dome wall. Top the fridge with the retro-style radio, tuning it visually to create that vintage café vibe in Dreamy Room Level 246. This layout maintains both form and function.
Step 4. Arrange fruit crates, metal baskets, and greenery around the counter in Dreamy Room Level 246
In Dreamy Room Level 246, Step 4 is all about adding organic accents and fresh produce displays. On the front-right section of the platform, place a wooden crate overflowing with bananas, oranges, and plump grapes, angled slightly toward the viewer. Directly in front of the central counter wing, position a round metal basket brimming with glossy green apples. To balance the left side, situate two potted succulents and leafy plants just outside the counter perimeter, their foliage brushing the curved dome interior. Scatter a small wooden fruit crate with watermelon wedges near the dispensers to reinforce the tropical aesthetic. Each plant and fruit crate must hug the platform edge without tipping over, creating a lush, lived-in environment in Dreamy Room Level 246 that feels both abundant and harmonious.
Step 5. Set up seating and umbrella table on the right floor in Dreamy Room Level 246
In Dreamy Room Level 246, Step 5 invites guests to relax with strategically placed seating. Start by positioning the watermelon-pattern umbrella at a slight angle on the right side of the checkered floor, near the dome’s curve. Underneath its vibrant canopy, place the teal round table, ensuring its legs align with the floor grid. Add two matching bar stools: one directly facing the table, and the other tucked slightly behind to suggest dynamic occupancy. On the left side of the counter, opposite the umbrella station, add a single wooden bar stool with a round seat and honey-toned legs. These seating elements should hover just above the platform edge so they look anchored but still part of the main space. This layout makes the juicery feel welcoming and balanced in Dreamy Room Level 246.
Step 6. Place characters strategically to bring the scene to life in Dreamy Room Level 246
In Dreamy Room Level 246, Step 6 completes your dreamy juicery by adding charming characters. Begin by seating the puppy character with a pink bow on the left bar stool; rotate it slightly so it faces the counter as it nibbles on a bright berry. Next, place the cat barista wearing a red visor and apron behind the central counter section; angle its paws toward the straw-filled glass for a lifelike serving gesture. Finally, situate the striped feline guest on the stool under the watermelon umbrella, holding a tiny juice bottle. Ensure each character’s footprints align with the floor grid to prevent floating or clipping into furniture. These nuanced placements transform your setup into an active, story-driven tableau that captures the joyful spirit of Dreamy Room Level 246.
Notes and Precautions
- Always verify that your placements align precisely with the underlying checkered grid and curved dome seam in Dreamy Room Level 246 to avoid misaligned visuals.
- Small rotations can help each item appear more natural, but excessive rotation may clip objects into the dome wall or platform edge.
- When positioning heavy items like the jug dispenser or fruit crates in Dreamy Room Level 246, confirm they rest fully on the platform to prevent unintended floating.
- If you accidentally overlap items, use the undo feature to maintain the intended layout sequence.
- Take regular snapshots of your progress in Dreamy Room Level 246 before moving to the next step; this makes recovery simpler if you make a placement error.
Tips and Tricks from top player
- Batch placement method: In Dreamy Room Level 246, select multiple décor elements (fruit crates, beverage dispensers, and greenery) and place them in a single action by dragging over the counter to speed up setup.
- Grid snapping: Enable the visual grid in settings for Dreamy Room Level 246 to ensure each object snaps perfectly, reducing the need for fine adjustments.
- Use rotation presets: For angled elements like the watermelon umbrella or character stools, preset rotations of 15° increments can save time and maintain consistency.
- Layer awareness: Place larger backdrop items, such as the jug rack and blender, before background foliage to avoid layering issues.
- Progress checks: Pause occasionally and switch to free camera view to spot any misaligned items from multiple angles in Dreamy Room Level 246.
Final Scene Description
The final room of Dreamy Room Level 246 reveals a vibrant, pineapple-inspired oasis set on a teal platform beneath a pineapple dome backdrop. At its heart, an L-shaped counter with a mint-green top and wood-paneled base curves along the back wall, filled with juicery equipment: three glass dispensers with citrus blends, a pink blender, a dual-spout juicer, and a pastel mini-fridge beside a radio. Fresh fruits appear in wooden crates and bowls: bananas, oranges, grapes, watermelon slices, and green apples. A watermelon-pattern umbrella shades a teal round table, complemented by stools for visitors. Three adorable characters animate the scene: a bow-adorned puppy sipping berries on a left stool, a visor-wearing cat barista at the counter serving a straw-filled glass, and a striped feline guest perched at the right table. Floral accents and oversized succulent leaves crown the composition, merging cozy nostalgia with the charm for Dreamy Room Level 246 experience.


