Dreamy Room Level 230
Dreamy Room Level 230 guide - Dreamy Room 230 Walkthrough & Solution.

Important Notice Regarding Level Numbering
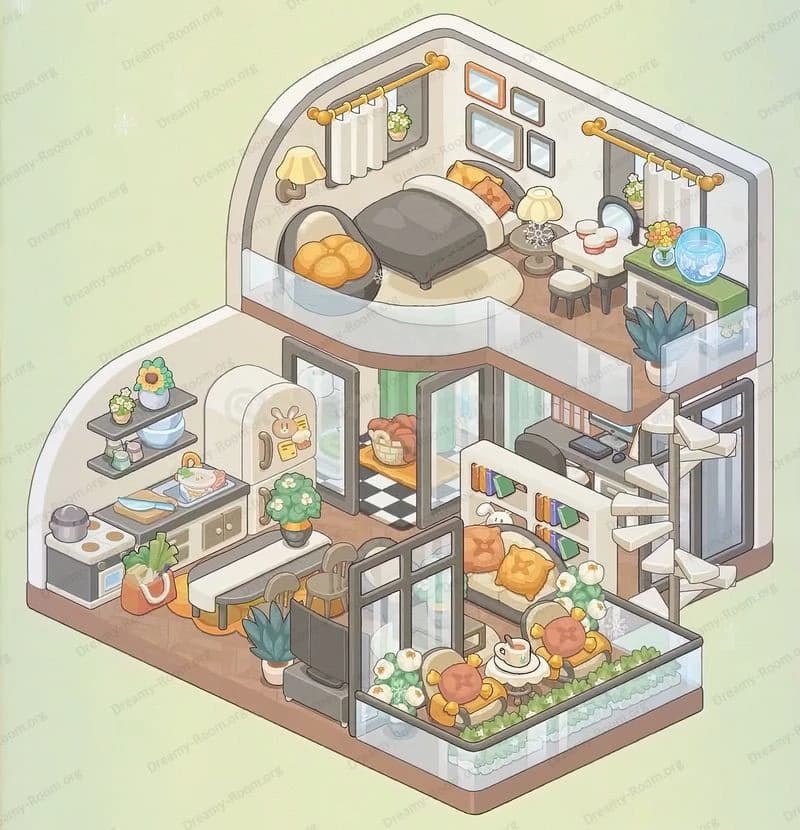
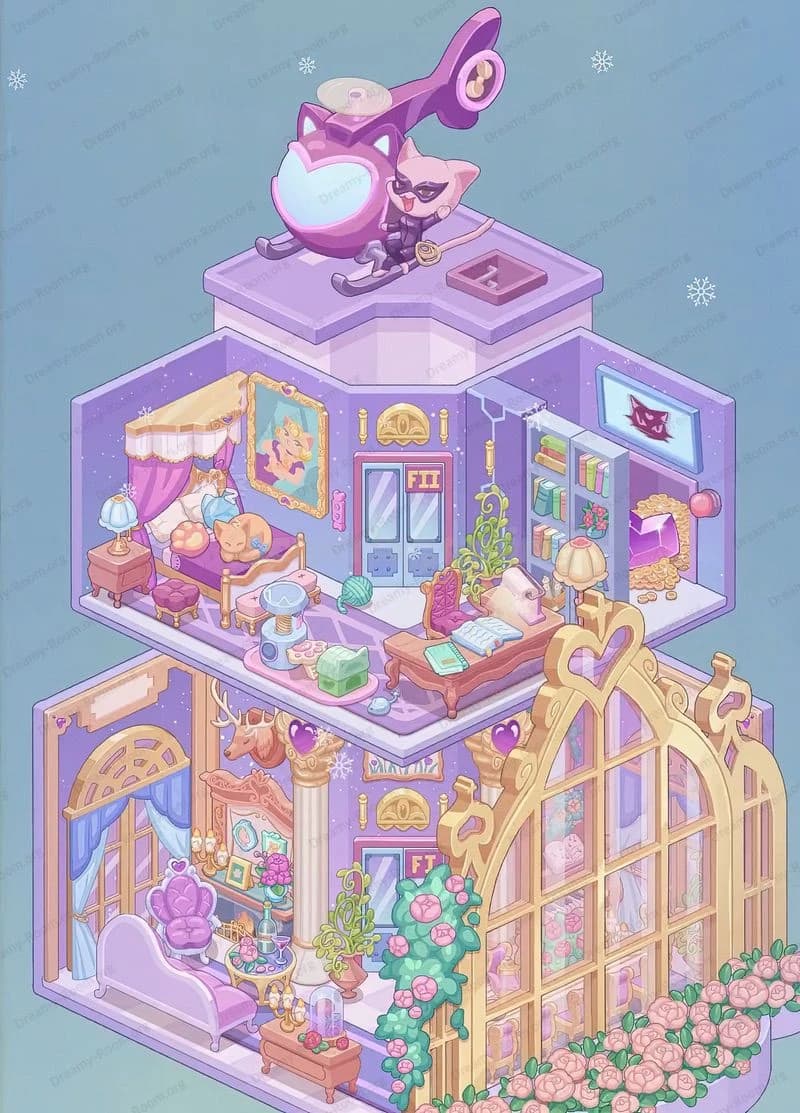
Due to frequent changes in Dreamy Room's level numbering and differences between platforms (Android/iOS) – for example, level 230 on Android might not be the same as level 230 on iOS – the text guide below may not always match the images and video above. Please prioritize the image and video guides. If you find that the guide content doesn't match your current level, please visit the All Level Walkthroughs page to find the correct guide based on level images. Thank you for your understanding.
Dreamy Room Level 230 Walkthroughs & Guide
Step 1. Place the blue metal shelving rack on the left wall.
First, in Dreamy Room Level 230, the empty room will show a blank left wall. The primary furniture piece is a blue metal shelving rack that anchors the grocery corner. Carefully drag the shelving rack from the item selection menu and align its back face flush against the left interior wall of Dreamy Room Level 230. Ensure the bottom of the shelving unit sits directly on the floor, leaving just enough room for the baseboard detail between the floor and the rack. Once placed, the shelving rack should be oriented so that its three horizontal tiers face into the room, making it easy to stock products. This initial placement is critical in Dreamy Room Level 230, because it establishes the grocery section’s anchor point, around which you’ll arrange all other items. Completing this step correctly ensures stability for Dreamy Room Level 230’s entire layout.
Step 2. Place the ice cream cones and blue cylinder containers on the top shelf.
In Dreamy Room Level 230, after the shelving rack is anchored, the top shelf is ready for its first set of products. From the object menu, select the ice cream cone bundle and gently place four cone stacks evenly along the left half of the top tier. Next, choose the pair of blue cylindrical snack containers and position them to the right of the cones, spaced evenly for visual balance in Dreamy Room Level 230. Pay attention to the slight lip on each shelf—ensure that the cones and cylinders sit fully behind the lip so they won’t slide forward when interacting with the scene in Dreamy Room Level 230. Proper alignment of these items in Dreamy Room Level 230’s kitchen section will prevent placement glitches later.
Step 3. Stock the second shelf with snack packages and green bags.
In Dreamy Room Level 230, the second shelf of your blue metal rack becomes a showcase for snack packages and green bagged goods. First, select the stack of golden snack bar boxes and place them to the left side of the middle tier, lining each box flush against the back panel of the rack. To the right of the snack bars, position the pastel pink rectangular boxes, ensuring their labels face outward towards the room for optimal display in Dreamy Room Level 230. Finally, add the trio of green reusable shopping sacks at the far right end, slightly overlapping but not obscuring one another. For precise adjustments, use the nudge feature built into Dreamy Room Level 230 to make micro-moves until everything sits perfectly in place. The careful spacing required in Dreamy Room Level 230 will give this shelf a neat, inviting appearance that encourages interaction.
Step 4. Populate the bottom shelf with cans and packaged snack boxes.
In Dreamy Room Level 230, the third and final tier of your shelving rack is reserved for heavier canned goods and snack boxes. Begin by dragging the group of red soda cans to the left corner of the bottom shelf, aligning them side by side and pressing them gently into the shelf’s back groove. Next, select the green and orange block packages and stack them adjacent to the soda cans, paying attention to their colored labels for maximum contrast. Finally, place the set of yellow snack cartons at the rightmost end of the bottom shelf, spacing them out evenly for balance in Dreamy Room Level 230. Because Dreamy Room Level 230 tests placement precision, make sure no item touches the shelf’s front railing, which might trigger a misalignment alert in Dreamy Room Level 230.
Step 5. Place the wooden produce stand at the front left corner.
In Dreamy Room Level 230, the next focal point is the wooden produce stand that brings life and color to the grocery layout. Locate the four-drawer wooden stand object in your inventory and drag it to the front left corner of the room, positioning it so that its angled legs sit flush with the floor. The stand’s twin drawers should face the room directly, providing an inviting display for fresh items in Dreamy Room Level 230. Make sure the stand is parallel to the shelving rack behind it, leaving a narrow aisle for customer characters to move between displays. Fine-tune the position by nudging the stand slightly toward the center until you achieve the subtle diagonal alignment seen in Dreamy Room Level 230. Proper placement here enhances flow and visual balance in Dreamy Room Level 230’s grocery area.
Step 6. Fill the produce stand with tomatoes, lettuce, peppers, and beverage bottles.
In Dreamy Room Level 230, once the wooden stand is in place, it’s time to stock fresh produce and beverage crates. First, select the cluster of ripe red tomatoes and position them in the left drawer compartment, sliding them until they rest against the drawer’s back panel. Next, choose the bundle of green lettuce heads and place them in the right drawer, spacing each head evenly for a symmetrical layout in Dreamy Room Level 230. Then, grab the small wooden box of green peppers and set it atop the stand’s left side surface, careful not to overhang the edge in Dreamy Room Level 230. Finally, arrange three beverage bottles—water, juice, and soda—in a neat row in front of the peppers, ensuring they all face forward in Dreamy Room Level 230.
Step 7. Position the small wooden fire extinguisher box and the blue rolling shopping cart.
In Dreamy Room Level 230, the area beside the produce stand requires both safety equipment and a shopper cart for added realism. Select the petite wooden box containing a fire extinguisher and place it on the floor adjacent to the stand’s right side, ensuring it’s visible but does not block the aisle. Next, grab the blue rolling shopping cart object and position it slightly behind the fire extinguisher box, oriented so that its wheels face toward the room center in Dreamy Room Level 230. The cart’s open top should tilt at a 45-degree angle to the room’s axis, adding dynamic flow in Dreamy Room Level 230. Check that neither item collides with nearby objects by previewing the area in Dreamy Room Level 230.
Step 8. Add the bear vendor and their orange basket at the room center.
In Dreamy Room Level 230, central characters breathe life into the grocery scene. From the character menu, select the bear vendor wearing a green apron, then place them at the exact center of the room, slightly offset toward the produce stand for optimal traffic flow in Dreamy Room Level 230. After the model snaps into position, choose the small orange shopping basket and attach it to the bear’s right hand, aligning the handle naturally with the paw. Be sure to test the basket’s orientation in Dreamy Room Level 230 preview mode. Finally, use the rotation tool to angle both bear and basket ten degrees toward the camera for the best perspective in Dreamy Room Level 230.
Step 9. Install the glass freezer display and counter stool behind the service counter area.
In Dreamy Room Level 230, the back corner behind the main counter features a refrigerated display and seating. Open the objects menu to find the half-round glass freezer display and drag it behind the service counter, ensuring the curved glass side faces the room. Adjust its left edge so it aligns flush with the corner where the shelving rack meets the back wall in Dreamy Room Level 230. Next, select the white counter stool and place it just to the right of the freezer, angling it slightly toward the counter for a realistic look in Dreamy Room Level 230. Confirm this arrangement in Dreamy Room Level 230’s preview to verify proper shadows and depth.
Step 10. Place the sales counter, food and drink items, pink bunny character, recycling bin, sign, and rooftop details.
In Dreamy Room Level 230, the final touches include the sales counter, food and drink items, a bunny customer, a recycling bin, and decorative signage. Start by placing the long blue sales counter along the right interior wall, ensuring its base sits flush against the floor molding in Dreamy Room Level 230. Next, drag the ramen bowl onto the left side of the countertop, followed by the purple smoothie cup and copper coffee pot, spacing each item evenly across the surface for balance in Dreamy Room Level 230. Then, add the white ceramic mug adjacent to the coffee pot and seat the pink bunny character on the counter stool, holding a rice ball. Finish by positioning the green recycling bin to the far right and mounting the "Grocery" sign above the counter, before adding the rooftop handle and trailing vines to complete the look in Dreamy Room Level 230.
Notes and Precautions
- In Dreamy Room Level 230, the placement grid is highly sensitive; ensure edges of items do not overlap with walls or floors to avoid misplacement.
- Use the game's fine-tune controls in Dreamy Room Level 230 to nudge objects in small increments for precise alignment.
- Preview each major placement in Dreamy Room Level 230’s preview mode to check lighting, shadows, and collision before moving on.
- Dreamy Room Level 230 limits the number of undo actions; plan your placements carefully to avoid exhausting undo steps.
Tips and Tricks from top player
When tackling Dreamy Room Level 230, speed and precision go hand in hand. First, memorize the layout by studying the empty room’s contour before adding any objects; this preview saves time when placing bulk items in Dreamy Room Level 230. Second, group similar items—like all shelf pieces—into favorites or quick-access slots, so you can switch between them seamlessly while decorating in Dreamy Room Level 230. Third, utilize the rotation and fine-tune arrow keys rather than dragging manually; these keys allow for single-degree adjustments that feel more natural under pressure in Dreamy Room Level 230. Finally, if an object snaps to an unwanted location, use the undo buffer strategically and reload the level frequently to clear any lingering placement bugs.
Final Scene Description
At the conclusion of Dreamy Room Level 230, the empty room transforms into a grocery scene. A blue metal shelving rack on the left wall holds ice cream cones, cylindrical snack containers, snack bars, pastel boxes, and canned goods. In the front left corner, a wooden produce stand displays red tomatoes, green lettuce, and a crate of peppers alongside drinks. Beside it, a small fire extinguisher box and a blue rolling cart. Centered in the room, a bear vendor wearing green holds an orange basket, greeting visitors. Behind the counter, a glass freezer and a white stool create depth, while a long blue counter displays a ramen bowl, smoothie cup, coffee pot, and mug. Seated atop the counter stool, a bunny enjoys a ball. A green recycling bin sits to the right, and above the entrance, a “Grocery” sign and trailing vines complete the look in Dreamy Room Level 230.


