Dreamy Room Level 208
Dreamy Room Level 208 guide - Dreamy Room 208 Walkthrough & Solution.

Important Notice Regarding Level Numbering
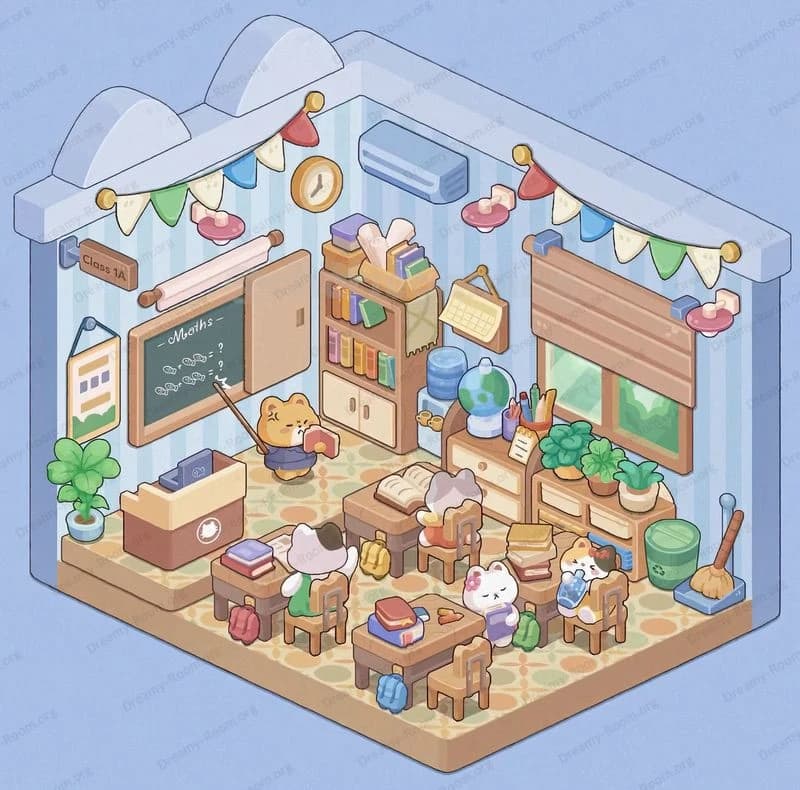
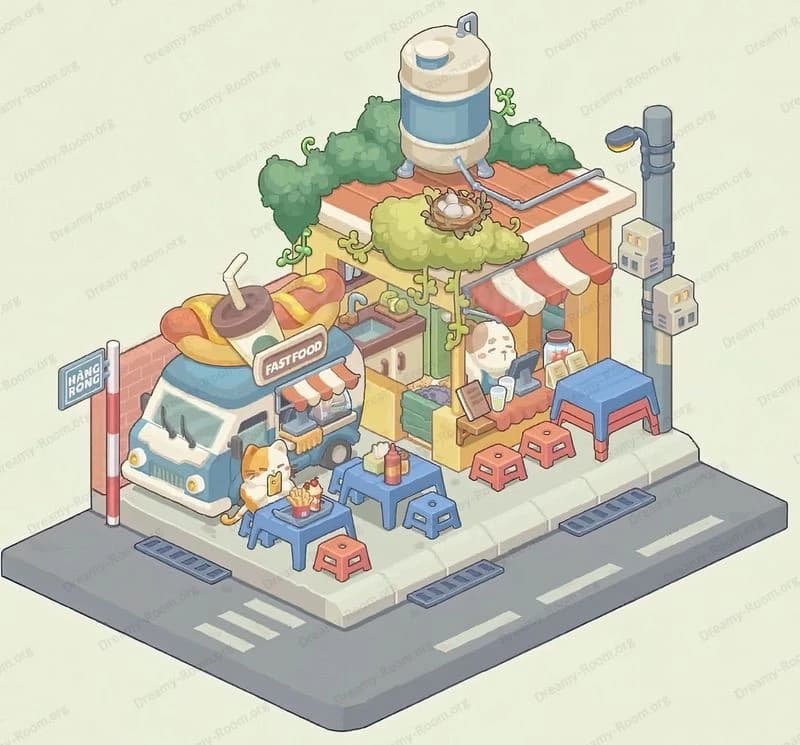
Due to frequent changes in Dreamy Room's level numbering and differences between platforms (Android/iOS) – for example, level 208 on Android might not be the same as level 208 on iOS – the text guide below may not always match the images and video above. Please prioritize the image and video guides. If you find that the guide content doesn't match your current level, please visit the All Level Walkthroughs page to find the correct guide based on level images. Thank you for your understanding.
Dreamy Room Level 208 Walkthroughs & Guide
Step 1. Place the string lights along the roof beams.
In Dreamy Room Level 208, the first thing you need to do is focus on overhead lighting. The puzzle in Dreamy Room Level 208 begins by hanging small yellow bulbs along the main wooden beams. Drag the string lights so they rest flush against the edges of both left and right beams, creating a gentle arc overhead. Mastering this placement challenge sets the warm, inviting mood that defines Dreamy Room Level 208, illuminating the entire space. Adjust each segment to avoid sagging gaps and ensure symmetry. This initial step in Dreamy Room Level 208 is critical because the correct alignment of the string lights establishes the ambiance and provides a guiding line for adding vines and other décor later in the process.
Step 2. Place the hanging plant and window blind on the left wall.
In Dreamy Room Level 208, attention to wall décor next guides the visual flow. Dreamy Room Level 208 tasks you with attaching a lush hanging planter filled with trailing greenery to the upper-left wall beam. Then, roll down the bamboo blind directly beneath the planter, ensuring it covers the top third of the wall backdrop. The game mechanics in Dreamy Room Level 208 require precise alignment: the blind should overlap the beam junction by just a few pixels to lock in place. Successfully completing this step in Dreamy Room Level 208 adds organic texture and a cozy shade, balancing the overhead lights and framing the left corner. Take care not to block too much wall space, as remaining area will be reserved for art and furniture later in the level.
Step 3. Place the green side table, potted plant, gramophone, and books in the left corner.
In Dreamy Room Level 208, the left corner serves as a storytelling station. Begin by positioning a mint-green side table snugly against the back corner of the left wall and floor intersection. Next, place the pink-flowering potted plant on its surface, slightly off-center to the right so that its blooms lean toward the room. Then, set the vintage gramophone horn atop the table next to a neat stack of books. The challenge in Dreamy Room Level 208 demands that each item edge the tabletop correctly: the gramophone should touch the left edge while the books nestle on the right. This cozy corner is signature to Dreamy Room Level 208 and its gentle narrative style. Mastery of this placement puzzle reveals a cozy reading nook that balances botanical and retro elements. Players often find that this final adjustment marks the completion of the signature vignette in Dreamy Room Level 208. Adjust spacing until the table catches subtle light from the string lights above without overlapping the wall décor.
Step 4. Place the easel, canvas, stool, and paint supplies in the back center.
In Dreamy Room Level 208, the art center anchors the narrative in the rear of the space. Start by dragging the wooden easel to the precise center of the back wall, its legs aligned with the floor grid. Place the canvas on the easel and adjust so the splotched paint marks are easily visible. Next, situate the small round wooden stool directly in front of the canvas, leaving enough room for a seated artist. Finally, arrange the paint jars—red, blue, and brown—alongside a small bucket of brushes and a blue vase holding additional tools. Completing this setup unlocks further decoration options in Dreamy Room Level 208. Attention to alignment is key in Dreamy Room Level 208; each jar must touch the base of the easel without overlapping. Mastery of this configuration ensures the painting station in Dreamy Room Level 208 feels balanced and functional.
Step 5. Place the piano, stool, sheet music, and lamp on the right side.
In Dreamy Room Level 208, the right side is reserved for musical ambience. Drag the upright wooden piano so its base aligns with the back right corner, ensuring the keyboard faces into the room. Position the red round stool directly in front of the piano keys, leaving enough space for comfortable seating. Open the sheet music book and set it on the piano stand, tilting it at a slight angle. Mount the wall lamp above the piano, centering it over the keyboard to cast a gentle glow. Finally, add a small potted plant on the top right corner of the piano, balancing greenery with melody. Attention to spacing here is vital in Dreamy Room Level 208, as overlapping items will not lock into place. This careful layering in Dreamy Room Level 208 provides a harmonious contrast to the art station. Successful placement of these items completes the music area in Dreamy Room Level 208.
Step 6. Place the animal characters and their accessories on the floor center.
In Dreamy Room Level 208, floor décor brings life to the scene. Select the grey striped cat figure and place it slightly right of center, facing the painting station. Position the cat’s orange pencil in its paw so it appears to be drawing on a crumpled sheet of paper. Then place the drawing—complete with a cute sketch—and the colorful marker tin and crumpled paper bits around the cat to create an active workspace. Next, drag the cheerful girl character wearing a blue dress and flowered hat onto the left of the cat, holding her tiny trowel or spoon. Attention to detail in Dreamy Room Level 208 means each character must align with the floor grid and avoid overlapping lines. This character staging is a signature puzzle in Dreamy Room Level 208 and often challenges newcomers. Correct arrangement here marks a playful moment in Dreamy Room Level 208 that unlocks further decorative badges.
Step 7. Place the small coffee table, teacup, ukulele, and fruit slice near the entrance.
In Dreamy Room Level 208, the entrance area sets the tone for exploration. Move the wooden coffee table—the crate-like piece with teal stripes—so it sits just inside the bottom edge of the room near the stairs. Place the delicate blue teacup and saucer on the left side of the tabletop, ensuring the handle faces the room center. Lean the brown ukulele upright against the front of the table, positioning its neck toward the stairs for an inviting touch. Finally, add the half watermelon slice on the floor next to the stairs as a playful snack detail. These items create an interactive vignette core to Dreamy Room Level 208. Precision in Dreamy Room Level 208 requires the teacup to overlap the table edge by a few pixels; too far and it will not register. Completing this scene in Dreamy Room Level 208 unlocks a cozy, welcoming vibe that complements the grassy exterior.
Step 8. Scatter the art supplies, palette, spilled paint, and rolled papers on the floor.
In Dreamy Room Level 208, the floor must look like an artist’s creative playground. Begin by placing the red and blue paint cans near the center, spilling a small drip toward the tree root. Next, drag the wooden paint palette so its well is in contact with the red can, ensuring paint patches align. Position a handful of rolled white papers in a small bucket on the right side and scatter one or two crumpled sheets nearby. Then add a box of colorful markers next to the cat’s workspace to suggest in-progress drawing. This clutter trend is part of the heartwarming narrative puzzle in Dreamy Room Level 208. Careful placement in Dreamy Room Level 208 means each supply must sit within a defined grid square and not overlap adjacent objects. Completing this scatter arrangement in Dreamy Room Level 208 brings dynamic realism and unlocks a special artist bonus icon.
Step 9. Place the stairs, grass border, pond, flowers, and cello outside.
In Dreamy Room Level 208, the final transformation ties the interior to the outside environment. Drag the two-step stone stairs so they align perfectly with the bottom center edge of the platform. Next, apply the scalloped grass border around the entire base, ensuring each decorative flower tile faces outward. Then position the clear water pond on the right outside edge, adding lily pads and pink lotus blossoms floating near the front. Outdoor elements like the pond and cello add musical and natural contrast, a hallmark of Dreamy Room Level 208. Finally, rest the brown cello on the grass at the platform’s front-left, with its scroll near the stair railing. Precision here is vital in Dreamy Room Level 208: the grass border must connect seamlessly with the platform edge or the layout will break. Completing these outdoor placements in Dreamy Room Level 208 reveals the full diorama and concludes the level’s main puzzle.
Notes and Precautions
In Dreamy Room Level 208, players must carefully monitor object alignment to avoid placement errors. Always check that items snap into the grid; if an object refuses to lock, nudge it by a pixel or two. In Dreamy Room Level 208, overlapping accidental touches will cause the placement tool to deactivate, so work slowly when arranging adjacent décor. Remember to use the level’s zoom controls sparingly to keep track of small details without losing the bigger scene context. Also, Dreamy Room Level 208 can glitch if you place large items like the piano or tree trunk before smaller accents; always start with bulky structures and then layer finer decorations. Lastly, save your progress often in Dreamy Room Level 208 to avoid restart after unexpected crashes, ensuring a smooth, stress-free decorating experience.
Tips and Tricks from top player
Top players in Dreamy Room Level 208 often begin by mentally mapping the room quadrants before dragging any items. A useful trick is to place large stationary elements like the tree trunk and piano first, which saves time in reorganizing smaller pieces. By prioritizing bulk structures in Dreamy Room Level 208, you reduce the chance of accidentally shifting already-placed accents when tweaking spacing later. Another shortcut is to adjust the transparency slider when hovering over overlapping objects; mastering this view helps you slot items precisely in Dreamy Room Level 208. Keep an eye on the color contrast guides provided within the game—they will highlight optimal zones for light versus dark furnishings in Dreamy Room Level 208. Finally, use the quick-save feature between major steps, so you can experiment fearlessly and revert if you misplace key items.
Final Scene Description
Dreamy Room Level 208 presents a greenhouse studio above a lily pond and grass border. A tree trunk pierces the glass roof, its canopy trimmed with glowing string lights and flowering vines along beams. Against the wall, an upright piano and round stool sit beneath a wall lamp beside a framed cat portrait, with a bucket of rolled papers nearby. The art corner holds an easel with a painted canvas, a wooden stool, and jars of paint and brushes beside a vase. On the left, a side table displays a vintage gramophone and stacked books under a bamboo blind and hanging planter. Centered on the checkered floor, a grey cat sketches on crumpled paper amid scattered cans, a palette, and a tin, while a girl in a flowered hat stands by a green coffee table with a blue teacup. Outside, mossy steps lead to a cello resting on the grass.


