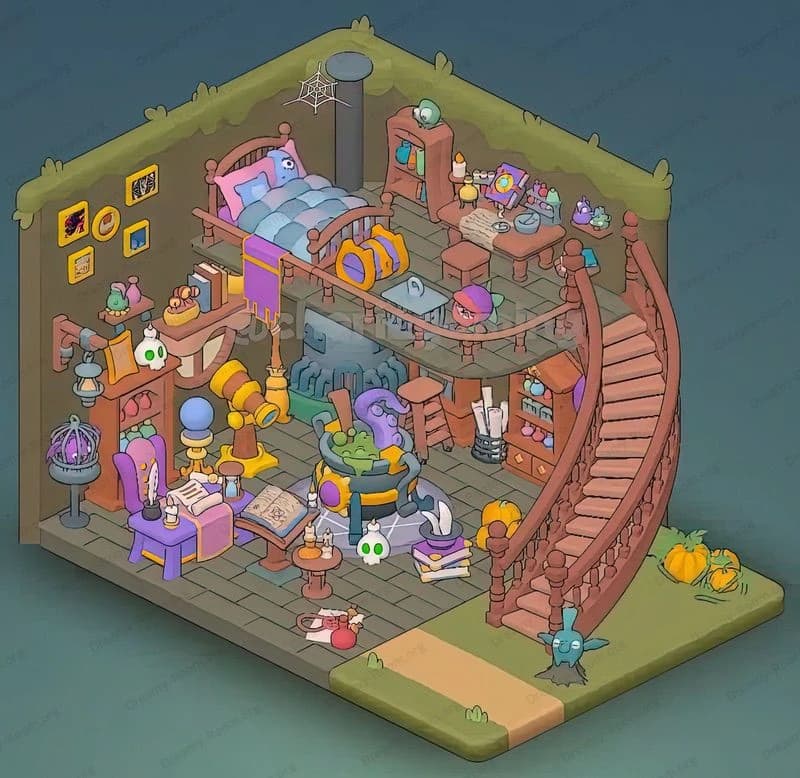
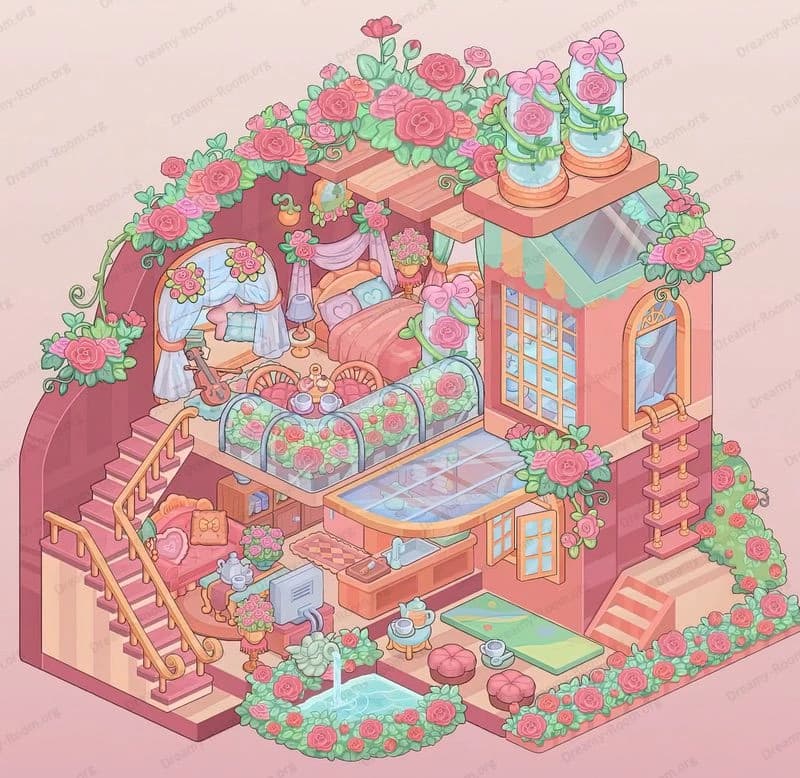
Dreamy Room Level 275
Dreamy Room Level 275 guide - Dreamy Room 275 Walkthrough & Solution.
Important Notice Regarding Level Numbering
Due to frequent changes in Dreamy Room's level numbering and differences between platforms (Android/iOS) – for example, level 275 on Android might not be the same as level 275 on iOS – the text guide below may not always match the images and video above. Please prioritize the image and video guides. If you find that the guide content doesn't match your current level, please visit the All Level Walkthroughs page to find the correct guide based on level images. Thank you for your understanding.
Dreamy Room Level 275 Walkthroughs & Guide
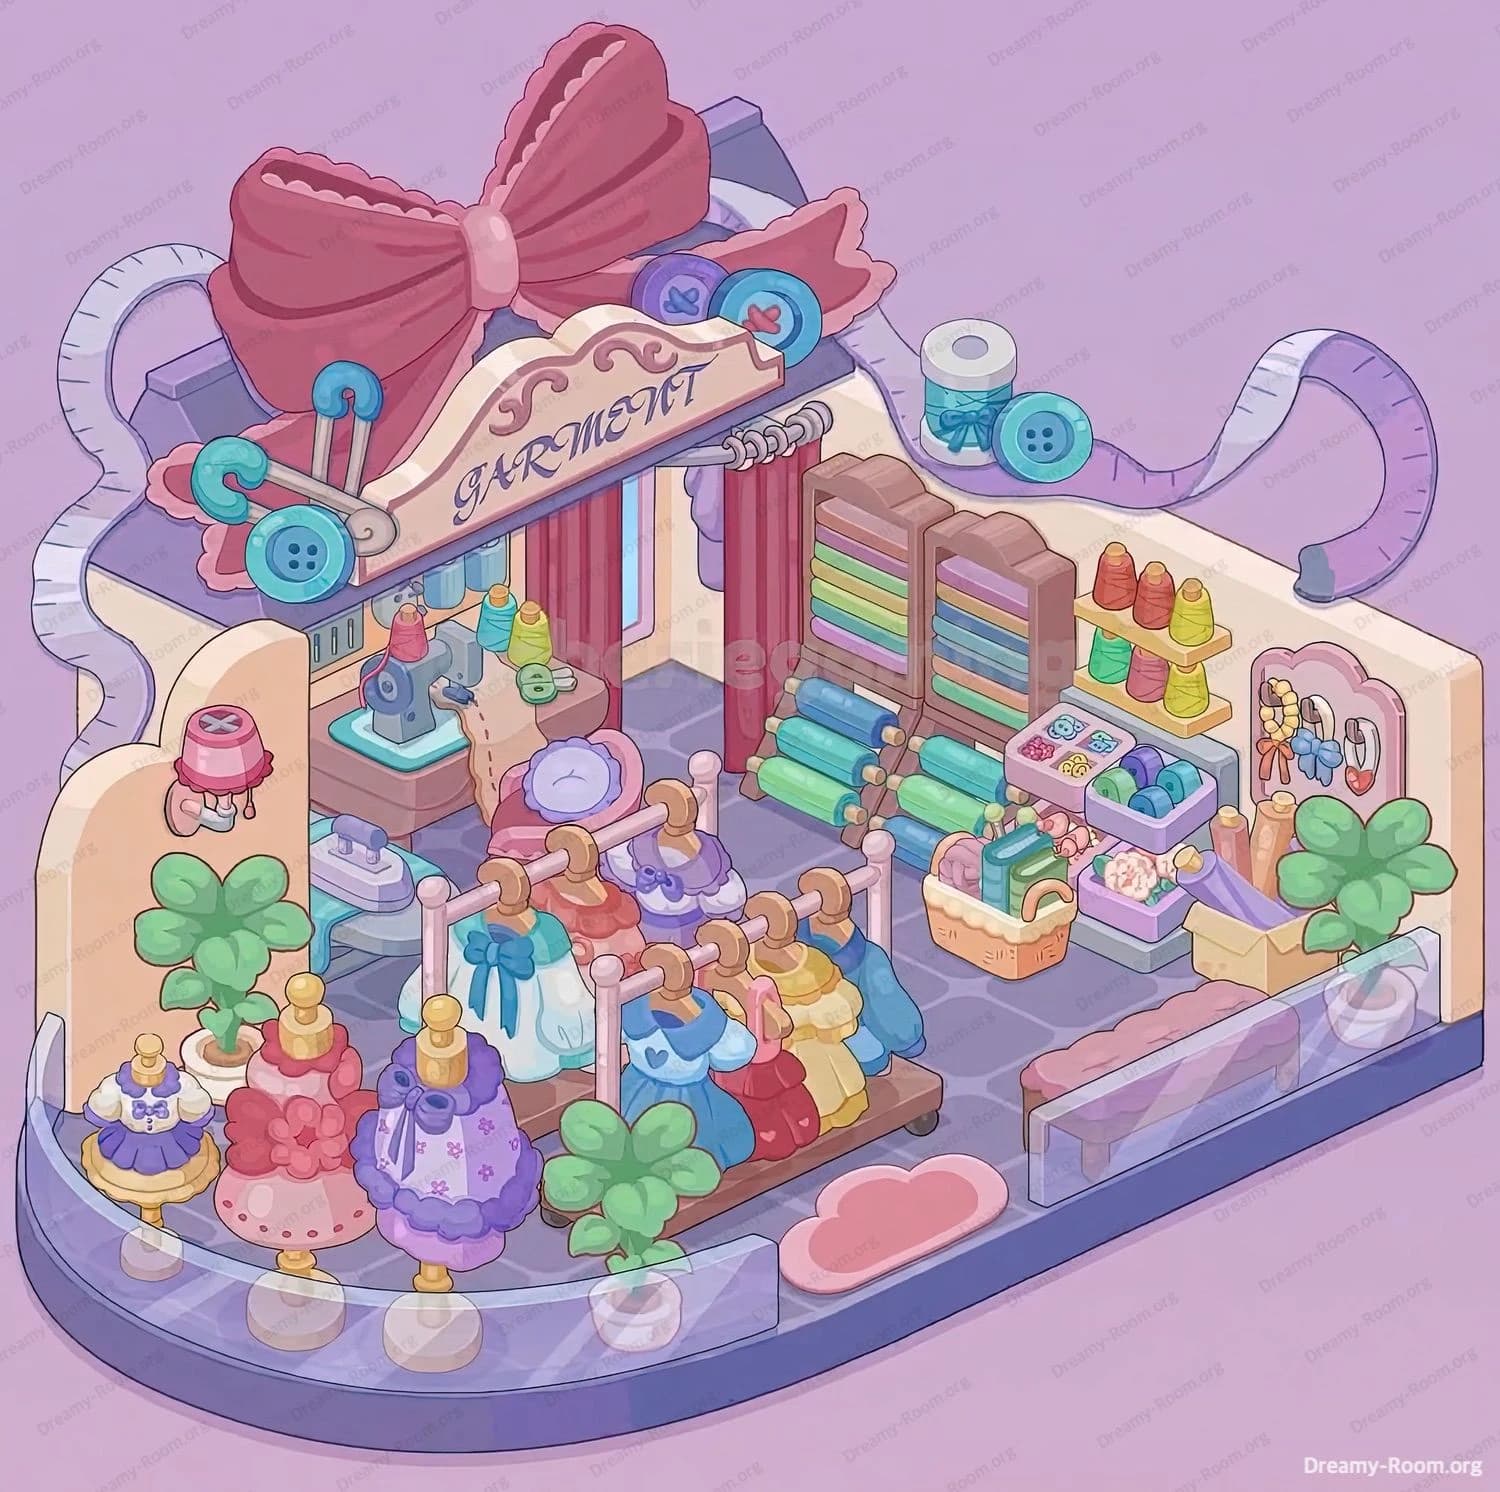
Step 1. Place the Shop Structure and Flooring
Begin by laying down the signature curved purple-tiled flooring of Dreamy Room Level 276. The flooring is crucial since it sets the foundation for every object that follows. Next, align the two cream-colored walls on the back and left side. Notice that the left wall has a charming curved cut-out shape, which later frames decorative items. At this stage, resist placing smaller objects since you need an open floor to avoid misplacements. The correct positioning of the walls determines where racks, fabric shelves, and mannequins will later align. Think of this as the blueprint step—without it, the rest of the decorations won’t fit seamlessly. Carefully rotate the structure so the longer wall sits at the back, ensuring ample room for vertical displays like bolts of fabric, while the shorter wall defines the sewing station corner.
Step 2. Install the Garment Shop Sign and Ribbon Decorations
Now that the structure is secure, attach the ornate “GARMENT” sign to the back wall of Dreamy Room Level 276. Above it, place the oversized decorative bow, which becomes the shop’s iconic feature. The bow is anchored with two crossed knitting needles and surrounded by oversized buttons and a ribbon that gracefully drapes across the top. The challenge here is ensuring all parts interlock neatly—if misaligned, the ribbon will look disconnected. This step is vital because it visually brands the space as a garment store. When correctly placed, the bow balances the top-heavy design and gives a whimsical, toy-shop quality. The ribbon not only adds aesthetics but also guides the eye downward toward the actual shop items. Make sure to secure the sign before adding any racks or sewing equipment, otherwise you’ll have to reposition objects later, which wastes time.
Step 3. Position the Sewing Station in the Back Left Corner
In Dreamy Room Level 276, the sewing station is the heart of the shop. Place the wooden table along the left wall, just below the garment sign. On this table, position the sewing machines topped with multicolored spools of thread. Next to them, add the cutting tools and folded patterns. This corner functions as the workshop zone, so every detail must line up perfectly. For balance, place a potted clover plant near the sewing desk to soften the technical look of the equipment. Players often misplace the sewing machine too far forward, which blocks mannequin placement later, so align it snug against the wall. Once complete, this section gives authenticity to the shop by reminding players that garments are not only displayed but crafted here.
Step 4. Arrange the Fabric Shelves and Storage on the Right Wall
Turn your attention to the right wall of Dreamy Room Level 276. Here, place the tall wooden racks filled with neatly stacked bolts of fabric in various pastel colors—greens, purples, and blues. Right beside them, add a small shelf displaying cones of thread and accessories like ribbons and bows. Beneath this, a basket full of fabrics should rest on the ground. This step requires patience since alignment is tricky—if the fabrics stick out unevenly, the design looks cluttered. Ensure the bolts slope slightly forward to create a layered effect. The goal is to make this wall the “supply” section of the shop. When executed correctly, it contrasts beautifully with the left side’s sewing station, balancing function (workshop) with inspiration (materials).
Step 5. Set Up the Dress Racks in the Center
The centerpiece of Dreamy Room Level 276 is the display of colorful dresses on mannequins and hangers. Start with the front row, where mannequins in pastel dresses—pink, purple, and yellow—stand proudly. Behind them, install the double rack running horizontally across the room. Hang the miniature garments in rows, alternating colors for visual appeal. Pay special attention to spacing: overcrowding the rack makes it unrealistic, while leaving gaps looks incomplete. At the far left of the rack, place another decorative clover plant to frame the display. The central rack represents the retail section of the shop, and aligning it perfectly is the biggest challenge of this level. Once arranged, the room begins to feel alive and bustling.
Step 6. Add Final Decorative Touches
For the last step of Dreamy Room Level 276, fill in the smaller accents that bring warmth. On the right side, tuck a pink cushion bench beneath the accessory shelf, perfect for customers to sit and try items. Near the sewing area, hang the wall-mounted accessories board with colorful ribbons and bows. Finally, scatter decorative clover plants near the edges for charm and symmetry. This step is where many players forget tiny objects, such as the single spool on the sewing desk or the basket tucked below the counter. Each minor detail elevates the overall design, turning an empty frame into a vibrant boutique. Always zoom out to confirm balance before finalizing.
Notes and Precautions
- Ensure walls and flooring are placed before adding any decorative objects, or you risk misalignments.
- Avoid placing mannequins too close to the sewing station; it blocks movement flow.
- The ribbon decoration must sit evenly across the top—misplacement here disrupts the entire aesthetic.
- Always double-check spacing in the central rack; this is the most common source of mistakes in Dreamy Room Level 276.
Tips and Tricks from Top Player
- Start from back to front: placing walls, signs, and shelves first prevents rework.
- Rotate the camera slightly to confirm fabric rolls are stacked evenly.
- Use clover plants strategically to hide any awkward empty spaces.
- When aligning the bow decoration, use the ribbon as a guide—it should curve smoothly across the room’s top.
- Save progress midway; Dreamy Room Level 276 involves many items, and losing placement progress can be frustrating.
Final Scene Description
When fully completed, Dreamy Room Level 276 transforms from a bare frame into a whimsical boutique filled with charm. The back wall is crowned with the bold “GARMENT” sign and a giant decorative bow, instantly establishing the room’s identity. To the left, the sewing corner buzzes with creativity—machines, threads, and patterns rest neatly on a wooden desk, framed by a leafy clover plant. The right wall balances this energy with vibrant bolts of fabric stacked on shelves, rolls of thread displayed above, and a cozy pink bench below. At the center, rows of mannequins and racks showcase a rainbow of dresses, from frilly pastels to bold jewel tones. Small details—like baskets of fabric, wall ribbons, and potted plants—pull the scene together. The final atmosphere is that of a cheerful, magical garment shop where creativity, fashion, and playfulness harmonize beautifully, embodying the joy of Dreamy Room Level 276.