Dreamy Room Level 241
Dreamy Room Level 241 guide - Dreamy Room 241 Walkthrough & Solution.

Important Notice Regarding Level Numbering
Due to frequent changes in Dreamy Room's level numbering and differences between platforms (Android/iOS) – for example, level 241 on Android might not be the same as level 241 on iOS – the text guide below may not always match the images and video above. Please prioritize the image and video guides. If you find that the guide content doesn't match your current level, please visit the All Level Walkthroughs page to find the correct guide based on level images. Thank you for your understanding.
Dreamy Room Level 241 Walkthroughs & Guide
Step 1. Lay the floor panel in Dreamy Room Level 241
In Dreamy Room Level 241, players start with a completely empty hexagonal floor panel that looks like a pale yellow canvas waiting to be filled. The first action in Dreamy Room Level 241 is to rotate and position the main ground piece so that its beveled edges align with the two adjoining walls. Because Dreamy Room Level 241’s room base sets the stage for every subsequent object, take care that the floor panel’s bottom edge sits flush with the hypothetical camera angle. Without the correct foundation placement, Dreamy Room Level 241 can become misaligned later, forcing you to remove items. Ensure the polygonal vinyl flooring is snug against both wall edges before proceeding to decorative elements.
Step 2. Position walls and hang yellow drapes in Dreamy Room Level 241
In Dreamy Room Level 241, after laying the floor, rotate and snap the left and right panels into their respective slots, forming a three-sided study corner. The Dreamy Room Level 241 interface highlights the connection points on the back and side walls—make sure the top edges of each wall segment align flush with the floor panel. Once walls are secure, Dreamy Room Level 241 prompts you to attach the soft yellow drapery pieces above each window opening on the right and left walls. Carefully drape the fabric so its scalloped hem frames the upper shelf area. A creeping vine accent piece then attaches along the top seam—remember, in Dreamy Room Level 241, the vine must overlap the curtain’s pleats for an authentic layered effect.
Step 3. Assemble bookshelves and install wall sconces in Dreamy Room Level 241
In Dreamy Room Level 241, the next task is to place the tall arched-top bookshelf against the left wall, positioning its scalloped crown molding flush with the wall’s upper edge. The Dreamy Room Level 241 placement grid will highlight the exact spot to click, ensuring the shelf’s base rests snugly on the floor panel. Then drag the smaller rectangular vertical bookcase and stack it beside the arch piece, aligning the shelves to create a continuous library wall. Dreamy Room Level 241 requires that you attach two decorative mushroom-shaped wall sconces—one on each side of the central shelf—so their golden fixtures lightly brush the curtain folds. Finally, add the little framed art piece between the sconces; in Dreamy Room Level 241, precise centering ensures symmetrical charm.
Step 4. Install overhead storage and ladder in Dreamy Room Level 241
In Dreamy Room Level 241’s central back wall area, click to place the long overhead storage bench, tucking its wooden base just below the ceiling frame. The Dreamy Room Level 241 on-screen guide will show a subtle outline indicating the correct horizontal alignment across the back wall. After securing the top shelf, Dreamy Room Level 241 invites you to fill it with a mix of pastel-colored books and small storage boxes by dragging each item into the cubby spaces. Be sure that each book’s spine faces outward in Dreamy Room Level 241, as misplaced items will not register. Finally, lean the wooden rolling ladder against the left side of the back wall bookshelf; Dreamy Room Level 241 awards extra style points for a slight tilt.
Step 5. Create the cozy reading nook with furniture and accessories in Dreamy Room Level 241
In Dreamy Room Level 241, after organizing the shelving, turn attention to the center floor zone: click to place the circular reading platform with its subtle pastel border snugly over the rectangular blue rug. The Dreamy Room Level 241 mechanics require you to drag the cozy armchair onto this circular area, making sure its curved back faces the bookshelf. Then add the cat character figurine in oversized round glasses reading a book on the seat; Dreamy Room Level 241 will animate the figure nodding once correctly placed. Next, in Dreamy Room Level 241, drag the small side table next to the chair and place a slender vase of white blossoms atop it, ensuring the petals gently overhang the tabletop’s rim.
Step 6. Place floor accessories and construct the greenhouse extension in Dreamy Room Level 241
In Dreamy Room Level 241, once your furniture is in place, decorate the floor area by positioning the ornamental globe on its golden stand directly on the blue rug, centering it within the circular reading zone. The Dreamy Room Level 241 ecosystem then allows you to drag the antique rotary telephone and the brass gramophone onto the lower left and right shelves of the left bookcase—place each object so they slightly overlap the shelf edge in Dreamy Room Level 241 for an authentic display effect. Afterward, Dreamy Room Level 241’s final spatial challenge is the greenhouse module: click to attach the transparent arched glass panels to the room’s front opening, then add the low wooden bench outside. Tuck in green planter boxes on either side and position two potted ficus plants in front corners; in Dreamy Room Level 241, accurate alignment creates a seamless indoor-outdoor transition.
Notes and Precautions for Dreamy Room Level 241
When playing Dreamy Room Level 241, always remember that object alignment is critical to progression. Dreamy Room Level 241’s placement grid will glow red if an item is slightly misaligned, and forcing objects too close may cause them to overlap incorrectly. Dreamy Room Level 241 hint system unlocks after four successful placements, but relying on hints too early can incur a minor score penalty. In Dreamy Room Level 241, take care to rotate objects at 45-degree increments when possible; misclicks on corners often result in misplaced pieces. Additionally, the game uses a physics snap algorithm—if you drag an accessory too quickly, it may bounce off the shelf. Always drag slowly and release after seeing the green snap indicator.
Tips and Tricks from top player for Dreamy Room Level 241
Top players of Dreamy Room Level 241 often recommend enabling the snap-to-grid option before placing bulky items, as this ensures that the heavy furniture pieces lock precisely into the correct footprint. In Dreamy Room Level 241, you can temporarily hide the UI panels to get an unobstructed view of your placement area—this technique helps when aligning decorative vines against patterned backdrops. One time-saving tip in Dreamy Room Level 241 is to select and duplicate identical book stacks rather than placing each manually. Veteran Dreamy Room Level 241 players also advise previewing your final layout in low-light mode to spot misaligned items by their soft shadows. Finally, veterans use the 'undo' shortcut liberally to correct quick misplacements without penalty.
Final Scene Description of Dreamy Room Level 241
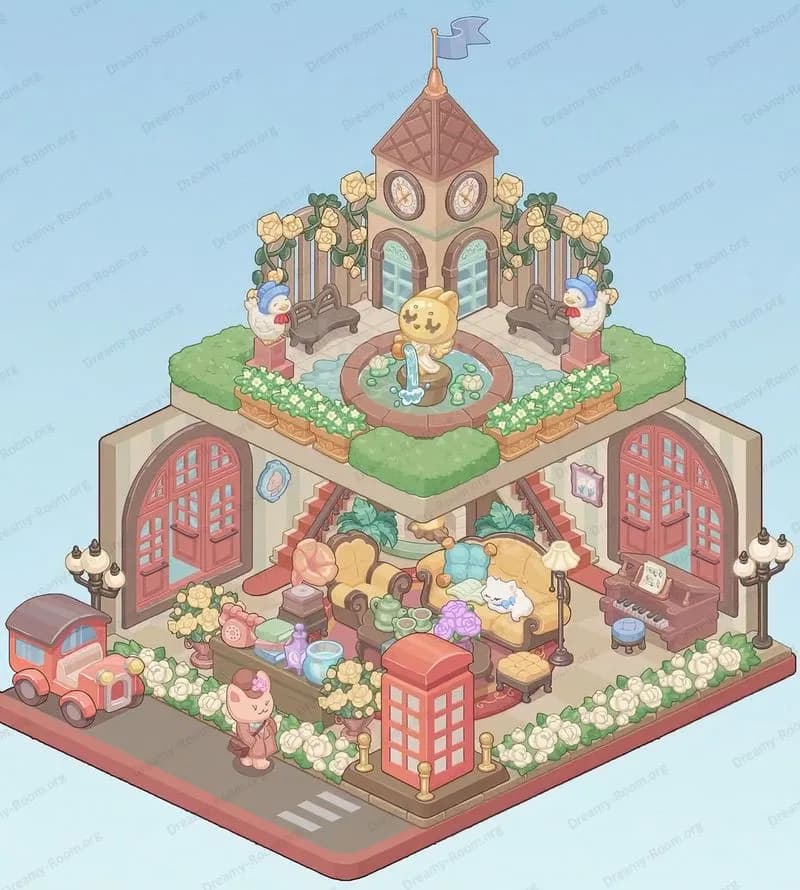
Upon completion of Dreamy Room Level 241, you see a tranquil three-sided hexagonal reading sanctuary. Warm terracotta frames cradle pastel-yellow panels draped with scalloped mustard curtains. Verdant ivy spills across upper edges, weaving between decorative mushroom sconces that cast a gentle glow. Against the left and back walls, towering wooden bookshelves—one arched, the other extending overhead—are brimming with pastel-toned books. A slender rolling ladder leans against the central shelf, inviting exploration in Dreamy Room Level 241. Centered on a plush blue-and-white rug, a golden globe stands sentinel on a round reading platform that supports a comfy armchair. The armchair hosts a bespectacled cat figurine reading quietly beside a side table topped with white flowers. Adjacent shelves display an antique rotary phone and a brass gramophone. Finally, a glass-paneled greenhouse extension opens to a wooden bench flanked by potted plants and flowering hedges, completing the vignette in Dreamy Room Level 241.


