Dreamy Room Level 376
Dreamy Room Level 376 guide - Dreamy Room 376 Walkthrough & Solution.

Important Notice Regarding Level Numbering
Due to frequent changes in Dreamy Room's level numbering and differences between platforms (Android/iOS) – for example, level 376 on Android might not be the same as level 376 on iOS – the text guide below may not always match the images and video above. Please prioritize the image and video guides. If you find that the guide content doesn't match your current level, please visit the All Level Walkthroughs page to find the correct guide based on level images. Thank you for your understanding.
Dreamy Room Level 376 Walkthroughs & Guide
Step 1. Place the front platform, stairs, and purple bench at the entrance (ground floor).
Begin by laying down the base platform and the curved stairs at the front of the scene — this is the foundation for Dreamy Room Level 376. In Dreamy Room Level 376 the entry platform must align with the striped landing pad and the two short bollards; place the curved steps centered on the lower edge so the purple bench sits directly in front. Place the purple bench slightly to the right of center on the platform and add the pair of short, cylindrical bollards symmetrically along the platform edges. Dreamy Room Level 376 rewards precise alignment: the striped pedestrian mat (the white-and-gray strip) must line up with the floor inset circle to trigger the doorway animation. As you position the platform, make sure the stair steps curve smoothly into the landing — in Dreamy Room Level 376 the game checks those anchor points closely. This step sets the perspective and must be exact before adding planters or the glass façade.
Step 2. Install the glass façade, side columns, and “MEO STARK” sign on the middle and right side.
Now place the tall glass panels that form the right-side exterior and the pair of dark structural columns that hold the mid- and upper-level balconies. In Dreamy Room Level 376 the large slanted glass pane sits on the right side and must align to the front edge of the base platform; place it so the curved transparent arch cover overlaps the entryway. Attach the “MEO STARK” neon sign along the upper right ledge, bright and legible from the front — in Dreamy Room Level 376 that sign is a landmark and the letters must face outward. Add the wraparound metal railing on the mid-level balcony that joins the left and right columns; it should curve and meet the glass exactly where the mid-deck begins. Dreamy Room Level 376 will prompt a placement confirmation sound when the glass aligns correctly. Keep the columns vertical and don’t rotate them — incorrect rotation will block interior furniture placement.
Step 3. Furnish the mid-level balcony: garden beds, green crate, cat, tables, and plants.
Place the mid-level balcony items next. In Dreamy Room Level 376 the left-side garden bed with orange flowers sits flush against the outer edge of the platform; place it to the far left of the mid-balcony. Position the small green crate (a square military-styled box) near the inner corner beside the planter group. Add the lounging red chair and two potted succulents near the balcony railing, and place the small round table with two beverage bottles and a cup on the right side of the mid-balcony. Put the small standing cat figurine or pet near the planter toward the front-left railing; in Dreamy Room Level 376 this little cat acts as a decorative hotspot and must be placed in the planter nook to register. The game’s placement check will require the table to be slightly inset from the railing and the crate tucked against the inner wall — Dreamy Room Level 376 expects the items to leave narrow walkways visible.
Step 4. Build and decorate the interior visible through the glass: sofas, coffee table, and side decor.
Now populate the interior space behind the glass facade. In Dreamy Room Level 376 the living area sits directly behind the right glass panel and contains two plush armchairs, a coffee table with a cake or plate, and a low console near the back wall. Place the orange-tinted armchairs facing the glass, with the small round coffee table centered between them and the decorative cake or plate visible from outside. Add a tall aquarium or display column at the interior back wall — in Dreamy Room Level 376 the aquarium detail should line up with the internal floor tiles so that its circular base matches the ceiling cutouts. Place a few inside potted plants on the rear shelf and a small lit lamp on the side table to create depth. Dreamy Room Level 376 judges interior placement by silhouette through the glass, so keep clear sightlines: don’t block the big window with oversized furniture.
Step 5. Assemble the upper deck: pool, float ring, lounge chair, umbrella, and round hot tub.
Next, arrange the rooftop play area. In Dreamy Room Level 376 the small rectangular pool with a red-and-white float rests on the left top deck — align it with the curved rail so the waterline touches the railing. Place the yellow lounge chair beside the pool and the teal umbrella just behind the chair; these must sit on the top-left quadrant. Install the circular hot tub on the right-side rooftop pad (the round recessed tub with a raised ring) so it sits near the rear-right edge of the roof. Add the small round table with two stools and two bottles between the pool and the hot tub; in Dreamy Room Level 376 the table clusters form a recognizable leisure vignette. Finally, place the little potted plants around the rooftop rim to match the reference so the rooftop reads as a cohesive terrace. Dreamy Room Level 376 will confirm correct placement with a sparkle animation when the hot tub’s rim aligns to the rooftop groove.
Step 6. Position the hero cat figure and small decorative snowflakes / effects.
Place the flying superhero cat character above the hot tub area. In Dreamy Room Level 376 this mascot must hover slightly forward of the hot tub’s center and to the left of the rooftop centerline, appearing mid-air with small blue thruster effects under its paws. Add the subtle snowflake particles scattered around the rooftop so they drift lightly past the glass — in Dreamy Room Level 376 these particle effects are anchored to rooftop nodes and must be added after the main props so they overlap correctly. Also position a small standing cat statue on the mid-balcony (step 3) to balance the vertical composition. The game’s main challenge in Dreamy Room Level 376 is determining the exact XYZ offsets for airborne and particle objects; use the placement grid and nudge keys to fine-tune hovering height and lateral offsets until the visual preview matches the reference.
Step 7. Final touches: planters at the front, bollards, side railings, and lighting.
Finish by adding the front planters filled with orange flowers to the left of the entrance platform, then install the short silver bollards along both sides of the base perimeter. In Dreamy Room Level 376 these front planters anchor the composition and must sit flush with the platform edge so they don’t clip the stairs. Add the remaining small blue posts along the right-side edge and attach subtle ground lighting beneath the mid-level balcony and base steps. Make sure the small circular recessed floor pattern near the door is visible and centered — Dreamy Room Level 376 checks that floor motif against the door alignment. Walk the camera around the finished build and nudge any item that visually overlaps or floats; Dreamy Room Level 376’s placement validator is strict about overlaps and visible anchor misalignments.
Notes and Precautions
- Placement precision: Dreamy Room Level 376 uses strict anchor snapping for multi-level pieces like the glass facade and rooftop; always place base platform first, then snap the facade and columns. Dreamy Room Level 376 will refuse placement if anchor points are obstructed.
- Overlap checks: avoid overlapping the railings and planters; Dreamy Room Level 376 flags items that intersect the collision box. If an item snaps incorrectly, use small nudges (0.1 unit) rather than large moves.
- Visibility and layering: transparent panels and interior items must maintain clear sightlines. Dreamy Room Level 376 runs a visibility pass — items hidden behind glass or columns might not register as “placed” unless visible from the primary camera angles.
- Particle effects: decorative particles (snowflakes, sparkles) are layered last. In Dreamy Room Level 376 these effects anchor to fixed nodes and will disappear if placed before major structures; always add them after structural placement.
- Save often: use save slots after Steps 3 and 6. Dreamy Room Level 376 can be unforgiving if you need to rollback a large cluster of placed items.
Tips and Tricks from top player
- Use the grid snap and micro-nudge: in Dreamy Room Level 376 the nudge keys are essential — top players use the small increment nudge to get the purple bench and front planters perfectly aligned.
- Anchor order matters: always place the base platform, then columns, glass, mid-deck rail, and finally rooftop. Dreamy Room Level 376 enforces anchor precedence and placing in the recommended order prevents conflicts.
- Mirror placements: many items are symmetrical. Place one planter or bollard, then duplicate and mirror it to the opposite side to ensure equal spacing — Dreamy Room Level 376 accepts mirrored duplicates without extra validation.
- Interior-first preview: open the camera to interior view after step 4 to confirm furniture silhouettes. Top players in Dreamy Room Level 376 rotate the camera slowly to reveal any hidden clipping and correct it immediately.
- Use the preview ghost mode: when available, toggle ghost placement to see the item’s collision box. Dreamy Room Level 376’s collision preview helps avoid overlap rejection before final commit.
Final Scene Description
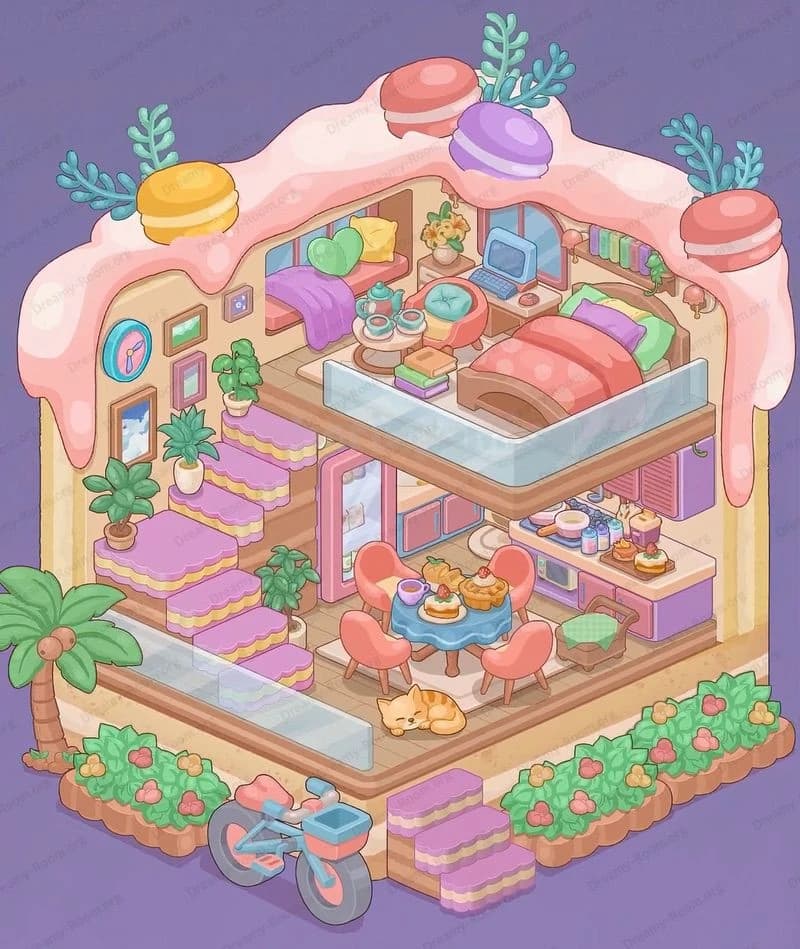
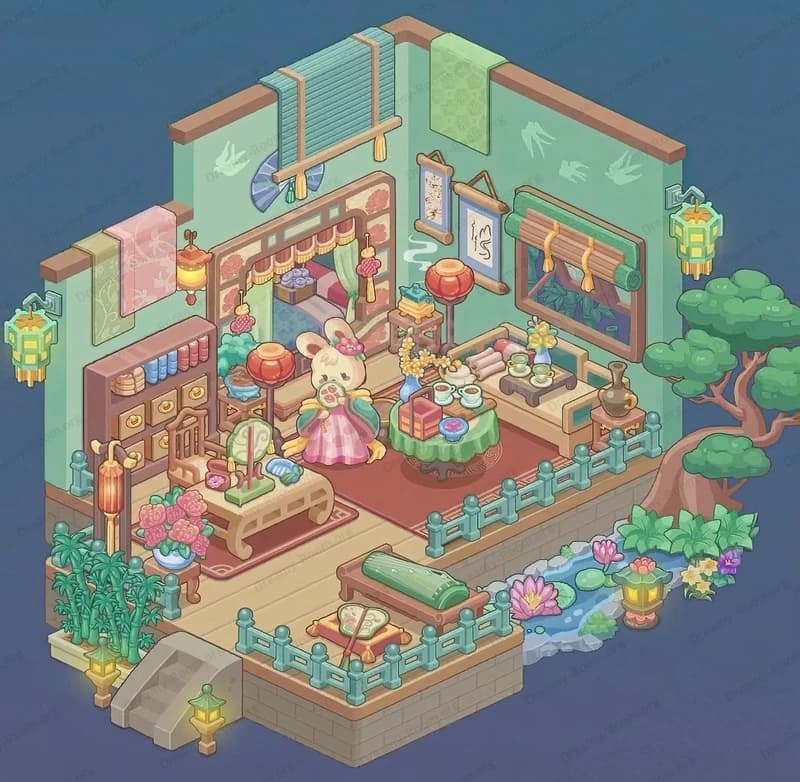
The completed scene for Dreamy Room Level 376 shows a compact, futuristic two-level boutique topped with a cozy rooftop terrace. On the ground level, curved steps lead to a striped landing with a purple bench and neat planters of orange blooms to the left; short metallic bollards frame the perimeter. The middle tier features a glass façade with a visible interior living space — twin armchairs and a coffee table — and a balcony garden with potted succulents, a green crate, and a small standing cat near the railing. The upper deck is a leisure oasis: a rectangular pool with a floating ring, a yellow lounge chair under a teal umbrella, a round hot tub ringed by plant pots, and a small table with drinks. A flying cat hero hovers above the hot tub with blue thruster effects, snowflake particles drifting gently around the rooftop. The neon “MEO STARK” sign crowns the right-edge, completing Dreamy Room Level 376’s playful, layered composition. ...


