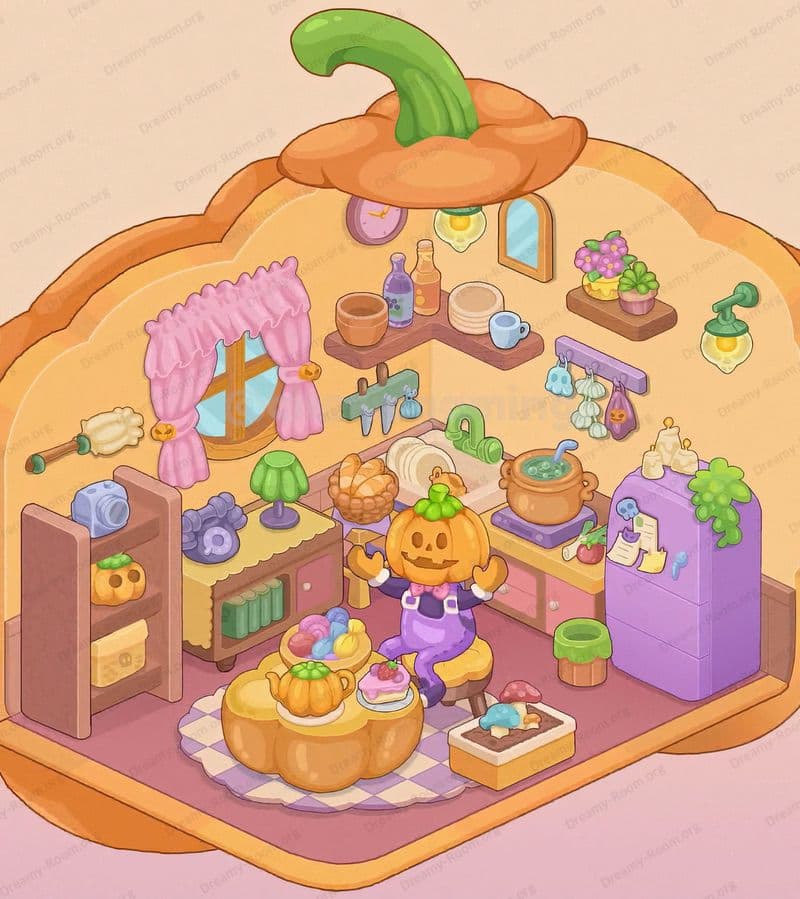
Dreamy Room Level 88
Dreamy Room Level 88 guide - Dreamy Room 88 Walkthrough & Solution.

Important Notice Regarding Level Numbering
Due to frequent changes in Dreamy Room's level numbering and differences between platforms (Android/iOS) – for example, level 88 on Android might not be the same as level 88 on iOS – the text guide below may not always match the images and video above. Please prioritize the image and video guides. If you find that the guide content doesn't match your current level, please visit the All Level Walkthroughs page to find the correct guide based on level images. Thank you for your understanding.
Dreamy Room Level 88 Walkthroughs & Guide
Below is a comprehensive walkthrough for Dreamy Room Level 88, guiding you through every placement choice needed to transform the empty canvas into the charming wedding chapel scene. Follow each step carefully—success in Dreamy Room Level 88 relies on finding the perfect spot for every item.
Step 1. Place the yellow raised platform on the base for Dreamy Room Level 88
Begin your Dreamy Room Level 88 journey by selecting the rectangular raised platform with its soft yellow surface. This platform serves as the foundation, elevating the ceremony space slightly above the base. Center it precisely so that the front edge aligns with the midpoint of the room’s base, leaving equal border space on either side. In Dreamy Room Level 88, this platform not only anchors your design but also ensures that subsequent elements—like aisles and seating—sit at the correct height. Take your time: if it’s even a few pixels off-center, the red carpet and seating will look lopsided, compromising the delightful symmetry that defines the final wedding scene of Dreamy Room Level 88.
Step 2. Add the back wall panels with arched windows and floral garlands for Dreamy Room Level 88
Next, pick the two tall, scalloped-top beige wall panels featuring slender arched windows. Position one panel flush against the left rear corner and the other against the right rear corner, their straight edges meeting in the middle to form a gentle inward curve. In Dreamy Room Level 88, these panels create the serene chapel backdrop. After locking them in, select the lush green garlands dotted with small yellow blossoms and drape them across the top of each window panel. Ensure each garland mirrors the other so that both sides of Dreamy Room Level 88 boast identical, natural greenery framing the windows. This symmetry contributes to the tranquil atmosphere that makes Dreamy Room Level 88 so enchanting.
Step 3. Install the decorative draped pillars at the front corners for Dreamy Room Level 88
For Dreamy Room Level 88, the tall ivory pillars with curved tops are essential for framing the entrance. Place one pillar at the left front corner of the yellow platform and the other at the right front corner. Once set, select the flowing white fabric drapes and attach them around each pillar’s upper section, letting the material pool gracefully to the floor. In Dreamy Room Level 88, these drapes add a soft, romantic touch and help guide the eye inward. Make sure the fabric bunches look natural on both sides—if one drape is tighter or crooked, it will break the visual harmony critical to a successful Dreamy Room Level 88 design.
Step 4. Position the spiral staircase and balcony railing in Dreamy Room Level 88
Now, bring in the pastel pink spiral staircase to connect the ground level with the balcony. In Dreamy Room Level 88, this staircase goes on the left platform edge, curving upward toward the balcony area. Attach the matching railing piece along the top of the staircase, extending a short section across the balcony’s front edge. Precise alignment is crucial for Dreamy Room Level 88, as any misalignment will leave unsightly gaps. When placed correctly, the staircase and railing form a seamless path, allowing guests (and the adorable cat character) to access the balcony in style.
Step 5. Arrange the mirror, wall sconces, and potted plants in Dreamy Room Level 88
With the structural elements in place, embellish the walls. In Dreamy Room Level 88, select the ornate gold-framed mirror and position it centrally on the back wall, just above where the two beige panels meet. Next, add the twin gold wall sconces with cream shades—one on each side of the mirror, slightly lower. Then, choose the potted rose bush and place it on a small pedestal to the right of the mirror, and the four-leaf clover plant to the left on the balcony railing. These living accents breathe warmth into Dreamy Room Level 88, but be careful: the rose’s pot mustn’t overlap the mirror frame, and the clover should hug the railing edge without floating.
Step 6. Set up the piano with stool and sheet music in Dreamy Room Level 88
Select the mahogany upright piano and situate it against the back wall’s interior corner, to the right of the staircase. In Dreamy Room Level 88, the piano keys should face toward the center aisle, giving musicians an optimal view of the ceremony. Place the small cushioned stool in front of the piano, ensuring it’s centered under the keyboard. Finally, open the sheet music on the piano’s music rack so the pages appear ready to be played. In Dreamy Room Level 88, this musical corner adds depth and storytelling—just don’t let the stool obscure the piano’s base or the sheet pages hang too low.
Step 7. Lay out the red carpet aisle, pew benches, flower pots, and candles in Dreamy Room Level 88
It’s time to craft the pathway and seating. For Dreamy Room Level 88, select the long red carpet runner and align it along the center of the yellow platform, starting just behind the front pillars and extending to the wall panels. Add the two lavender cushioned pew benches on either side of the carpet, leaving a comfortable gap for guests to pass through. Next, place the small terracotta pots of white roses alternately along both sides of the carpet, ensuring even spacing. Finally, sprinkle the ivory pillar candles along the edge of the carpet between the pots. The deliberate placement in Dreamy Room Level 88 creates a serene procession to the altar—if any candle is too close to a bench, the composition will feel cramped.
Step 8. Place the wedding couple, cake, balloons, and signboard in Dreamy Room Level 88
For the grand finale of Dreamy Room Level 88, add the charming bear couple at the carpet’s end: position the groom in his black tux on the left and the bride in her blue gown holding a bouquet on the right. Above them, a pair of small red hearts should float to convey romance. To the right of the couple, set the tiered heart-shaped cake with a cluster of champagne glasses—tilt the glasses slightly for realism. On the opposite side, tuck in the bouquet of star-tipped pink and purple balloons. Lastly, at the room’s entrance, lean the pink A-frame “WEDDING” sign against the hedge border. In Dreamy Room Level 88, these final placements seal the storybook atmosphere—just watch spacing so the figures don’t appear to collide.
Notes and Precautions for Dreamy Room Level 88
- Symmetry Is Key: In Dreamy Room Level 88, balance defines beauty. Always mirror items on left and right sides—whether garlands, sconces, or flower pots—to maintain the harmonious chapel look.
- Layer Order Matters: Place large structural pieces (walls, staircase) before decor. In Dreamy Room Level 88, adding drapes or greenery too early can block placement snaps.
- Snapping and Grid Alignment: Use the game’s snapping guides in Dreamy Room Level 88 to lock items flush with edges. Misaligned pieces will disrupt the overall flow and prove tricky to adjust later.
- Overlap Avoidance: Avoid slight overlaps—especially with drapes over pillars or plants near furniture—in Dreamy Room Level 88, or you’ll trigger placement errors.
Tips and Tricks from top player for Dreamy Room Level 88
- Use the “nudge” feature: When items in Dreamy Room Level 88 stubbornly refuse to snap, switch to fine movement controls. Tiny nudges can perfect alignments of the mirror or piano.
- Layer visibility toggle: Temporarily hide front items (like pew benches) in Dreamy Room Level 88 to access back panels and sconces without accidental selections.
- Save presets: After placing the draped pillars and windows in Dreamy Room Level 88, lock those as a background preset. This speeds up replays and ensures consistency if you reload the level.
- Plan your aisle width: Measure the pew spacing before adding the carpet in Dreamy Room Level 88—this avoids last-minute bench shifts that can ruin your floral alignment.
Final Scene Description for Dreamy Room Level 88
In Dreamy Room Level 88, the completed chapel scene radiates a gentle, pastel serenity. The soft yellow platform invites you into a sanctified space, while the scalloped wall panels with glazed arched windows catch an imagined breeze, framed by flowering green garlands. Ivory pillars draped in white fabric stand sentinel at the aisle’s entrance, guiding guests along a plush red carpet lined with ivory candles and potted white roses. To the left, a spiral staircase rises to a balcony where a potted clover and a bow-clad cat await, peeking over the railing. Against the back wall, a gold mirror and twin sconces glow above a polished piano with poised sheet music. The lavender pew benches flank the central aisle, culminating in a heart-warming tableau: a bear groom in tuxedo offering a ring to his bride in blue, tiny red hearts dancing above. Nearby, a tiered heart cake and stacked champagne glasses share the spotlight with floating star-and-heart balloons, while a pink “WEDDING” sign rounds out the festive welcome. Every element in Dreamy Room Level 88 tells a story of romance and devotion, inviting players to savor the perfect arrangement that completes this dreamy celebration.


