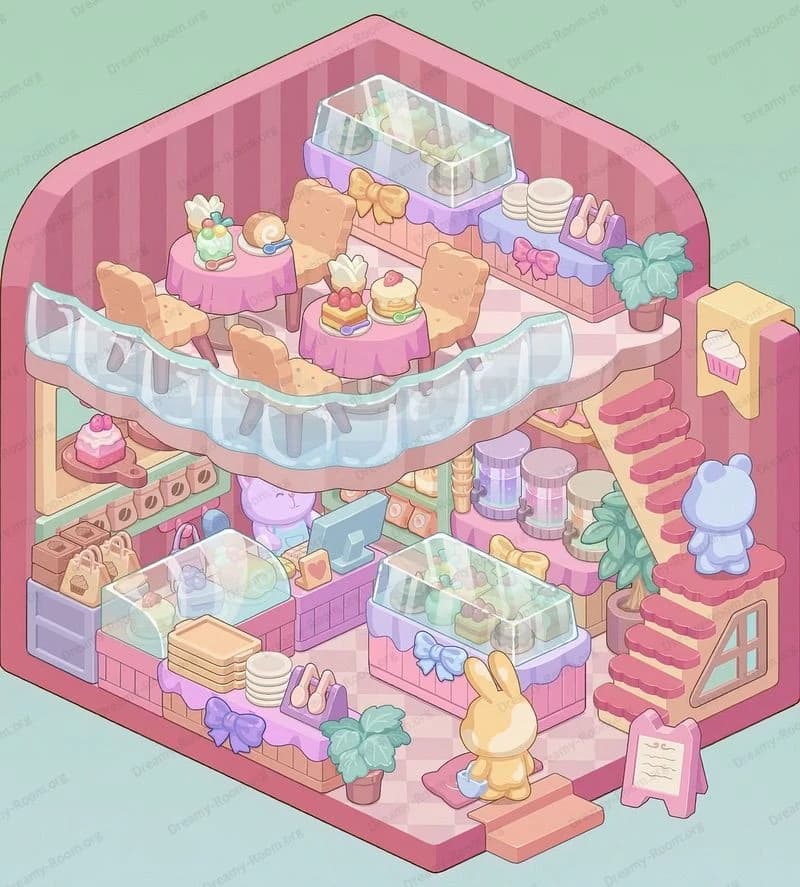
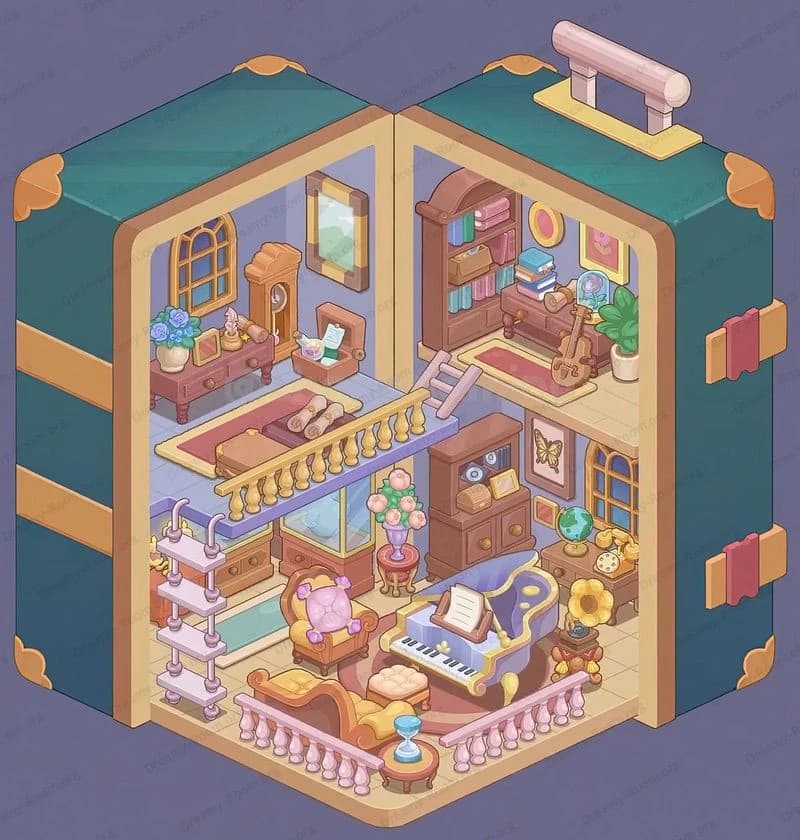
Dreamy Room Level 285
Dreamy Room Level 285 guide - Dreamy Room 285 Walkthrough & Solution.

Important Notice Regarding Level Numbering
Due to frequent changes in Dreamy Room's level numbering and differences between platforms (Android/iOS) – for example, level 285 on Android might not be the same as level 285 on iOS – the text guide below may not always match the images and video above. Please prioritize the image and video guides. If you find that the guide content doesn't match your current level, please visit the All Level Walkthroughs page to find the correct guide based on level images. Thank you for your understanding.
Dreamy Room Level 285 Walkthroughs & Guide
Step 1. Place the tatami patch and floor panels in the center-right area.
Begin Dreamy Room Level 285 by laying down the large square tatami patch in the center-right recessed area of the floor — this mat is the visual anchor for the room. Make sure the green-bordered tatami sits flush with the wooden floor tiles; its woven pattern should align with the tile grid so that later furniture sits evenly on it. After the tatami is set, fill the remaining platform with matching pale wooden floor panels on the left and right wings. In Dreamy Room Level 285 the floor lighting and reflections depend on perfect alignment, so nudge panels until their seams match neighboring tiles. This step establishes zones (study on the left, tea area in the center, kitchen on the right), which simplifies all subsequent placements and helps prevent item collisions during later steps.
Step 2. Place the low tea table, cushions, kettle, radio and centerpiece on the tatami.
Next in Dreamy Room Level 285, place the low square tea table centered on the tatami patch. Arrange two floor cushions on opposite sides of the table, then set the bronze kettle and matching cups on top of the table. Place the small red radio near the table’s corner and the potted spade-leaf plant at the front edge of the tatami to create a welcoming focal point. Add the small folded green mats and a stack of books beside the table; these tiny props anchor the scene and must sit inside the tatami boundaries. In Dreamy Room Level 285 the correct spacing between kettle, cups, and radio is subtle but essential — if objects overlap too much the game can mark placement as incorrect, so use the rotation/offset controls to achieve the same cozy arrangement shown in the completed image.
Step 3. Place the rocking chair, sleeping figure with fan, lucky cat and nearby shelving left of the doorway.
For Dreamy Room Level 285, move to the left of the central entrance and place the wooden rocking chair so its back faces slightly toward the doorway. Position the sleeping figure curled on the rocker holding the small hand fan — the figure’s feet should point toward the interior, and its head toward the door for the same relaxed posture as the completed room. Above and behind the rocker, stack a daruma-style lucky cat on a small pedestal. Add the tall bookshelf to the right of the rocker and fill its shelves with colorful books and a decorative shell on top. These items create a layered vignette in Dreamy Room Level 285; spacing and vertical order matter — the bookcase must be slightly behind the rocker and the lucky cat must sit on its pedestal so both are visible without occluding the doorway.
Step 4. Set up the left study nook: desk, chair, artboard, vase, shelves, bonsai and wall frames.
Now assemble the study nook in Dreamy Room Level 285 on the far left platform. Place the wooden desk against the left wall, then add the small chair in front. Position the artboard on the desk with paint tools and a rolled scroll propped to the side. On the desk’s near corner set a blue vase with thin branches, and place a pot of pink blossoms on the floor by the table. Above the desk mount the small framed prints and the round wall clock in the same arrangement as the reference image. On the shelf unit beside the desk add the black cat figurine, a small bowl, and the bonsai on its pedestal. Dreamy Room Level 285 relies on mirroring the left-side composition—pay close attention to the height of frames and the bonsai’s placement so the scene reads as balanced from the viewing angle.
Step 5. Arrange the television, folding screen, bookshelves and potted plants across the center.
In Dreamy Room Level 285 place the vintage television set toward the front-center area, slightly to the right of the doorway but still on the tatami edge. Behind the TV add the folding screen so it frames the tea area and helps separate the study from the kitchen. Add a low bookshelf to the TV’s left and fill it with stacked volumes and a decorative teapot. Scatter small potted succulents and a cluster of purple hydrangeas in front of the bookshelf to soften the scene. These center elements in Dreamy Room Level 285 must form a coherent sightline from the entrance to the back wall; tweak each object’s offset so the TV isn’t fully blocked and the screen peeks over the teapot for the same layered depth.
Step 6. Build the kitchen/dining corner: fridge, cabinets, sink, stove, table and accessories.
Finish Dreamy Room Level 285 by furnishing the right wing as the compact kitchen and dining nook. Place the yellow fridge against the right back wall and the wall cabinets above the sink area. Position the stainless sink unit and blue-tiled backsplash to the right of the fridge with the stove and pans to the far right. Set the small dining table with a tablecloth and a single blue vase in the front-right corner and add two wooden chairs — one tucked, one slightly pulled out. Hang the calendar and the framed fish print above the counter. Add small details: spice jars on the shelf, two magnets on the fridge door, a wall fan in the upper right, and a green trash bin near the sink. In Dreamy Room Level 285 these kitchen accessories make the scene read as lived-in, so place each tiny jar and hook deliberately to match the completed view.
Notes and Precautions
- Dreamy Room Level 285 is mainly about precise placement: many objects overlap in perspective. Always nudge an item slightly in X/Y and rotate where the game allows until its silhouette matches the reference.
- Small decorative props (cups, radio, plant pots) are especially sensitive to overlap rules. If progress stalls, move large furniture first, save, then return to adjust small items.
- Watch layering order: taller objects behind shorter ones recreate the depth in Dreamy Room Level 285. Use object depth controls when items appear to float or clip.
- There’s no timer in Dreamy Room Level 285, so take your time. But be mindful of snapping — toggling snapping off can help with fine adjustments for final alignment.
Tips and Tricks from top player
- Start with the big anchors (tatami, rocking chair, fridge) and work inward; in Dreamy Room Level 285 this reduces rework.
- Use grid snap for rough placement then disable for micro-adjustments; many top players alternate modes while finishing Dreamy Room Level 285.
- Save a layout after each major zone (left study, center tea, right kitchen). If a later change breaks alignment in Dreamy Room Level 285, revert to the closest saved state instead of undoing dozens of moves.
- Zoom and rotate the camera slightly when placing small props so you can line edges precisely; subtle changes make the finished Dreamy Room Level 285 look identical to the reference.
Final scene
Final Scene: The finished Dreamy Room Level 285 presents a warm, lived-in vignette where every object feels intentional. Light filters through the latticed doorway onto pale floorboards and the square tatami patch, highlighting the low tea table with its bronze kettle, matching cups, and a small red radio beside folded cushions. To the left a wooden desk holds brushes, scrolls, and a blue vase; shelves above display framed prints, a lucky cat, and a bonsai. A rocking chair in the center cradles a sleeping figure with a hand fan, while a cluster of hydrangeas and potted plants softens the scene. On the right, the compact kitchen shows a yellow fridge, sink, stove, and dining table set for two. A vintage television and a folding screen complete the cozy composition. Dreamy Room Level 285 feels nostalgic and harmonious, inviting players to linger and appreciate the careful balance of utility and decoration.


