Dreamy Room Level 242
Dreamy Room Level 242 guide - Dreamy Room 242 Walkthrough & Solution.

Important Notice Regarding Level Numbering
Due to frequent changes in Dreamy Room's level numbering and differences between platforms (Android/iOS) – for example, level 242 on Android might not be the same as level 242 on iOS – the text guide below may not always match the images and video above. Please prioritize the image and video guides. If you find that the guide content doesn't match your current level, please visit the All Level Walkthroughs page to find the correct guide based on level images. Thank you for your understanding.
Dreamy Room Level 242 Walkthroughs & Guide
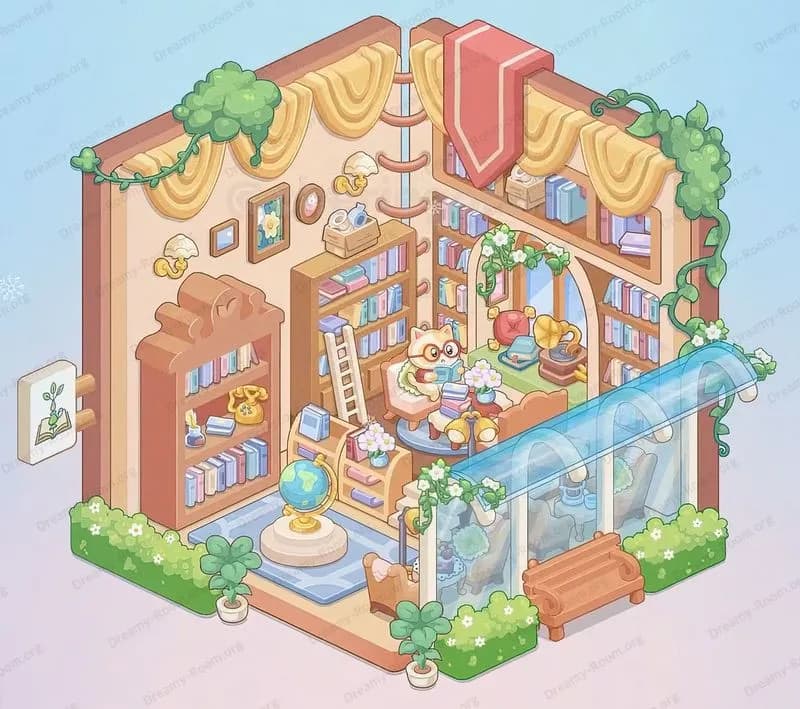
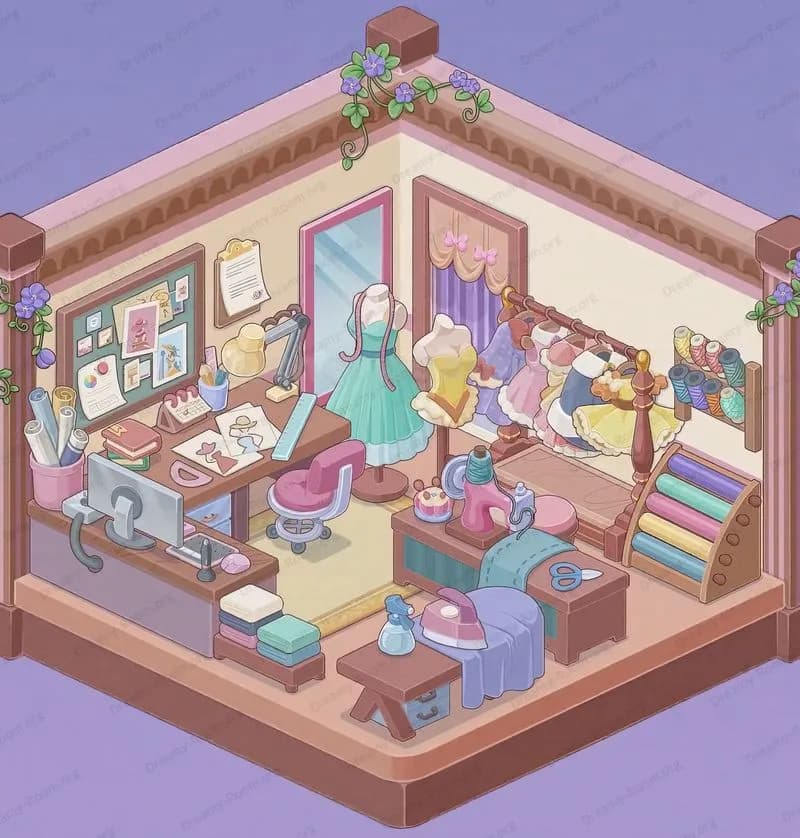
Welcome to this comprehensive walkthrough for Dreamy Room Level 242. Dreamy Room Level 242 presents a charming two-tiered empty space where your mission in Dreamy Room Level 242 is to meticulously place each object to recreate the whimsical completed design. As described in the Dreamy Room instructions, this game is more than a puzzle; it’s a heartfelt journey that celebrates the quiet beauty of everyday objects. In Dreamy Room Level 242, the main challenge is determining the correct placement for each item to unlock the final cozy diorama. Let’s begin with the step-by-step process for Dreamy Room Level 242.
Step 1. Place the yellow tufted loveseat in the center of the lower level
In Dreamy Room Level 242, the very first task you will complete is placing the bright yellow tufted loveseat at the heart of the room. When you load Dreamy Room Level 242, you’ll notice a checkerboard-patterned floor awaiting your first move. Tap and drag the yellow tufted loveseat from the inventory, then align it perfectly with the central tile in Dreamy Room Level 242, ensuring it sits equidistant from both side walls. Because Dreamy Room Level 242 emphasizes precision, enable the grid snapping feature to lock this piece into place perfectly. If you misalign the yellow tufted loveseat in Dreamy Room Level 242 by even a fraction of a tile, subsequent objects may not fit in harmony, so double-check its alignment before moving on to the next step.
Step 2. Place the upright piano on the right side of the lower level
In Dreamy Room Level 242, once the yellow loveseat is centered, focus on the musical corner by adding the upright piano. From your Dreamy Room Level 242 inventory, select the polished wooden upright piano and drag it to the right wall of the lower platform, leaving exactly one tile of walking space between it and the sofa. In Dreamy Room Level 242, careful positioning is crucial: align the piano so its bass section lines up with the second tile from the back wall. Then, place the matching round piano stool directly in front of the piano, making sure it sits symmetrically. If you miss one tile in Dreamy Room Level 242, the scene will look off-balance, so zoom in and verify the piano and stool placement before proceeding.
Step 3. Place the red British phone booth in the front right of the lower level
In Dreamy Room Level 242, the iconic red British phone booth adds vintage charm. Locate the red phone booth icon in the Dreamy Room Level 242 items tray, then drag it toward the front right corner of the lower level, just behind where the crosswalk lines will appear. In Dreamy Room Level 242, ensure the phone booth base sits flush with the front edge of the platform and aligns parallel to the loveseat. You can rotate it slightly if needed, but in Dreamy Room Level 242, the final image requires a perfectly straight orientation. Once positioned, step back in Dreamy Room Level 242 to confirm that the phone booth stands prominently without overlapping the adjacent lamp post or walkway boundaries.
Step 4. Place the vintage car in the front left corner of the lower level
In Dreamy Room Level 242, complement the phone booth by adding the vintage car from your inventory. Select the small red-and-gray vintage vehicle, then drag it to the front left corner of the lower level, ensuring its bumper just touches the platform’s edge. When positioning the car in Dreamy Room Level 242, maintain a one-tile gap from the front-facing corner to create room for the decorative crosswalk stripes you’ll add next. In Dreamy Room Level 242, precision again matters: the car should face inward at a slight angle that echoes the rooftop elements above. After placing the vintage car in Dreamy Room Level 242, use the undo button to adjust subtle rotations if it doesn’t sit flush with the raised border along the front platform edge.
Step 5. Place the assortment of decorative accessories around the lower level living area
In Dreamy Room Level 242, once the major furniture and vehicles are in place, it’s time to adorn the lower level with the finer details. Open your Dreamy Room Level 242 inventory and select the pastel-colored rotary telephone, green ceramic teapot set, glass jars, and neatly stacked books. Drag the pink rotary telephone onto the wooden console table beside the loveseat, then arrange the green teacups and teapot set on the same surface in Dreamy Room Level 242, spacing them evenly. Place the violet flower vase next to the lounge chair, aligning it with the loveseat’s left armrest. In Dreamy Room Level 242, position the framed wall art above the console at eye level, and add the brass floor lamp beside the sofa’s right side for a soft glow. Check each accessory’s placement in Dreamy Room Level 242 to mirror the storyboard’s intimacy exactly.
Step 6. Place the clock tower and garden elements on the upper platform
In Dreamy Room Level 242, the crowning touches appear on the upper terrace, beginning with the clock tower. Select the tan-and-brown clock tower piece in Dreamy Room Level 242 and drag it to the back center of the raised platform, ensuring its triangular roof peaks precisely at the apex of the back wall. Next in Dreamy Room Level 242, add the two wooden benches on either side of the tower, positioning them symmetrically and leaving ample space for the vine-covered fence. Choose the yellow rose vines and attach them along the railing in Dreamy Room Level 242, draping gently between each post. Complete the garden by placing the circular water fountain with the cat statue at the front center in Dreamy Room Level 242, then situate the two bird-like animal statues behind the benches for whimsical detail. Finally, fill the rectangular planters with white roses to frame the upper view perfectly in Dreamy Room Level 242.
Notes and Precautions
When playing Dreamy Room Level 242, pay close attention to object alignment. Objects in Dreamy Room Level 242 must sit precisely within the invisible grid; a misaligned sofa or piano can cascade errors that derail the entire diorama. Before you place any furniture in Dreamy Room Level 242, enable the grid snapping feature and double-check alignment lines. Watch for overlapping boundaries in Dreamy Room Level 242—items like the phone booth or lamp post may appear to touch adjacent pieces, but in Dreamy Room Level 242 they should never overlap even by a pixel, or the level will reject your arrangement. Familiarize yourself with the Dreamy Room Level 242 inventory order and scroll through each category; occasionally the flower planters or decorative jars are buried in a different tab. Finally, remember that undo steps in Dreamy Room Level 242 are limited—if you exceed them, you’ll need to reset the level. Additionally, use the zoom controls in Dreamy Room Level 242 to refine small details, especially when placing the delicate rose vines on the upper terrace.
Tips and Tricks from top player
- Grid Mastery: Use the grid toggle in Dreamy Room Level 242 to see exact tile boundaries before placing large pieces like the clock tower and loveseat. This simple trick prevents alignment issues in Dreamy Room Level 242 every time.
- Cluster Placement: Group related décor—such as the sofa, cushions, and cat figurine—by dragging them in quick succession in Dreamy Room Level 242 without deselecting the item tool. This maintains consistent spacing across multiple objects.
- Inventory Recall: Memorize the icon order in Dreamy Room Level 242. Since the inventory rarely changes, you can skip scrolling and instantly find the next item you need.
- Undo Strategy: Plan complex moves ahead of time because Dreamy Room Level 242 only allows a handful of undo actions. Commit carefully to avoid resetting progress.
- Zoom Levels: Alternate zooming in and out in Dreamy Room Level 242 to verify that accessories like the phone booth and fountain align perfectly at both close-up and full-screen perspectives.
- Visual Reference: If stuck, take a screenshot of your current layout in Dreamy Room Level 242 and compare it with the final reference. This visual aid clarifies any subtle offsets.
Final Scene Description
The completed diorama in Dreamy Room Level 242 reveals a whimsical two-tiered Victorian escape. On the lower level of Dreamy Room Level 242, a bright yellow tufted loveseat sits opposite a polished wooden piano, flanked by a round blue stool and a classic red British phone booth. The front left corner of Dreamy Room Level 242 features a charming red-and-gray vintage car parked beside a crisp white crosswalk. Decorative accessories—including pastel telephones, green ceramic teapots, and stacks of books—adorn the console and side tables in Dreamy Room Level 242. Above, the upper terrace of Dreamy Room Level 242 is crowned by a stately clock tower, cozy benches, and fragrant white rose planters. A vine-draped fence frames the scene, while a joyful cat fountain awaits in the center, complemented by twin animal statues. The gentle pastel palette and thoughtful composition in Dreamy Room Level 242 combine to create a serene snapshot of cozy nostalgia and meticulous design.


