Dreamy Room Level 248
Dreamy Room Level 248 guide - Dreamy Room 248 Walkthrough & Solution.

Important Notice Regarding Level Numbering
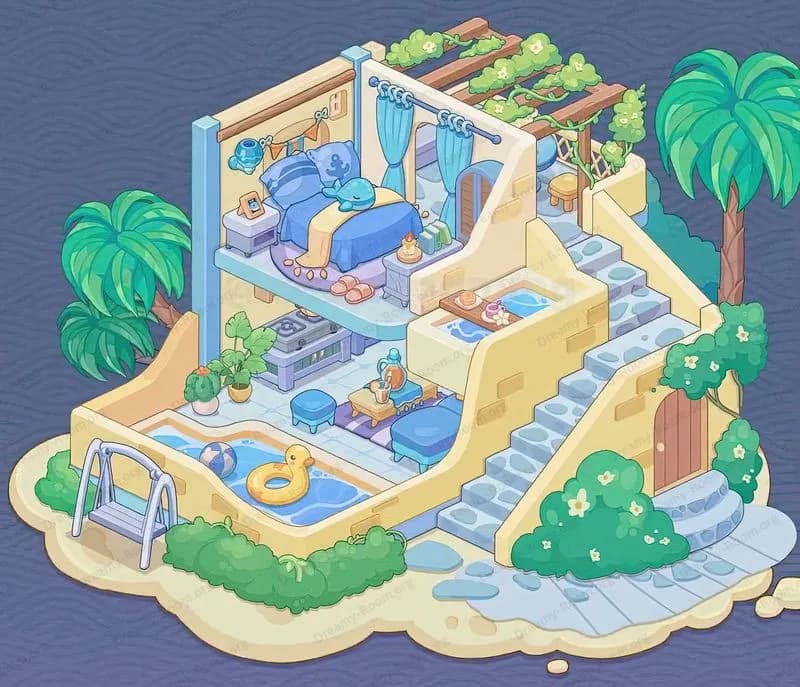
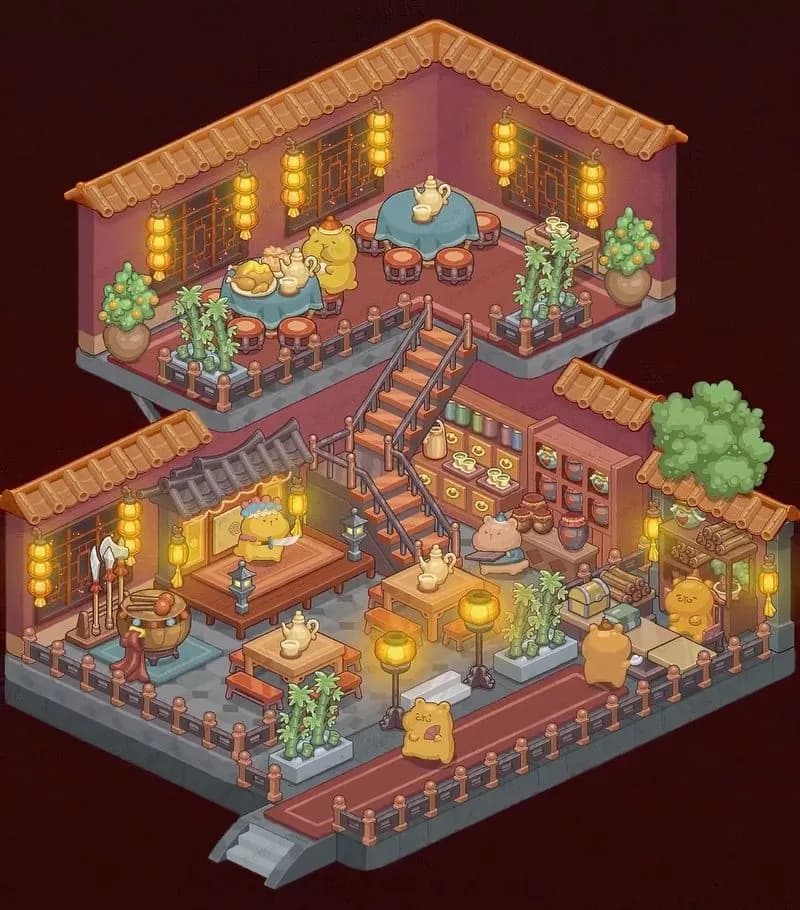
Due to frequent changes in Dreamy Room's level numbering and differences between platforms (Android/iOS) – for example, level 248 on Android might not be the same as level 248 on iOS – the text guide below may not always match the images and video above. Please prioritize the image and video guides. If you find that the guide content doesn't match your current level, please visit the All Level Walkthroughs page to find the correct guide based on level images. Thank you for your understanding.
Dreamy Room Level 248 Walkthroughs & Guide
Welcome to Dreamy Room Level 248, the 248th stage of this serene, story-driven puzzle journey. In Dreamy Room Level 248, you begin with an empty two-tiered chamber, ready to become an intricate Egyptian shrine. This peaceful style is the essence of Dreamy Room Level 248, inviting mindful placement of each item.
Step 1. Place the Obelisk and Front Flame Braziers (Dreamy Room Level 248)
In Dreamy Room Level 248, your very first task is to locate the tall grey obelisk in your item tray. In Dreamy Room Level 248, the obelisk must sit flush against the bottom-left corner of the lower platform, directly touching the beige wall. This precise positioning in Dreamy Room Level 248 sets the anchor for every subsequent decoration, so take care to align it squarely. Next, in Dreamy Room Level 248, grab the two matching flame braziers—those small round burners topped with bright orange flames—and place one to the right of the obelisk and the other in the bottom-right corner. Only by following the exact instruction in Dreamy Room Level 248 will you evoke the proper thematic balance for the rest of the room.
Step 2. Add Wall Plaques and Jar Clusters on the Lower Level (Dreamy Room Level 248)
Now that you have completed the foundation in Dreamy Room Level 248, it’s time to bring life to the left-hand wall. In Dreamy Room Level 248, select the two rectangular hieroglyphic wall plaques and mount them side by side, one just above and to the right of the obelisk, the next slightly further along the warm beige surface. Then, in Dreamy Room Level 248, choose the trio of black-and-gold jars, each layered atop a green-and-gold pedestal, and group them tightly against the left wall, just below the plaques. Precise placement in Dreamy Room Level 248 guarantees that these jars echo the symmetry of the scene. Finally, in Dreamy Room Level 248, ensure that all three jars are evenly spaced to preserve the aesthetic harmony you’ve established on this lower tier.
Step 3. Position the Sarcophagus and Basin in the Center (Dreamy Room Level 248)
With your wall and corner elements secured in Dreamy Room Level 248, turn your attention to the heart of the lower floor. In Dreamy Room Level 248, select the ornate sarcophagus—its vibrant red, turquoise, and gold stripes make it unmistakable—and place it squarely in the center tile of the lower platform, resting on its matching red-and-green base. Next, in Dreamy Room Level 248, pick up the square green pedestal supporting a golden basin and position it one tile to the right of the sarcophagus. Don’t rush, because Dreamy Room Level 248 demands that the basin align perfectly beside the sarcophagus to complement the chamber’s focal point. Remember, Dreamy Room Level 248 hinges on these central placements for the room’s visual storytelling.
Step 4. Install the Guardian Banners on Either Side of the Staircase (Dreamy Room Level 248)
As you move into Dreamy Room Level 248, it’s time to frame the staircase with two guardian figures. In Dreamy Room Level 248, select the Anubis statues holding red-and-turquoise ankh banners and place one on the left edge of the stair’s landing tile, the other on the right. In Dreamy Room Level 248, ensure both figures face forward, their banners hanging straight, to create a welcoming portal up to the next tier. This step in Dreamy Room Level 248 not only flanks the stairs symmetrically but also sets an imposing guard that draws the eye upward. Take a moment in Dreamy Room Level 248 to confirm that each banner’s base aligns exactly with the wooden rail block on either side.
Step 5. Arrange the Central Incense Burner and Rug on the Upper Tier (Dreamy Room Level 248)
Advance to the second platform of Dreamy Room Level 248 and begin by placing the circular green rug in its center tile. In Dreamy Room Level 248, select the tripod incense burner with its glowing flame and set it directly in the middle of the rug so that it becomes the upper chamber’s heart. Once you’ve secured this element in Dreamy Room Level 248, pick the two decorative vases—one smaller brown-and-turquoise jar and one larger turquoise vessel—and position them in front of the burner: the small jar to its left, the large vase on a stone stool to its right. In Dreamy Room Level 248, this arrangement balances the rich color palette and anchors the top tier before you add more intricate artifacts.
Step 6. Decorate the Upper Back Wall with Statues and Plaques (Dreamy Room Level 248)
In Dreamy Room Level 248, the back wall is next, and it demands a trio of distinctive pieces. First, grab the blue wall-mounted brazier and attach it to the left corner of the back wall, ensuring the flame flickers in the gloom. Then, in Dreamy Room Level 248, place the sleek black cat statue, adorned with its golden collar, snugly into the back-left corner, its gaze directed toward the room’s center. Next, in Dreamy Room Level 248, center the golden winged sun disk plaque high on the wall above the chest area. Finally, in Dreamy Room Level 248, drop the Anubis-head jar into the back-right corner, mirroring the cat’s position. These placements in Dreamy Room Level 248 unite to create the sacred sanctuary feeling you’ve been working toward.
Step 7. Place Remaining Vases, Scroll Cases, and Railing Blocks (Dreamy Room Level 248)
You’re almost done with Dreamy Room Level 248. First, select the horizontal turquoise-and-gold scroll tube and lay it on its stand to the left of the large chest, snug against the back railing. Then, in Dreamy Room Level 248, position the blue-and-gold lidded incense pot just beside the scroll tube for an extra layer of immersion. Next, in Dreamy Room Level 248, fill the final round blue pot with its bundle of golden scrolls and slot it between the large chest and the right-hand railing block. Don’t forget, Dreamy Room Level 248 requires you to top every exposed railing post with a brown cube block; place each cube along the front and side edges of both tiers until the barrier is complete. With this in Dreamy Room Level 248, your Egyptian shrine is fully realized.
Notes and Precautions
- Precision Matters: In Dreamy Room Level 248, even a single-tile misalignment can disrupt the harmony of the scene. Take your time to ensure each artifact snaps exactly into place.
- Inventory Order: Items in Dreamy Room Level 248 appear in a specific order; if you can’t find an object, scroll through your tray carefully.
- No Undo in This Level: Unlike earlier levels, Dreamy Room Level 248 does not include an “undo” button for misplaced items, so double-check before confirming placement.
- Visual Cues: Look for subtle grooves on the platform and wall in Dreamy Room Level 248—these guide the correct orientation.
- No Timer: As with all Dreamy Room levels, Dreamy Room Level 248 gives you unlimited time. Move thoughtfully to avoid mistakes.
Tips and Tricks from Top Player
- Plan Your Route: In Dreamy Room Level 248, start with the largest items first (obelisk, sarcophagus, chest) and end with the smallest artifacts to reduce backtracking.
- Use Camera Zoom: Zooming in on Dreamy Room Level 248 can help you see exact tile edges for perfect alignment.
- Group Similar Items: Temporarily place all braziers or vases together off to the side in Dreamy Room Level 248 before moving them to their final spots, keeping your workflow organized.
- Reference Shadow Guides: Shadows beneath each object in Dreamy Room Level 248 indicate the intended anchor point—align objects to these guides for pixel-perfect placement.
- Save Before Finalizing: If your device allows, save a screenshot after completing each major section in Dreamy Room Level 248 so you can restore if you need to start over.
Final Scene Description
The completed Dreamy Room Level 248 reveals a stunning two-tiered Egyptian shrine bathed in warm golden light. On the lower platform, the tall obelisk stands sentinel beside twin flame braziers, while intricately painted hieroglyph plaques and a triad of black jars whisper tales of ancient artistry. Center stage sits a vividly striped sarcophagus flanked by a gleaming basin and guarded by two Anubis-banner statues framing a staircase. Above, a circular rug cradles a bronze tripod incense burner, its flame flickering beside a pair of color-banded vases. The back wall is crowned with a seated cat statue, a winged sun disk plaque, and an Anubis-head vessel, all framed by railings topped with neat brown cubes. Scroll tubes, lidded pots, and bundles of golden scrolls complete the lush mosaic, making Dreamy Room Level 248 a triumph of thoughtful placement and serene storytelling.


