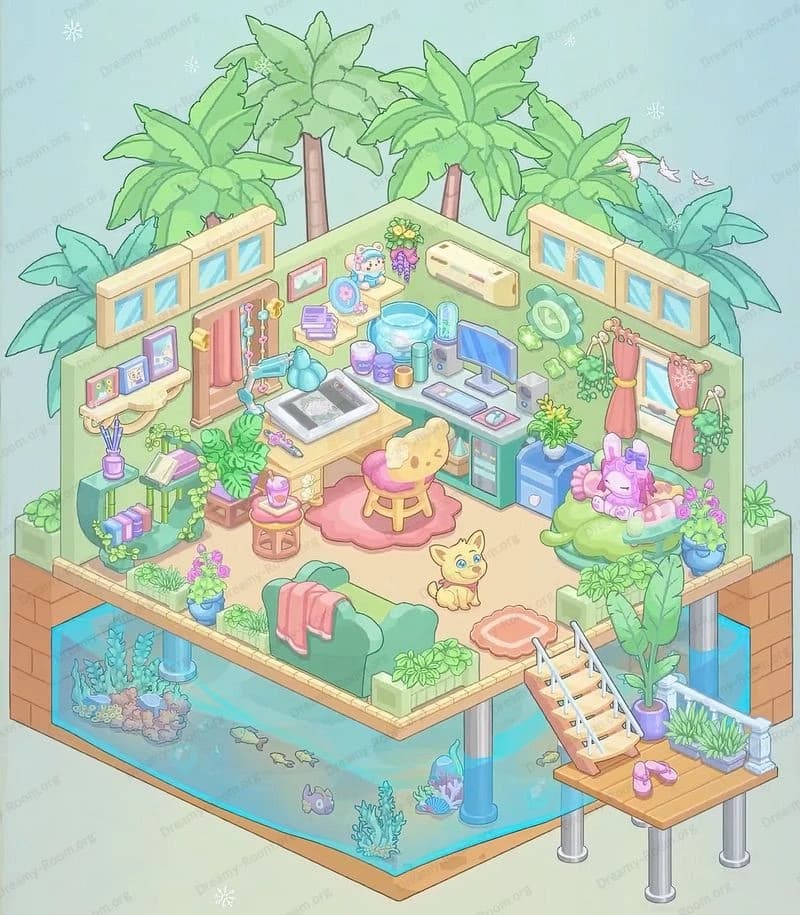
Dreamy Room Level 472
Dreamy Room Level 472 guide - Dreamy Room 472 Walkthrough & Solution.
Important Notice Regarding Level Numbering
Due to frequent changes in Dreamy Room's level numbering and differences between platforms (Android/iOS) – for example, level 472 on Android might not be the same as level 472 on iOS – the text guide below may not always match the images and video above. Please prioritize the image and video guides. If you find that the guide content doesn't match your current level, please visit the All Level Walkthroughs page to find the correct guide based on level images. Thank you for your understanding.
Dreamy Room Level 472 Walkthroughs & Guide
Step 1. Place the command building in the center of Dreamy Room Level 472.
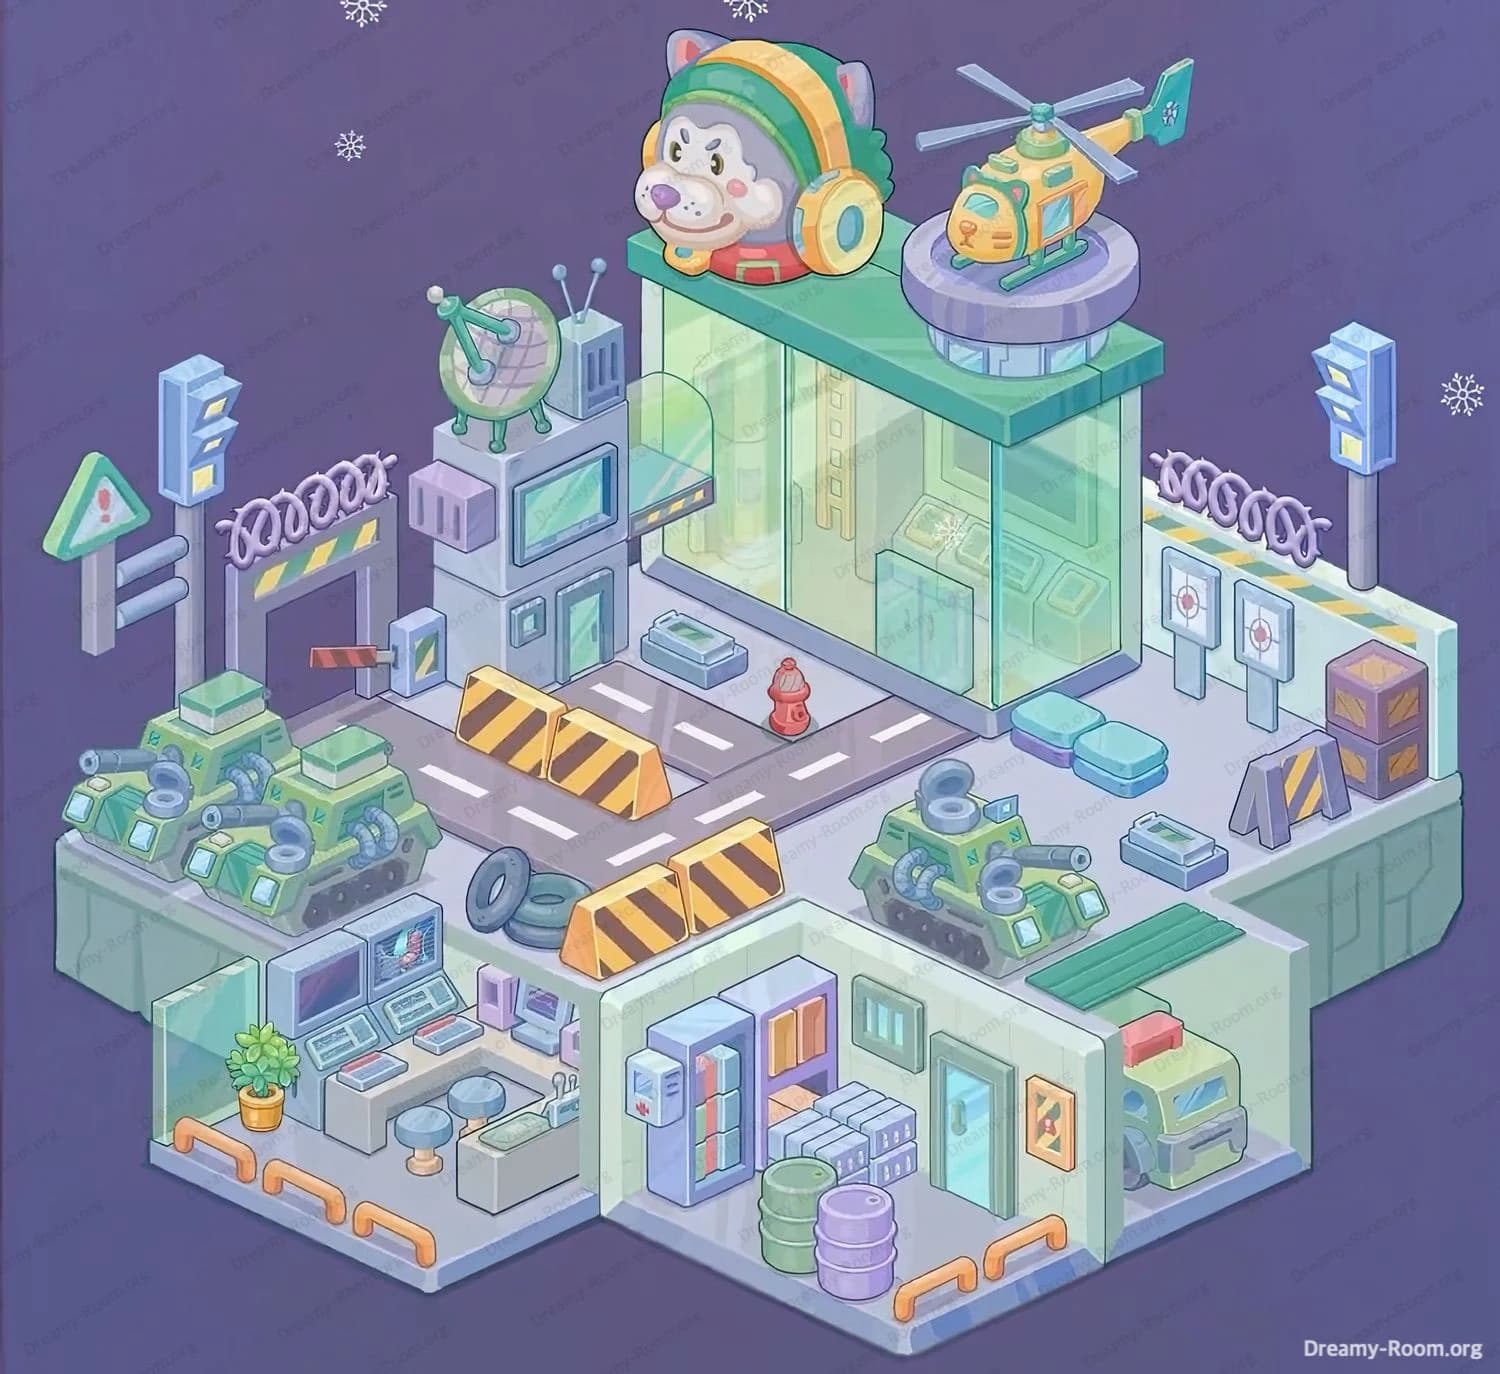
Start Dreamy Room Level 472 by anchoring the whole composition with the big glass command building. Drop the tall, light-green glass structure on the upper-right part of the main platform so that its front faces the middle road and its left wall lines up with the inner corner of the floor. The transparent walls should reveal the consoles and equipment inside once you add them later. Make sure the building does not touch the platform edges; a slim border of floor should remain visible. This command building is the visual and functional core of Dreamy Room Level 472, so its alignment determines where roads, vehicles, and rooftop elements will sit. If it’s slightly off, later items in Dreamy Room Level 472 will feel crooked and cramped.
Step 2. Place the main road and barriers in the middle of Dreamy Room Level 472.
Next, lay out the dark grey road tiles across the center of Dreamy Room Level 472, running horizontally from left to right. Add the central dashed lane markings so the road feels like a proper military driveway. At the front of the command building, position three yellow-and-black striped barricades in a zig-zag line, blocking direct access and guiding vehicles. Put a red fire hydrant just in front of the middle barricade, slightly downstage toward the player. Scatter two rectangular grey platforms along the road edges, one near the left tank area and one near the right training zone. The goal here is to turn Dreamy Room Level 472 into a believable checkpoint street before you introduce any tanks or jeeps, so confirm the road is perfectly centered and aligned.
Step 3. Place all tanks and the jeep around the lower edge of Dreamy Room Level 472.
Now it’s time to bring in the armored vehicles that define Dreamy Room Level 472. On the lower-left platform behind the glass wall, arrange three green tanks with blue details in a neat diagonal row: two in front and one slightly behind, all facing toward the central road. On the lower-right side, inside the right glass room, slide the green jeep with a red siren into the garage so only the front of the vehicle is visible through the open side. On the main road’s right side, park a single green tank on the raised outdoor pad, aiming its barrel toward the left. This distribution makes Dreamy Room Level 472 feel like an active base, with tanks ready to move out and the jeep parked safely indoors.
Step 4. Place radar, mascot, and helicopter on the rooftop of Dreamy Room Level 472.
Move to the upper structures of Dreamy Room Level 472. On the left rooftop above the small grey building, snap the radar tower so its round dish leans slightly forward, with antennas pointing up. In the center back roof area, place the giant cat-dog mascot head wearing headphones; it should sit directly above the road, acting like the base’s quirky emblem. On the right roof extension, add the circular helipad and then position the yellow-and-green helicopter on top, angled diagonally toward the viewer’s lower-right. Make sure the helicopter’s tail does not clip the glass walls below. These rooftop pieces give Dreamy Room Level 472 its playful personality, mixing serious military equipment with a cute mascot and bright helicopter.
Step 5. Place the gate, signs, and training yard props around Dreamy Room Level 472.
With the core in place, decorate the outer ring of Dreamy Room Level 472. On the far left edge, build the entrance gate: put the striped barrier gate on the front, the vertical door frame behind it, and a coil of razor wire stretching along the top fence. Add the triangular warning sign with an exclamation mark just outside the gate, plus a tall blue traffic light pole slightly behind it. On the far right edge, mirror this feel with another tall blue signal pole and a run of razor wire behind the shooting range. In the right-upper yard, place three target boards on stands, a stack of wooden crates, a leaning yellow hazard sign, and two blue floor mats. The mats should sit near the targets, giving Dreamy Room Level 472 a clear training and practice zone.
Step 6. Place control room furniture and storage items in the lower rooms of Dreamy Room Level 472.
Finally, furnish the three lower rooms that complete Dreamy Room Level 472. In the bottom-left control room, line the back wall with three monitors and control panels on a long desk. Add two stools in front of the consoles and a small round side table. Put a potted plant with green leaves in the left corner and orange safety rails along the front edge of the platform. In the center lower room, arrange the tall cabinet on the left wall, stacks of grey crates in the middle, and three barrels (two green, one purple) near the front. Add a closed door on the right wall. In the garage room on the right, keep the jeep already parked, then place a long green bench behind it and another orange safety rail at the front. Now every corner of Dreamy Room Level 472 feels organized and purposeful.
Notes and Precautions
While playing Dreamy Room Level 472, the main risk is placing items a few pixels off, which can prevent later objects from snapping into place. Always zoom in before setting complex clusters like the three left tanks or the rooftop radar tower. In Dreamy Room Level 472, the glass walls create visual illusions; double-check whether an object belongs inside a room or on the outside platform. Vehicles must never overlap each other or the barricades, and the helicopter only locks correctly when fully centered on its circular pad. If something refuses to snap, remove nearby decorative pieces first, fix the main object, then return the details. Treat Dreamy Room Level 472 as a precise puzzle rather than free decoration, and you’ll avoid most frustration.
Tips and Tricks from top player
Top players treat Dreamy Room Level 472 as three mini-zones: the central road and building, the exterior defenses, and the interior rooms. Solve each zone separately to stay organised. In Dreamy Room Level 472, place the biggest items first—command building, road, tanks, jeep, and helicopter—before touching any crates, signs, or barrels. Use environmental clues: barriers and tires clearly relate to the road, while targets and mats belong near the shooting range. If you get stuck, temporarily drag suspicious objects near their likely area and see where the snapping outline appears. Another pro trick is to compare symmetry; many props on Dreamy Room Level 472 echo each other left and right, so if you’ve placed one side correctly, mirror that logic on the other.
Final scene description of Dreamy Room Level 472
When fully completed, Dreamy Room Level 472 becomes a compact, cartoon-style military base bustling with implied activity. Three green tanks line the lower-left platform behind glass, while another tank and a sturdy jeep guard the right side. The central road cuts through the scene, flanked by striped barricades, loose tires, and a bright red hydrant. Above, the glass command building glows softly, crowned with a grinning headphone-wearing mascot and a ready-to-launch helicopter. To the right, a careful training yard holds target boards, mats, and crates beneath razor wire and tall signal poles. Below, the control room bristles with monitors and consoles, and the storage room is stacked with crates and barrels. Everything in Dreamy Room Level 472 has a clear, logical place, turning the once-empty shell into a tidy, story-rich strategic outpost.