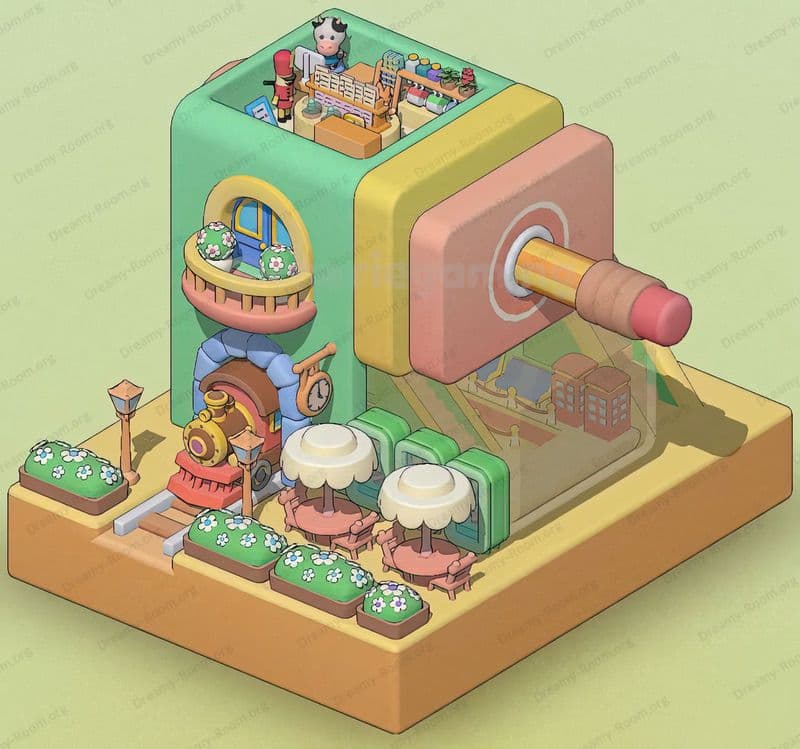
Dreamy Room Level 132
Dreamy Room Level 132 guide - Dreamy Room 132 Walkthrough & Solution.

Important Notice Regarding Level Numbering
Due to frequent changes in Dreamy Room's level numbering and differences between platforms (Android/iOS) – for example, level 132 on Android might not be the same as level 132 on iOS – the text guide below may not always match the images and video above. Please prioritize the image and video guides. If you find that the guide content doesn't match your current level, please visit the All Level Walkthroughs page to find the correct guide based on level images. Thank you for your understanding.
Dreamy Room Level 132 Walkthroughs & Guide
Step 1. Place the loft platform against the left wall in Dreamy Room Level 132
In Dreamy Room Level 132, begin by dragging the loft platform base from your inventory and positioning it flush against the left wall of the empty room canvas. This initial foundation is crucial in Dreamy Room Level 132 because it supports every subsequent element you’ll add and dictates the flow of the entire layout. Align the platform’s two support columns so they sit equidistant from the front and back corners—the game will highlight a green snap indicator when you’ve nailed it. Dreamy Room Level 132 requires precision here: notice the built-in railing section on one side, and rotate the piece so that this railing faces inward toward the room’s center. If the snap guide doesn’t appear, nudge the platform up or down slightly until you see the green outline. Proper alignment in Dreamy Room Level 132 ensures you can attach the ladder, place furniture, and add décor seamlessly in the next steps without blocking or overlapping elements.
Step 2. Place the ladder, mat, and topiary in Dreamy Room Level 132
Next in Dreamy Room Level 132, locate the wooden ladder piece in your parts menu and snap it to the front edge of the loft platform rail. The ladder should click into place directly below the platform’s notch—this connection point is unique to Dreamy Room Level 132 and easy to miss if you rush. Then, pick the butterfly-patterned floor mat and position it on the ground, just to the left of the ladder’s base. In Dreamy Room Level 132, that mat anchors the scene visually and helps guide foot traffic through your workspace. Finally, grab the two-tiered topiary tree from the greenery tab and set it firmly in the back-left corner of the room. Make sure the yellow-flowered top sits above the green foliage layer; this precise orientation is key for decorative balance in Dreamy Room Level 132 and will unlock the next batch of items once the game confirms correct placement.
Step 3. Place the plush couch, potted fern, and book stack on the loft in Dreamy Room Level 132
In Dreamy Room Level 132, drag the two-seater golden couch up onto the loft platform and align it centrally against the back railing. Snap it so its legs click into the pre-set slots on the platform floor. Immediately after, select the small potted fern and place it to the left side of the couch—this leafy accent must snugly touch the couch’s armrest to register correctly in Dreamy Room Level 132. Then choose the stack of three pastel books and lay them flat to the right of the couch cushions, letting the top book’s corner slightly overlap the couch seat for a cozy, lived-in look. Remember, Dreamy Room Level 132 tracks micro-adjustments: a half-tile offset can prevent the game from recognizing proper alignment. Once everything glows green, you’ll know the loft zone is perfectly furnished and ready for the next decorative layer.
Step 4. Arrange the wall art, clock, lamp, and hanging plant in Dreamy Room Level 132
Dreamy Room Level 132 calls for thoughtful wall decoration to balance your newly placed furnishings. First, select the orange sports car poster and snap it to the right wall, positioning its center at eye level—about two grid squares above the loft floor. Next, place the small black-framed photograph just beneath the poster, offset by one square to the left so it doesn’t overlap. Then, choose the oversized industrial clock and align it above the doorway area; in Dreamy Room Level 132, the clock’s hook must sit in the hidden notch provided by the wall texture. To the left, grab the single-bulb hanging lamp and attach it just above the window grid, ensuring its cord hovers near the ceiling corner. Finally, pick the trailing vine planter and snap it into the window’s leftmost pane. This completes the vertical design in Dreamy Room Level 132 with visual interest from top to bottom.
Step 5. Set up the workshop bay and mechanic figures in Dreamy Room Level 132
For the workshop bay in Dreamy Room Level 132, select the hydraulic lift platform and snap it onto the floor beneath the loft, centering it horizontally. Then position the bright orange hatchback car onto the lift, aligning its wheels with the lift posts until you see the green highlight. Underneath, place the little mechanic doll so its head peeks out from beneath the car; in Dreamy Room Level 132, the doll’s head must overlap the lift’s shadow for the game to accept it. Move to the right and snap the blue compact car next to the hatchback, leaving one tile gap. In that gap, set the single black tire standing upright and then add the brown toolbox at the front of the tire. Conclude this zone by placing the silver air compressor beside the toolbox. These mechanical details shine in Dreamy Room Level 132 and unlock your final decorative elements.
Step 6. Install the car wash arch and final touches in Dreamy Room Level 132
Finally for Dreamy Room Level 132, position the golden wash station arch on the right side of the room, aligning its base with the raised entrance steps. The foam brushes should hang under the curved frame—snap each cylinder individually until the game confirms proper placement. Drag the transparent water dispenser to the right of the arch, letting its base overlap the grey tile edge. Add the curly yellow hose behind the blue car so that one end clips into the dispenser spout; this connection is unique to Dreamy Room Level 132 and will only lock if aligned perfectly. Double-check each foam brush cylinder, hose bend, and base plate: Dreamy Room Level 132 requires this final precision for the level to complete and reveal the full, decorated scene.
Notes and Precautions
- During Dreamy Room Level 132, always watch for the green snap indicators. Misaligned pieces—even by half a tile—won’t register and can block progress.
- Players of Dreamy Room Level 132 should rotate objects fully before placement; some items have hidden snap points that only engage at specific angles.
- Avoid overlapping zones: in Dreamy Room Level 132, furniture and décor cannot share grid cells. If an item refuses to snap, check adjacent objects for slight encroachments.
- Save frequently as you place key pieces. Dreamy Room Level 132 autosaves upon successful snaps, but manual saves protect against accidental resets.
Tips and Tricks from top player
- Pro tip for Dreamy Room Level 132: complete the loft and wall décor first to prevent camera angle issues when placing floor items.
- In Dreamy Room Level 132, leverage the rotate command (right-click) to preview hidden snap hooks before final placement.
- Quick save feature in Dreamy Room Level 132 can be used to test multiple layouts—simply reposition a single item and reload to compare visual effects instantly.
- High-contrast grid mode helps in Dreamy Room Level 132 when aligning complex objects like the car lift and wash arch.
Final Scene Description
At the culmination of Dreamy Room Level 132, the space radiates charm and purpose as a fully realized garage workshop. On that platform sits a plush golden couch adorned with a rose pink cushion and a dusty peach pillow, flanked by a leafy fern in a black pot and a neat stack of pastel books. Against the back wall, an industrial clock and a vibrant sports car poster hang beside a small framed photograph, adding personality to the mint green walls. Underneath, a workshop bay hosts a bright orange hatchback on hydraulic lifts, with a miniature mechanic doll peeking out from beneath. The wash area features foam brushes suspended under a golden arch emblazoned with the word “WASH,” promising sparkling results. Overhead, a single bulb lamp hangs near a grid window, and a trailing vine plant balances the scene, completing the playful yet functional design of Dreamy Room Level 132.


