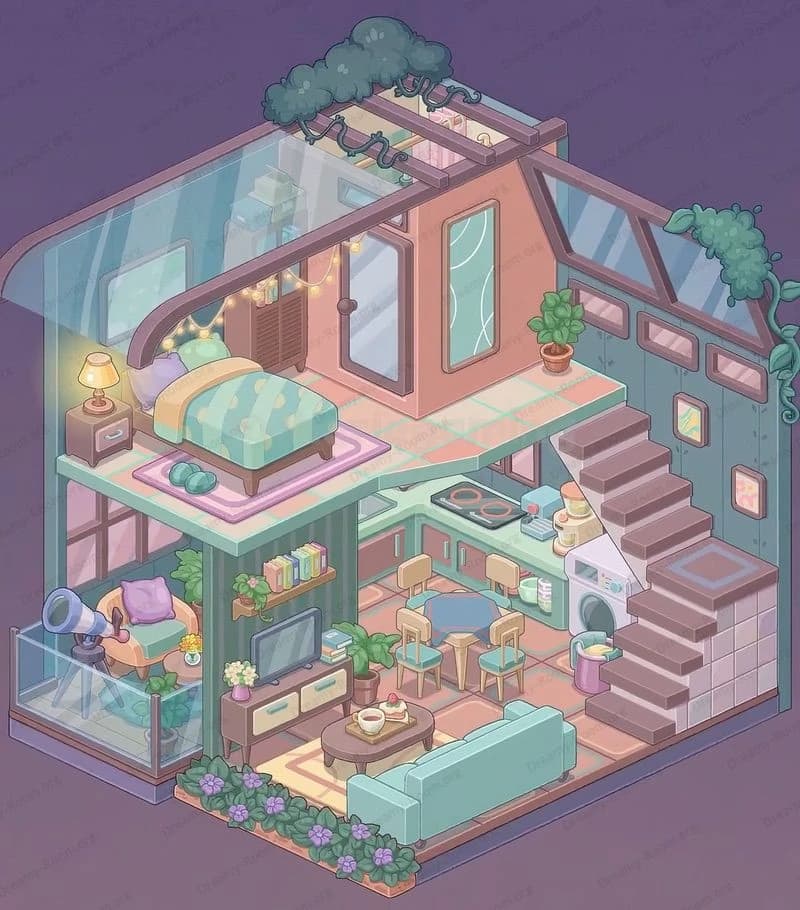
Dreamy Room Level 305
Dreamy Room Level 305 guide - Dreamy Room 305 Walkthrough & Solution.

Important Notice Regarding Level Numbering
Due to frequent changes in Dreamy Room's level numbering and differences between platforms (Android/iOS) – for example, level 305 on Android might not be the same as level 305 on iOS – the text guide below may not always match the images and video above. Please prioritize the image and video guides. If you find that the guide content doesn't match your current level, please visit the All Level Walkthroughs page to find the correct guide based on level images. Thank you for your understanding.
Dreamy Room Level 305 Walkthroughs & Guide
Step 1. Place the pumpkin house body on the rear center of the dock (Dreamy Room Level 305).
Drag the full pumpkin house so it sits squarely on the wooden dock, centered from left to right and pushed slightly to the back so there is walking space in front. The doorway should face the stream and waterfall on the right edge. Nudge until the curved pumpkin base aligns with the dock planks without overhanging. This is the anchor for Dreamy Room Level 305, so confirm that the house rim is parallel to the dock’s front edge; that alignment later determines where the rope ramp, rail posts, and string lights will attach. When the placement is correct, you’ll see equal deck margins on both left and right sides.
Step 2. Cap the roof, stem, and leaf; add the front banner and windows (Dreamy Room Level 305).
Snap the teal leaf roof onto the pumpkin, then fit the twisted brown stem so it tilts slightly back-left. Hang the pastel triangular pennant banner beneath the roofline, centered over the door. Add two round windows with mint shutters on the house’s left half—one just above the awning line, one on the side panel—so they read as a stacked pair from the porch. On the right side, attach the gourd-shaped hanging lantern to the roof edge so it dangles near the door. These pieces define the house silhouette in Dreamy Room Level 305 and guide where exterior lights will drape.
Step 3. Build the porch details: posts, rail lights, jack-o’-lanterns, and the rope ramp (Dreamy Room Level 305).
Along the dock’s perimeter, set the stubby wooden posts at each corner and midway to form a railing rhythm. Thread the warm string-lights across the front and left edges of the porch, swagging between posts; keep one end near the rope ramp for continuity. Place the smiling jack-o’-lantern to the left of the door, another centered on the porch front, and a third below the ramp landing. Now drop the rope-plank ramp from the right side of the dock up to the pumpkin door at a gentle angle. In Dreamy Room Level 305 the ramp must leave a clear walkway under it for the stream candles placed later.
Step 4. Stage the left façade: striped awning and hanging gourds (Dreamy Room Level 305).
Attach the turquoise-and-lavender striped awning to the house’s left window so it projects over the porch rail. Under that awning, tuck two small gourd lamps so they sit like cozy shop lights. Balance the porch composition by placing a tiny pumpkin between the left corner post and the awning support. The awning should not extend beyond the dock—if it does, slide the house forward one tick. Dreamy Room Level 305 rewards symmetry: check that the banner, awning, windows, and lantern form a gentle diagonal that draws the eye from upper left (banner) to lower right (ramp).
Step 5. Illuminate the scene: moon, bats, and the enchanted tree (Dreamy Room Level 305).
Lock the full moon with bat silhouettes in the upper left sky, half veiled by soft clouds. Behind the porch, plant the bare, twisting tree on the left island edge. Spiral fairy lights up the trunk and along its branches so their glow mirrors the porch lights. This left-side glow balances the right-side waterfall’s brightness in Dreamy Room Level 305. Keep the moon high enough that bats do not overlap the roof, and make sure the tree’s base sits on land, not the dock. When done, the sky, moon, and tree create a halo that frames your pumpkin cottage from behind.
Step 6. Furnish the dining corner: table, chairs, fence, and giant grin pumpkin (Dreamy Room Level 305).
On the front-left ground, place the checkered green table so its long edge is parallel to the stream. Add two rustic chairs on the near side facing inward. Set the purple cauldron with a ladle on the table, plus a tiny pumpkin centerpiece. In front of the table, line three short picket-fence pieces as a playful border. To the table’s far left, park the oversized jack-o’-lantern with a neon-green grin, angled toward the diners. Cluster candles around the fence posts and pumpkin base. In Dreamy Room Level 305, this grouping should feel like a cozy picnic alcove under the porch lights.
Step 7. Dress the stream and under-dock glow: bridge, candles, and sparkles (Dreamy Room Level 305).
Under the right edge of the dock, verify the violet, starry stream runs toward the front-right waterfall. Place the small arched wooden cover/mini-bridge directly above the stream lip so water glows beneath the arch as it spills off the island. Now arrange candle clusters along the stream: one set under the ramp landing, another around the waterfall rim, and a third at the stream’s midsection beneath the porch. Their warm light should bounce off the purple water. In Dreamy Room Level 305, ensure the ramp clears these candles—none should clip into the ramp planks or the dock posts.
Step 8. Build the campfire nook with logs, ghost, and pumpkins (Dreamy Room Level 305).
To the right front of the dock, on the grass between the stream and the tent zone, form a semicircle: a small campfire in the center, two log seats flanking it, and a shy white ghost perched beside the nearer log. Scatter mini pumpkins at the logs’ feet and tuck more candles behind the fire to backlight the scene. Keep this nook clear of the waterfall path, and leave a little corridor to the tent so characters could walk through. Dreamy Room Level 305 looks best when this firelight overlaps the stream glow without touching the water edges.
Step 9. Assemble the tent and supply corner with crates and apples (Dreamy Room Level 305).
Place the salmon-pink tent on the far right meadow, pitched so its opening faces the campfire. Lean colorful toy wands/rockets just inside the entrance for whimsy. To the left of the tent, stack a small wooden crate and basket; fill them with apples and camping odds and ends to imply provisioning. Add a short tool bundle or stool next to the ramp’s base so it reads like a staging area for chores. The three conifer trees—two teal, one deeper green—go behind the tent, overlapping heights from front-right to back-right. This completes the right-side verticals for Dreamy Room Level 305.
Step 10. Final landscaping, pumpkins, and light polish (Dreamy Room Level 305).
Return to the waterfall edge and nestle extra pumpkins among the candle clusters. Check that the candle groups repeat along the porch front, ramp base, and stream mouth—warm, even spacing is key. Add a smiling pumpkin under the porch near the right corner post to echo the left porch pumpkin. Confirm the string lights: one chain along the porch rail, one wrapped around the bare tree. Tiny sparkles should dot the stream’s surface. In Dreamy Room Level 305, finish by micro-nudging items so nothing overlaps: chairs clear the fence, ramp clears the candles, and the awning’s shadow falls onto the porch, not into space.
Notes and Precautions
- Snap order matters. In Dreamy Room Level 305, place the house before rail posts, lights, and the ramp; shifting the house later will misalign every attachment.
- Clear paths. Leave walkable space from table → porch → ramp → door and from campfire → tent; avoid placing candles where the ramp lands.
- Light balance. If the left side looks too dark, your tree lights are probably too low or the moon is hidden behind the roof. Raise both slightly.
- Waterfall edge. The arched mini-bridge must sit exactly at the stream lip; if it’s too far forward, the waterfall will appear disconnected.
- Prop collisions. In Dreamy Room Level 305, the awning and banner can clip the windows if you haven’t seated the roof fully; re-snap the leaf cap and banner to fix.
- The vibe is cozy. There’s no timer; relax and let the scene come together at your pace.
Tips and Tricks from top player
- Work left to right. Veteran builders clear Dreamy Room Level 305 faster by finishing the left façade (awning, windows, porch pumpkin) before touching the ramp and campfire side.
- Group candles in odd numbers. Clusters of 3–5 feel natural and help you remember if one went missing.
- Use visual echoes. Mirror elements: porch pumpkins above, ground pumpkins below; banner triangles above, tent bunting/rockets to the right. This visual rhyme makes misplacements obvious.
- Edge snapping test. Toggle a candle near the stream—if it tries to snap onto the water, your bridge is not seated; fix the bridge first.
- Light trails. Run the porch string-lights first, then the tree wrap. If the brightness feels uneven, add one tiny candle to the fence corner to balance the left third of Dreamy Room Level 305.
- Final sweep. Zoom out; if the moon overlaps the roof or bats touch the leaf cap, nudge them left so the sky silhouette stays clean.
Final Scene Description
When Dreamy Room Level 305 is complete, the island glows like a pocket-sized harvest festival. A plump pumpkin house crowns the rear deck, capped with a teal leaf and curling stem, a pennant banner smiling above the round door. Warm string-lights lace the porch while a striped awning shades carved faces along the rail. Left, a checkered table with two chairs hosts a steaming cauldron beside a giant, grinning pumpkin and picket fence. Right, a rope ramp descends toward a campfire where a friendly ghost warms its hands, with pumpkins and candles twinkling by a purple, sparkling stream. A small arched bridge hugs the waterfall’s lip, and a pink tent rests under three conifers. Behind everything, a moon with fluttering bats and a light-wrapped bare tree frame the coziest Halloween night.


