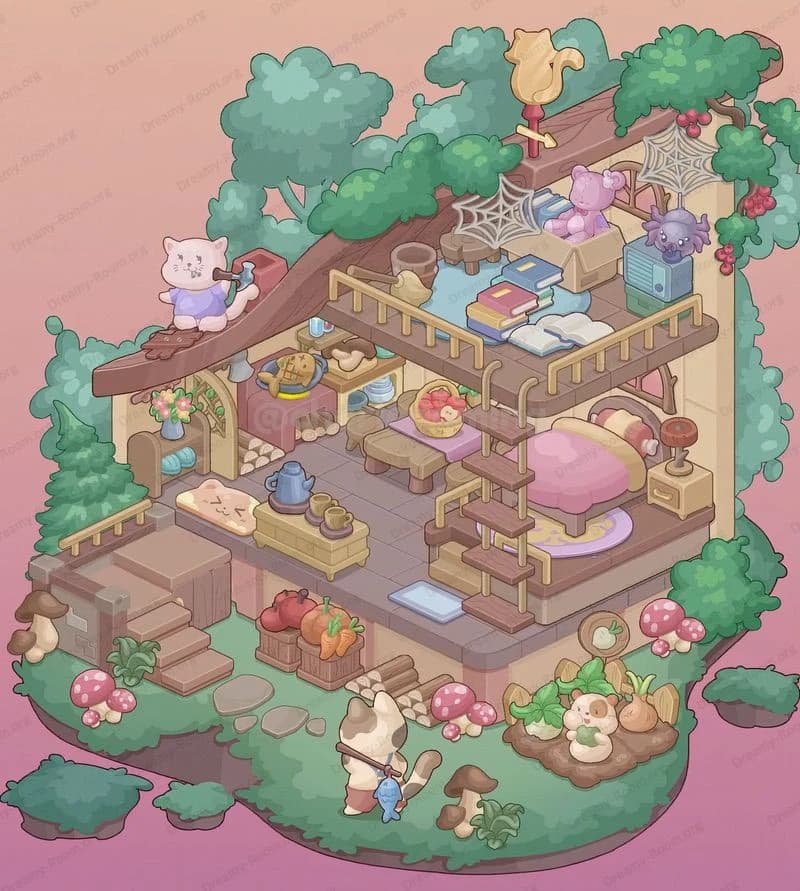
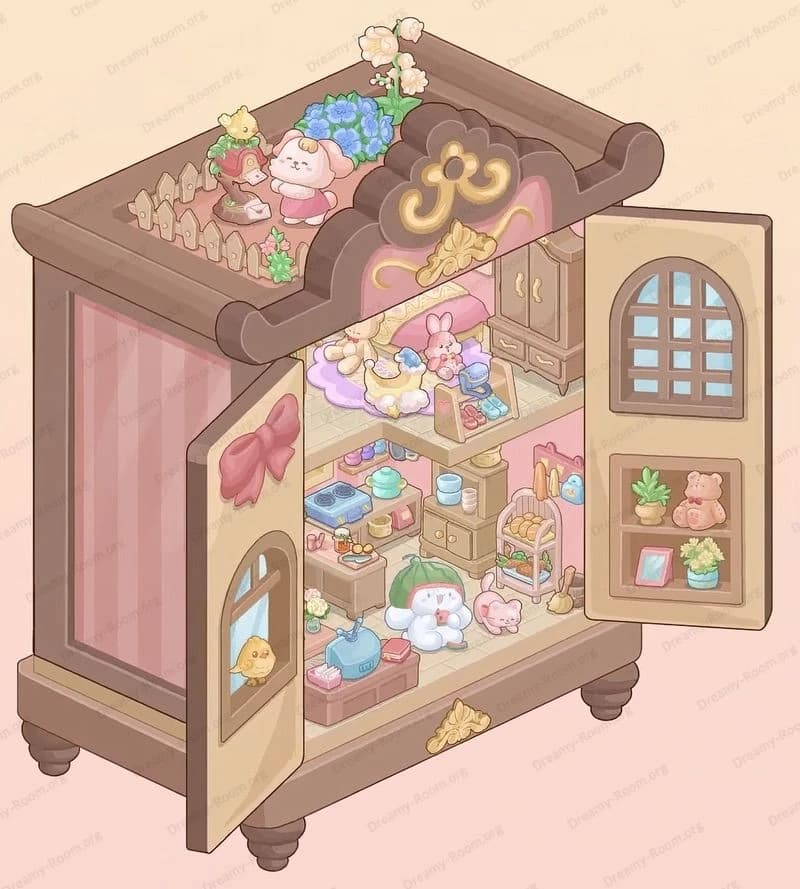
Dreamy Room Level 418
Dreamy Room Level 418 guide - Dreamy Room 418 Walkthrough & Solution.

Important Notice Regarding Level Numbering
Due to frequent changes in Dreamy Room's level numbering and differences between platforms (Android/iOS) – for example, level 418 on Android might not be the same as level 418 on iOS – the text guide below may not always match the images and video above. Please prioritize the image and video guides. If you find that the guide content doesn't match your current level, please visit the All Level Walkthroughs page to find the correct guide based on level images. Thank you for your understanding.
Dreamy Room Level 418 Walkthroughs & Guide
Step 1. Place the striped storefront awning on the front edge (Dreamy Room Level 418).
Begin by anchoring the wide pink-and-white striped awning to the front lip of the platform. Its corners should hug the front left and front right edges precisely; this establishes the ground-floor shop façade for Dreamy Room Level 418. Snap the beige balcony floor above it, matching the back wall angle so the upper railing will later align. Fit the beige posts that peek from the awning’s top; they are the vertical anchors for vines and the nest. Add the left wall window frame under the future balcony’s left corner—leave room for the emergency sign beneath it. This step sets the geometry that everything else in Dreamy Room Level 418 references, so check the awning’s shadow sits evenly on the tiles and that the balcony floor doesn’t overhang the right tree trunk.
Step 2. Place the right produce stall and “Juicy Fruit” sign (Dreamy Room Level 418).
On the lower right, slide in the slanted blue display and fill its trays with purple grapes, oranges, yellow pears, and pink peaches. Nudge the “Juicy Fruit” plank sign just above the stall, slightly right of center, with a small fruit cluster decorating its corner. Behind the stall, tuck a low green crate of leafy greens and a blue barrel; a wooden wheel with spokes leans to the left of those crates. Dreamy Room Level 418 is picky about angles: keep the stall parallel to the tile lines so the fruit pyramids face forward. Scatter two loose vegetables near the barrel to mirror the final image’s depth. Leave open space on the far right for the tree trunk and the egg nest that will sit on the canopy above.
Step 3. Place the entrance bay, appliances, and safety signage (Dreamy Room Level 418).
Under the awning’s left half, build the indoor nook. Push the blue refrigerator/freezer stack to the back, then a shelf of boxes beside it. On the left exterior pillar, attach the green emergency exit sign and set the red fire extinguisher below it. These two must be vertically aligned for Dreamy Room Level 418 to accept them. Outside, add the pink scooter angled slightly left, with its helmet bubble shield forward. Lean the blue “Welcome” sandwich board near the scooter’s front wheel. Tuck a rolled poster into the doorframe recess and drop a couple of fallen leaves at the base of the tree and by the stand. Keep the entrance floor clear—later, a seated character will need unobstructed space to nap.
Step 4. Place seating and the dozing customer (Dreamy Room Level 418).
Center a tiny round table with two stump-style stools in front of the stall. Against the middle of the lower façade, position the wooden lounge chair at a relaxed recline. Seat the sleepy mouse there, head tilted back and banana in hand, feet propped slightly forward. Dreamy Room Level 418 demands that the chair’s back aligns to the awning pole to create that cozy “under the shade” look. Tuck a purple cup on the table and a tall planter of lettuce behind the chair for color rhythm. This placement ensures the scooter (left), the seated guest (center), and the produce (right) form a welcoming street triangle that feels lively but still leaves the path open.
Step 5. Build the upstairs counter, fridge, and prep area (Dreamy Room Level 418).
Move to the balcony. Place the curved service counter along the front edge so its inner cutout faces back. Slide the tall sky-blue refrigerator to the rear center, its handle toward the right. Above the right counter corner, mount the twin wall shelves—fill them with mugs and colorful jars. On the back wall’s left, hang the “Today” chalkboard menu. Put the blender and smoothie jars near the fridge, plus a fruit bouquet atop the fridge. Dreamy Room Level 418 wants food props displayed: add toast with butter, a parfait, cake slice, and a bowl of chips along the counter. Don’t cross the plate overlaps; plates should sit inside the counter rim so the balcony rail won’t visually clip them later.
Step 6. Place the barista, customer, railing, and tableware (Dreamy Room Level 418).
Stand the cat barista behind the counter, centered so one paw points toward the parfait. Opposite, on the right balcony interior, place the smiling customer in a wide purple hat at the corner, facing left. Now snap in the wooden balcony railing flush with the floor’s front edge; its posts should align with the awning’s stripes below—this is a telltale alignment for Dreamy Room Level 418 correctness. Perch a white bird on the railing near the right customer and position another bird mid-flight to the scene’s far right. Scatter a cup and saucer pair before the customer and a serving tray beside the barista. This step completes the social focal point that makes the top floor feel alive.
Step 7. Fit signage, giant fruit arch, and door (Dreamy Room Level 418).
Attach the arched door with a round knob on the upper right wall. Over the door, assemble the rainbow “FRUIT BUFFET” sign—letters increasing from green to pink to blue. Curve the giant fruit garland across the top left: a sliced orange, purple grape cluster, and bright green fruit with leafy topper. Keep the garland high so it doesn’t collide with the fridge crown. Dreamy Room Level 418 also wants a small photo frame on the upper left wall beneath the garland; add it now. Place three color jars on the top shelf and make sure their profiles don’t merge. These colorful anchors guide players’ eyes to the upstairs entrance and set the cheerful tone for the buffet.
Step 8. Add canopy greenery, nest, microwave, and exterior details (Dreamy Room Level 418).
Crown the awning with two lush green bushes—one center-left and one right—then weave a dangling vine between them so a few leaves hang over the shopfront. On the awning’s far right, seat the bird’s nest with three white eggs among leaves. Balance that by placing the gray microwave on the awning’s far left top—door facing right and cord trailing back. Dreamy Room Level 418 checks these roofline props for left-right symmetry. Finally, plant the autumn-orange trees at the back left and the green-yellow tree at the back right; sprinkle fallen leaves around the scooter and the stand to echo the season. Step back to confirm that nothing blocks the market stall view from the street.
Notes and Precautions (Dreamy Room Level 418)
- Layering matters. In Dreamy Room Level 418, the balcony floor, railing, and counter must be placed before characters, or their outlines may clip.
- Signage clearance. Keep the “FRUIT BUFFET” sign high enough not to intersect the fruit garland.
- Awning loadout. The microwave sits left, nest right; reversing them will fail the likeness check for Dreamy Room Level 418.
- Safety icons. The emergency sign must be above the extinguisher with a small gap.
- Traffic flow. Leave a clear aisle from scooter to door and from stall to stools so the composition reads instantly.
- Color matching. If an item looks slightly off-hue, nudge its slot; the correct socket often “warms” the palette automatically in Dreamy Room Level 418.
Tips and Tricks from top player (Dreamy Room Level 418)
- Zone first. Break Dreamy Room Level 418 into four zones: lower-right market, lower-left street/scooter, upper prep area, upper social rail. Fill one zone at a time.
- Use shadows as rulers. On this level the awning shadow and tile grid are perfect alignment guides.
- Prop pairs = checks. Nest vs. microwave, birds vs. cups, sign vs. garland—placing one usually implies where its counterpart must go in Dreamy Room Level 418.
- Plate spacing. Keep a thumb-width between dish sprites to avoid visual merges.
- Character last. Drop the barista and customer only after counters and shelves, then fine-tune their gaze lines.
- Leaf sprinkle. Three clusters—by scooter, stall, and left tree—match the reference and help Dreamy Room Level 418 validate the scene.
Final Scene Description (Dreamy Room Level 418)
The finished scene shows a bustling Fruit Buffet perched above a friendly street market. Under the pink-striped awning, a pink scooter rests beside a welcome board while a sleepy mouse lounges near a stump-table and stools. To the right, crates overflow with grapes, pears, peaches, oranges, and greens under the “Juicy Fruit” sign. Above, a wooden railing frames the balcony where a cat barista serves parfaits, toast, and chips to a smiling guest in a purple hat; two white birds add motion. A sky-blue fridge, shelves of jars and mugs, and a “Today” board complete the prep area. Overhead, a rainbow “FRUIT BUFFET” sign glows beneath a garland of giant fruit, a vine-trimmed canopy bears a nest of eggs to the right and a microwave to the left, and autumn trees wrap everything in warmth—perfectly matching Dreamy Room Level 418.


