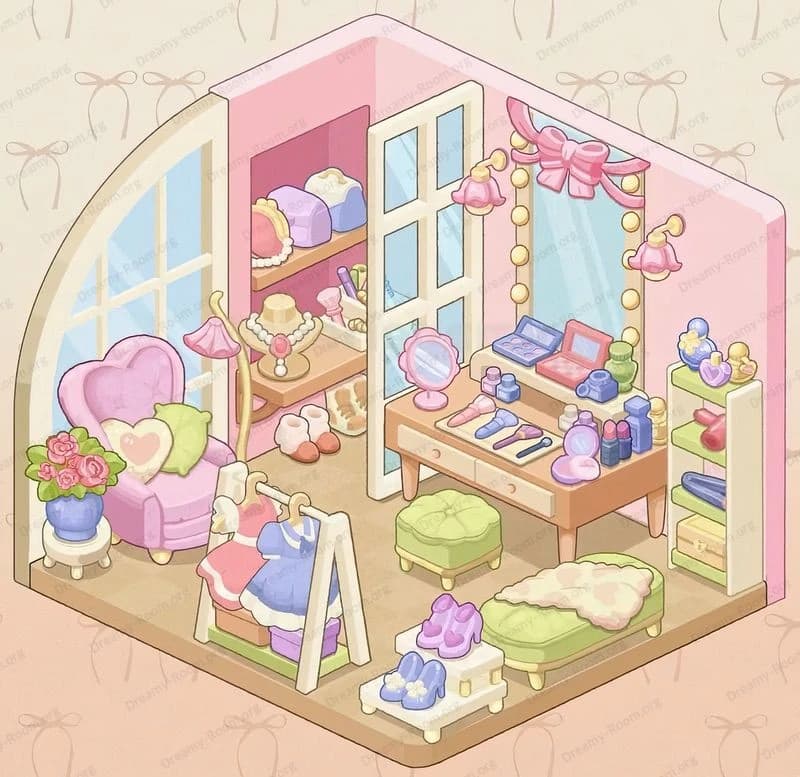
Dreamy Room Level 153
Dreamy Room Level 153 guide - Dreamy Room 153 Walkthrough & Solution.

Important Notice Regarding Level Numbering
Due to frequent changes in Dreamy Room's level numbering and differences between platforms (Android/iOS) – for example, level 153 on Android might not be the same as level 153 on iOS – the text guide below may not always match the images and video above. Please prioritize the image and video guides. If you find that the guide content doesn't match your current level, please visit the All Level Walkthroughs page to find the correct guide based on level images. Thank you for your understanding.
Dreamy Room Level 153 Walkthroughs & Guide
Step 1. Place the picket fence on the left side of the Dreamy Room Level 153 exterior ring
In Dreamy Room Level 153, the base ring around the pot is your starting canvas. To begin the Dreamy Room Level 153 walkthrough, take the small section of picket fence and align its five pastel slats along the left edge of the green ring. Position the fence so each post stands upright in the recessed groove just below the transparent glass cylinder. This placement is crucial in Dreamy Room Level 153 because it sets the decorative tone for the entire layout. Make sure the fence sits flush against the cylinder so that no slat overlaps the yellow star motifs on the ring. By securing the picket fence here, you establish balance and symmetry that anchor the rest of Dreamy Room Level 153.
Step 2. Arrange the decorative mushrooms at the front center of the Dreamy Room Level 153 base
Now focus on the front central area of Dreamy Room Level 153 to add charming mushroom accents. Carefully select the two red-and-white spotted mushrooms and press their bases into the two shallow slots just below the circular glass wall. In Dreamy Room Level 153, correct placement ensures the mushrooms frame the viewing window, drawing attention inward. Rotate each mushroom until its polka-dot cap is perfectly centered, with one sitting slightly left of center and the other slightly right, without blocking the floor view. Take time to adjust the spacing until the curved stems align with the surrounding star motifs on the ring. This delicate adjustment is a classic Dreamy Room Level 153 challenge that rewards precision.
Step 3. Position the beach ball, lifebuoy, watermelon slice, and drink on the right side of the Dreamy Room Level 153 base
Proceed to the right side of the base ring in Dreamy Room Level 153, where you will place the playful summer accents. First, set the colorful striped beach ball in the small indentation on the right edge of the green ring. Next, position the green-and-white lifebuoy immediately to its left, ensuring the buoy’s handles face outward for clear visibility. Then arrange the tangy-perfect watermelon slice on the flat platform, angling it so the red flesh faces the glass. Finally, place the tiny green drink cup with straw beside the watermelon, creating a miniature picnic scene. Each item you place in Dreamy Room Level 153 must sit flush in its slot, avoiding any overlap or tilt. This collection of accents brings a lively pop of color to Dreamy Room Level 153’s exterior ring.
Step 4. Add the wooden door, purple potted plant on stool, coat rack, fridge, and yellow teapot to the back wall of Dreamy Room Level 153
With the exterior complete, turn to the back wall of Dreamy Room Level 153 to build your cozy interior entrance. Begin by inserting the wooden door with its circular window just left of the center point on the glass wall. Then slide the small wooden three-legged stool slightly left of the door frame, and top it with the purple ceramic pot containing a green leafy plant—this detail anchors the left side of Dreamy Room Level 153 decor. Next, position the minimalist wooden coat rack directly to the right of the door, allowing its branches to peek above the fridge. Finally, add the vintage-style white refrigerator against the back wall and rest the bright yellow teapot on top. These elements in Dreamy Room Level 153 set the stage for your interior narrative.
Step 5. Furnish the center of Dreamy Room Level 153 with the radio, vase table, sofa, blanket, ottoman, and side table with lamp and plants
Next, furnish the center of Dreamy Room Level 153 with a blend of retro charm and modern comfort. Begin by placing the red vintage radio on the floor about one foot to the right of the refrigerator. Ensure the radio’s twin antennas are angled upward for an authentic Dreamy Room Level 153 look. In front of the radio, position the small wooden side table and adorn it with two delicate vases—a white wavy vase holding a pink blossom and a shorter pink ceramic vase. To the right, introduce the mustard-yellow armchair and drape the pale pink blanket over its right arm, creating a soft texture contrast in Dreamy Room Level 153. Directly in front of the armchair, place the blue-and-white striped ottoman to serve as a footrest. Finally, add the slender side table with two potted succulents and the yellow table lamp on top, enhancing the inviting atmosphere of Dreamy Room Level 153.
Step 6. Install the L-shaped kitchen counter, hang utensils, and set up stove accessories and sink station in Dreamy Room Level 153
Finally, outfit the right side of Dreamy Room Level 153 with a functional mini-kitchen that blends seamlessly with your cozy decor. First, press the L-shaped wooden counter into place along the right glass wall, ensuring the corner aligns with the cylinder’s curvature in Dreamy Room Level 153. Hang the wooden utensil rack above the counter and drape the three spoons so they face downward for easy access. On the stovetop section, position the two-burner pan and place the yellow plate neatly next to it. At the far right end of the counter, install the silver faucet and sink, then set the pastel-blue soap dispenser by the sink basin. Double-check each component in Dreamy Room Level 153 to confirm everything clicks into its designated slot. This step completes the interactive kitchen vignette of Dreamy Room Level 153.
Notes and Precautions
When exploring Dreamy Room Level 153, always handle each decorative element with care to avoid misalignment. Keep in mind that Dreamy Room Level 153 relies on precise placement, so avoid forcing any piece into a slot if it doesn’t fit smoothly. Rinse any debris in the indentation areas before placing items in Dreamy Room Level 153 to ensure a snug fit. Pay attention to the orientation of curved objects, such as the mushrooms and the lifebuoy, because incorrect angles in Dreamy Room Level 153 can block interior visibility. Finally, if you encounter an object that seems stubborn, check the depth of its groove so as not to damage the glass cylinder during your Dreamy Room Level 153 session.
Tips and Tricks from top player
One tip for acing Dreamy Room Level 153 is to start with the largest exterior pieces first, so you can use them as reference points for smaller items. Seasoned players of Dreamy Room Level 153 recommend rotating the entire ring slightly to check for recessed grooves before placing accessories. For Dreamy Room Level 153, group similar items—like the mushrooms or the kitchen utensils—together on a tray so you can quickly pick and place without fumbling. Consider using a stylus or precise tool to align slender pieces, reducing glare from the glass in Dreamy Room Level 153. Lastly, if you get stuck, revisit your last successful placement in Dreamy Room Level 153’s steps to identify any small misalignments that could cascade into bigger obstacles.
Final Scene Description
In the grand reveal of Dreamy Room Level 153, you see a meticulously arranged miniature world encased in clear glass. A terracotta rim and a green star-speckled base ring frame the scene. Inside, a mustard-yellow armchair nestles beside a retro red radio and a blue-and-white striped ottoman. To the left, a wooden door with a round window appears alongside a purple potted plant on a three-legged stool and a slender coat rack. A white refrigerator topped with a yellow teapot completes the backdrop. Along the right wall, an L-shaped wooden counter holds a two-burner pan, a yellow plate, hanging spoons, a shiny faucet, and a pastel soap dispenser. Outside, a picket fence, polka-dot mushrooms, a colorful beach ball, a green-and-white lifebuoy, and a watermelon slice with a drink add playful charm. Every element in Dreamy Room Level 153 is positioned to maximize visual harmony and delight.


