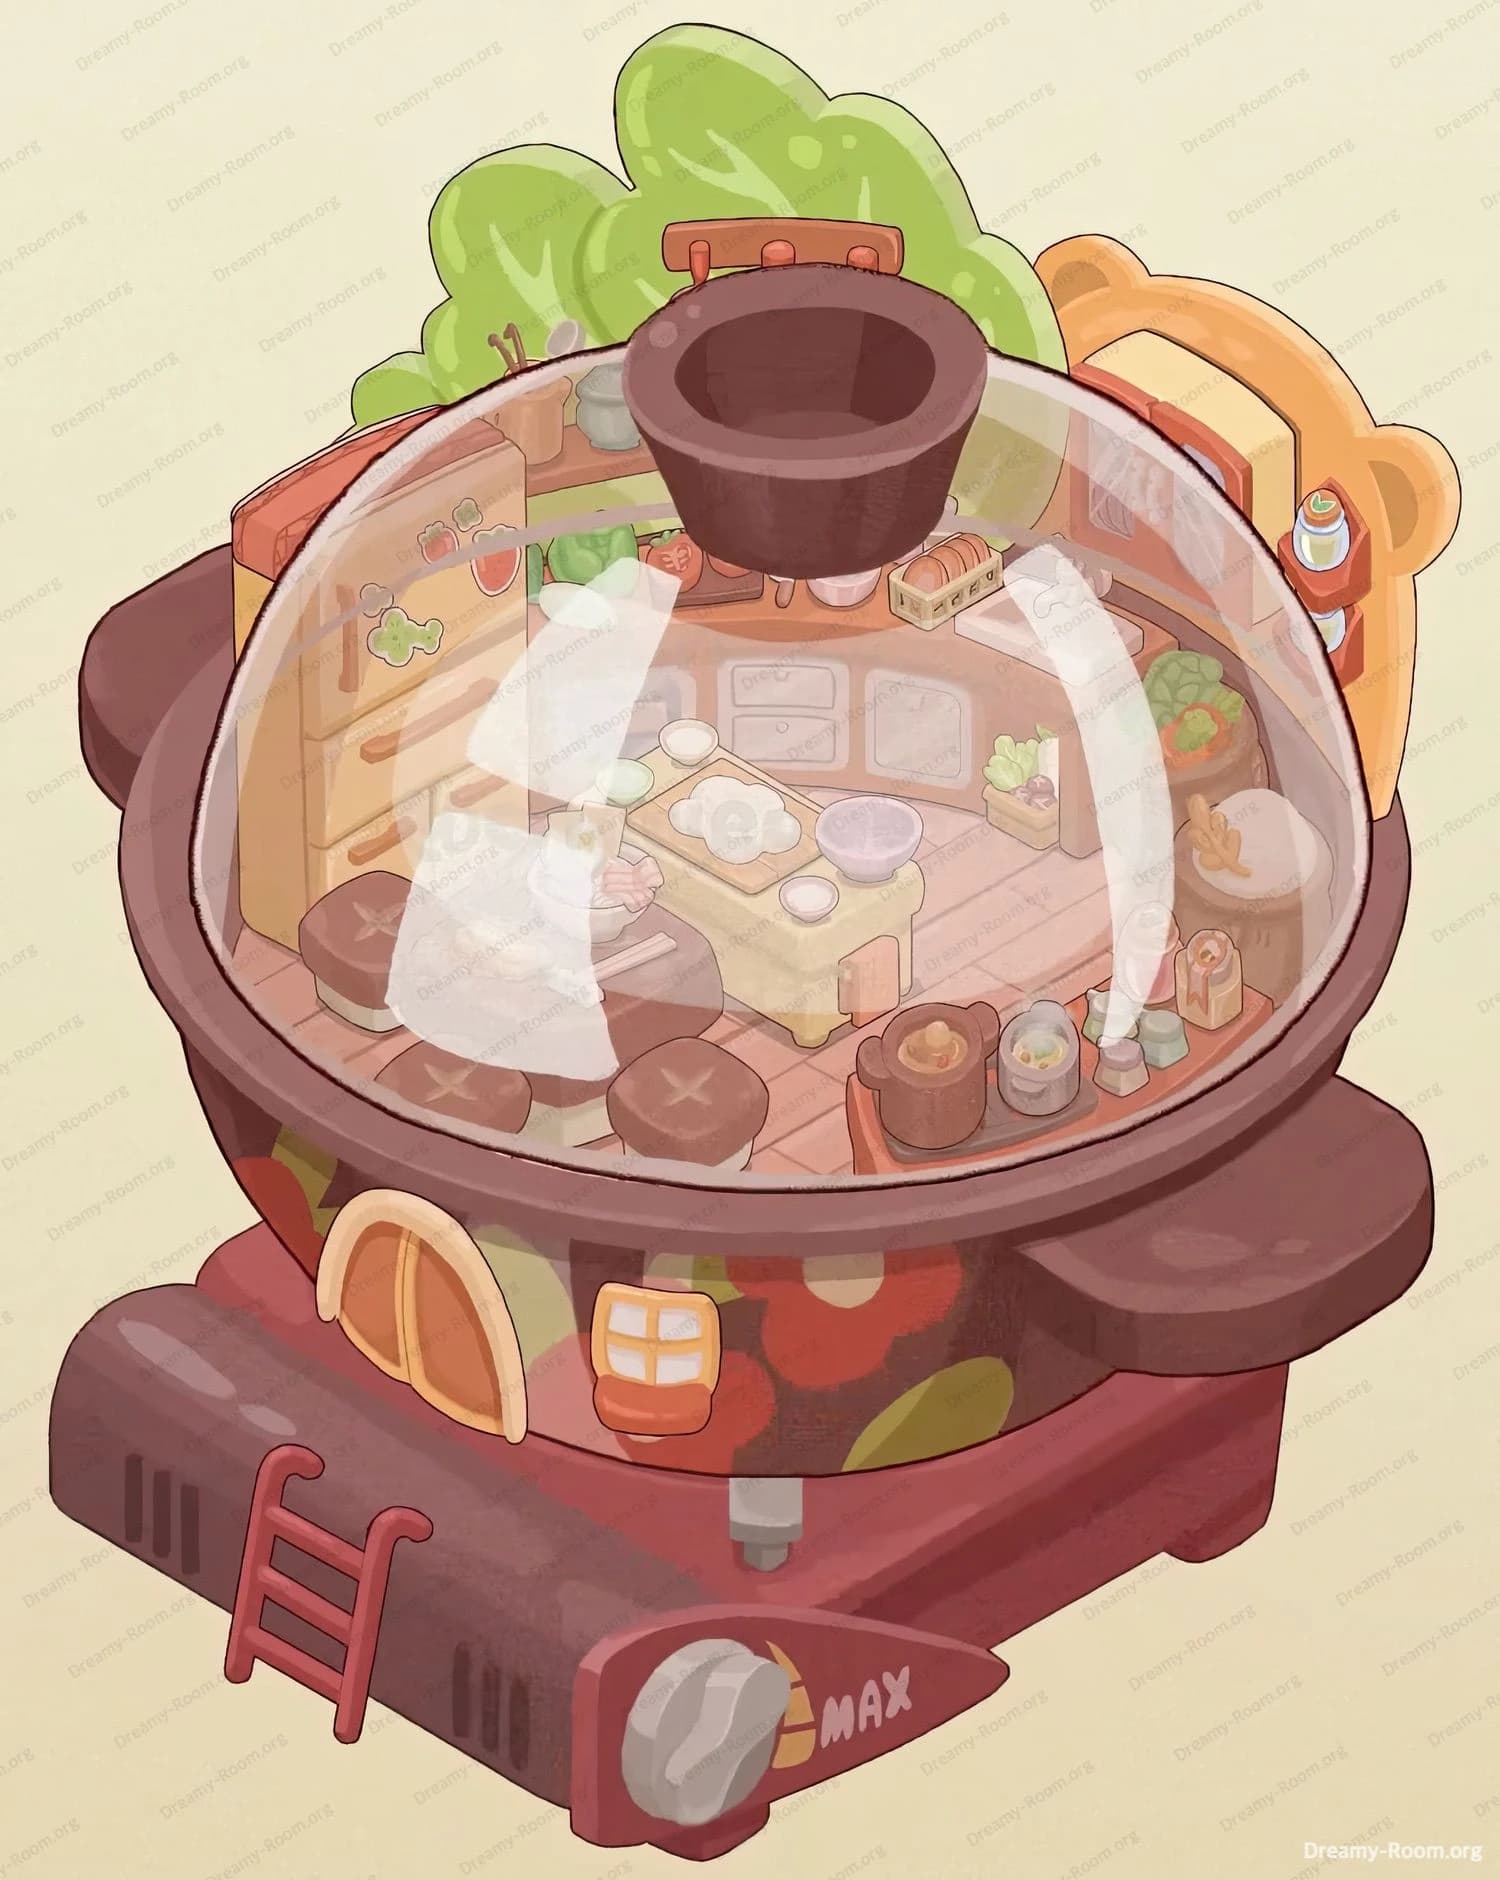
Dreamy Room Level 120
Dreamy Room Level 120 guide - Dreamy Room 120 Walkthrough & Solution.

Important Notice Regarding Level Numbering
Due to frequent changes in Dreamy Room's level numbering and differences between platforms (Android/iOS) – for example, level 120 on Android might not be the same as level 120 on iOS – the text guide below may not always match the images and video above. Please prioritize the image and video guides. If you find that the guide content doesn't match your current level, please visit the All Level Walkthroughs page to find the correct guide based on level images. Thank you for your understanding.
Dreamy Room Level 120 Walkthroughs & Guide
Dreamy Room Level 120 transforms a blank stone chamber into an enchanting medieval workshop. In this guide to Dreamy Room Level 120, you’ll master the placement of every rack, ladder, banner, and bench. Ready your inventory and prepare for the puzzle of precise placement in Dreamy Room Level 120.
Step 1. Place the Wooden Boot Rack and Weapon Rack in the Bottom-Left Corner for Dreamy Room Level 120
In Dreamy Room Level 120, start by selecting the sturdy wooden boot rack from your inventory. Drag it gently to the bottom-left corner of the room, ensuring it sits flush against the left wall without overlapping the base molding. After the rack is aligned, choose the small fence-style weapon display stand and move it directly in front of the boot rack so that axes and spears lean neatly against its slats. This precise combination anchors the medieval atelier vibe and helps you gauge spacing for other objects in Dreamy Room Level 120.
Step 2. Install the Ladder, Arched Window, and Vining Greenery on the Left Wall for Dreamy Room Level 120
Next in Dreamy Room Level 120, grab the wooden ladder prop and lean it against the left wall, slightly to the right of the boot-and-weapon display. Make sure the ladder’s base slots onto the floor exactly where you see the faint wooden carve marks. Then select the arched window element and place it just above the ladder’s midpoint, aligning it so the ledge sits parallel to the stone blocks. Finally, pick the trailing vine bundle and snap it over the top edge of the window, letting the leaves drape naturally. These three pieces combined will evoke a cozy, lived-in corner that defines the ambiance of Dreamy Room Level 120.
Step 3. Hang the Decorative Banner on the Upper Left Wall for Dreamy Room Level 120
In Dreamy Room Level 120, locate the green heraldic banner with its gold diamond emblem. From your decor palette, drag the banner high on the left wall, positioning its hanging rod just beneath the room’s crown molding. Adjust the banner so it’s centered between the ladder and the window below, ensuring equal spacing on either side. You’ll know it’s correctly placed in Dreamy Room Level 120 when the banner’s bottom hem floats about two brick-rows above the floor. This step adds color and heraldic flair, reinforcing the narrative that this room belongs to a noble artisan.
Step 4. Install the Second-Floor Railing for Dreamy Room Level 120
Move on to the upper story in Dreamy Room Level 120 by selecting the gray metal railing segments. Place the first railing post at the left corner where the wall meets the floor edge. Then snap additional railing sections along the open front, spanning to the right wall at the same height. Ensure each railing post clicks firmly into place to avoid gaps or overlaps. Proper railing alignment in Dreamy Room Level 120 is crucial for realism and prevents later objects from clipping through. Once the railing is secure, you’ll have a functional overlook to furnish next.
Step 5. Set Up the Dining Nook—Table, Chairs, Decanter, Goblet, and Roasted Chicken—for Dreamy Room Level 120
In Dreamy Room Level 120, start by placing the round wooden table on the second floor, close to the right corner of the railing but leaving enough room for chairs. Next, pick two matching chairs and position them opposite each other around the table, angling them slightly toward the center. Select the golden decanter and set it in the middle of the tabletop, then add the crystal goblet to its left. Finally, place the plate of roasted chicken to the right of the decanter. Watch for the snapping guides in Dreamy Room Level 120 that will indicate correct centering and balance—this cozy dining vignette is both decorative and a testament to your keen eye.
Step 6. Add the Potted Plant to the Railing for Dreamy Room Level 120
Now in Dreamy Room Level 120, choose the green potted plant asset with trailing leaves. Drag it up to the railing on the upper floor, snapping it between two posts roughly one-third in from the left end. The plant should lean slightly outward, with foliage draping over the railing’s edge. If the pot clips through the metal bars, nudge it a hair to the left or right until it locks cleanly. This verdant accent adds life to Dreamy Room Level 120 and lends a natural counterpoint to the stone and wood surroundings.
Step 7. Position the Tall Cabinet of Scrolls and Potions on the Back Wall for Dreamy Room Level 120
In Dreamy Room Level 120, locate the tall wooden cabinet in your inventory. Move it to the back wall of the second floor, centering it between the railing’s right post and the right-hand corner of the room. Ensure its base sits flat on the floor tiles and its top is just below the ceiling bevel. Once the cabinet snaps in place, open your decor menu and add rolled scrolls, colored potion bottles, and stacked tomes inside its cubbies. This stately piece not only fills vertical space but reinforces the workshop’s scholarly aspect in Dreamy Room Level 120.
Step 8. Place the Small Stool Next to the Cabinet for Dreamy Room Level 120
Next in Dreamy Room Level 120, select the round wooden stool with cushioned top. Position it immediately to the right of the cabinet, sliding it close enough that its legs brush the cabinet’s edge. The cushion should face outward, ready for a scholar or tinkerer to sit. If the stool seems too close, pull it back a few pixels until you see the green snap indicator. Proper stool placement in Dreamy Room Level 120 adds a sense of invitation and human scale to the lofty shelving unit.
Step 9. Build the Blacksmith’s Bench on the Lower Floor for Dreamy Room Level 120
Return to the ground floor in Dreamy Room Level 120 and select the blacksmith’s workbench from your items list. Drag it to the center-left area, placing its golden anvil block atop the wooden frame. The anvil should align flush with the edge of the bench platform. Then add the vice attachment to the front edge, ensuring it doesn’t protrude past the floor boundary. In Dreamy Room Level 120, this bench is the heart of the crafting area and demands exact alignment so future characters will interact seamlessly with it.
Step 10. Add the Blacksmith Character and Display Helmets for Dreamy Room Level 120
In Dreamy Room Level 120, choose the cat-like blacksmith NPC holding a hammer. Place it behind the bench so it appears mid-swing on the anvil. Next, pick the trio of metal helmets and set them in a neat row atop the bench’s wooden surface. Align each helmet so it faces outward and sits parallel to the bench edges. This lively configuration in Dreamy Room Level 120 brings action to your workshop scene and offers visual cues for interaction hotspots.
Step 11. Position the Visiting Knight and Arrange Wall Shields and Swords for Dreamy Room Level 120
Now in Dreamy Room Level 120, find the armored knight figure and place it at the bench’s front-right corner, as if waiting for newly forged gear. Then select the three decorative shields and mount them on the right wall: one at eye level, one slightly above, and one below, forming a gentle arc. Finally, pick the pair of swords on wall racks and slot them just beneath the shields, with blades parallel and hilts facing inward. The symmetry and spacing are vital in Dreamy Room Level 120 to avoid clutter and maintain readability.
Step 12. Mount the Deer Trophy, Position Crates of Greenery, and Place Candles for Dreamy Room Level 120
In Dreamy Room Level 120, grab the deer head trophy and snap it high on the right wall, centered above the shield arrangement. Next, select the wooden crates with trailing plants and place them on the floor in the bottom-right corner, letting vines spill naturally over the edges. Finally, pick the two lit candles—one for the bench corner and one beside the boot rack—and set them so their flames face into the room. Proper candle placement in Dreamy Room Level 120 will cast soft pools of light and complete the immersive medieval atelier atmosphere.
Notes and Precautions
When tackling Dreamy Room Level 120, pay close attention to snapping guides and green alignment indicators. Misplaced items can block character interactions or cause clipping, so always verify that each piece locks in cleanly before moving on. The stone walls can obstruct large objects—beware of dragging cabinets too close to corners, or you may find them hovering or clipping. Lighting elements like candles should never overlap other objects in Dreamy Room Level 120, or their glow won’t render correctly. Finally, if the railing segments refuse to connect, check that the floor segment is aligned to exact grid increments—minor drift can break the connection.
Tips and Tricks from Top Player
Veteran decorators of Dreamy Room Level 120 recommend starting with corner-anchored items (like the boot rack and cabinet) before filling mid-room spaces; this approach ensures you maintain proper spacing. Use the preview overlay in “placement mode” to anticipate how the light from candles and windows will interact with furnishings in Dreamy Room Level 120. Holding the shift key while dragging can temporarily disable grid snapping—use this to fine-tune overlaps for a more organic look. Finally, save your layout before adding characters, as repositioning NPCs in Dreamy Room Level 120 can sometimes reset nearby props—preventing rework headaches.
Final Scene Description
In Dreamy Room Level 120, the final scene reveals a harmonious medieval workshop bathed in the warm glow of two flickering candles. The bottom-left corner hosts a neatly tiered wooden boot rack flanked by a weapon fence, inviting visitors to don gear before ascending the ladder to the upper loft. Above, a round table set with a decanter, goblet, and a hearty roasted chicken sits beside a tall cabinet filled with scrolls and potions, while vines frame the arched window overhead. A green banner adds heraldic color to the left wall. Below, the blacksmith’s bench showcases freshly forged helmets as a cat-like artisan hammers at a golden anvil, watched by an armored knight awaiting his new helm. Shields and swords adorn the right wall, crowned by a majestic deer head trophy. Nearby, wooden crates burst with greenery, tying nature into craftsmanship—and every element in Dreamy Room Level 120 feels purposefully placed and alive.


