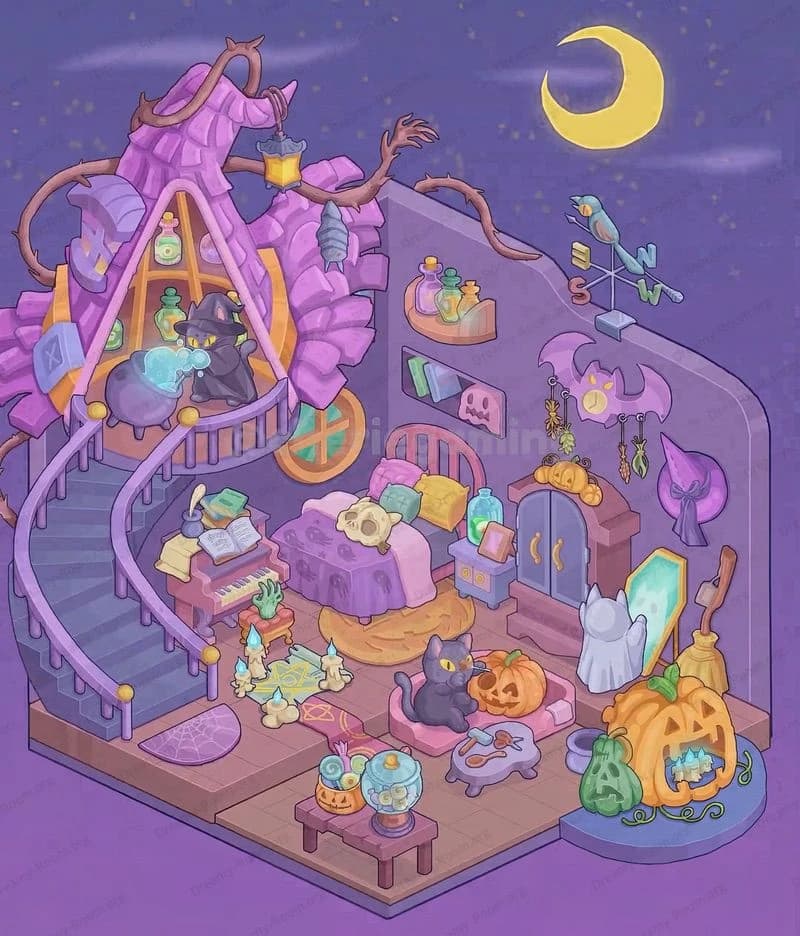
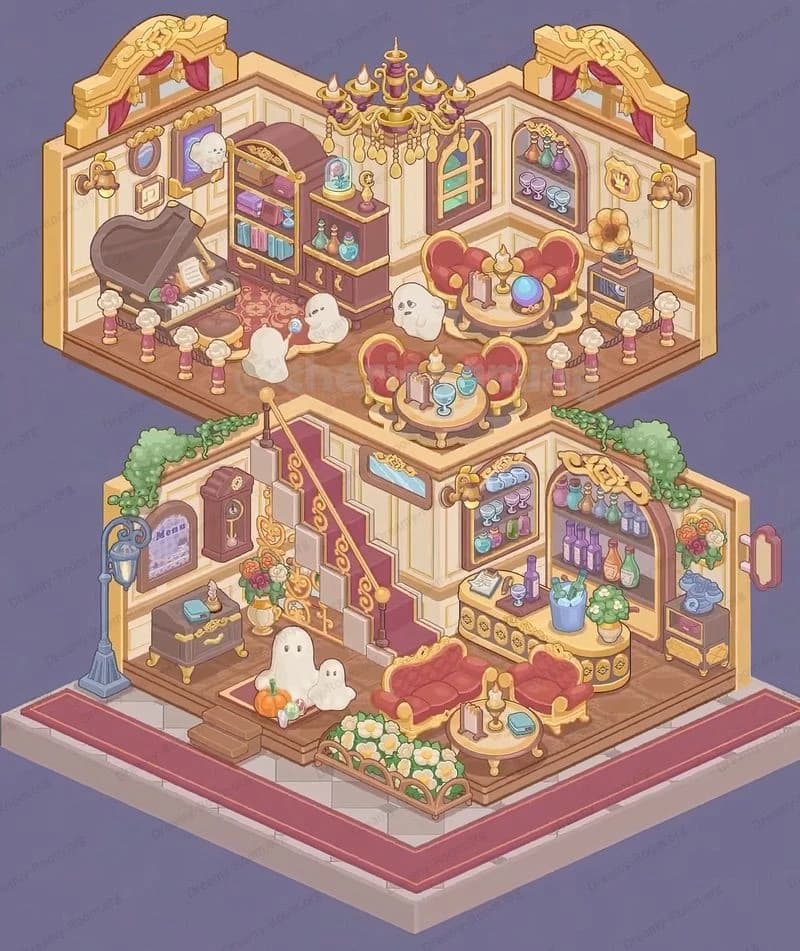
Dreamy Room Level 369
Dreamy Room Level 369 guide - Dreamy Room 369 Walkthrough & Solution.

Important Notice Regarding Level Numbering
Due to frequent changes in Dreamy Room's level numbering and differences between platforms (Android/iOS) – for example, level 369 on Android might not be the same as level 369 on iOS – the text guide below may not always match the images and video above. Please prioritize the image and video guides. If you find that the guide content doesn't match your current level, please visit the All Level Walkthroughs page to find the correct guide based on level images. Thank you for your understanding.
Dreamy Room Level 369 Walkthroughs & Guide
Step 1. Place the base platform and snow rim on the ground.
Begin by dragging the rounded rectangular base into the center of the play area. In Dreamy Room Level 369 the base is a two-tiered platform: a pale white top rim with a soft blue lower skirt. Position it so there’s equal space around all sides (this creates the isometric viewpoint you see in the completed image). Next place the white snow rim along the top edge of the platform; this snow rim should nestle flush with the white top surface and slightly cover the outer edge — it gives the platform its wintery border. Add the patchy snow clumps and small leaf-sprouts on the front right and left corners of the top rim. These small elements are subtle but important: put a tiny rounded snow mound near the front left, one at the front center near the snowman, and a few leaf-tufts right by the platform’s corners to match Dreamy Room Level 369’s foreground details. Take care to rotate the base a little so the front corner with the snowman faces slightly to the right; if the base is misrotated the whole composition will look off.
Step 2. Plant the surrounding trees and shrubs.
In Dreamy Room Level 369 the tall winter trees define the vertical frame. Place the large trunked tree with multiple snow-capped cloud foliage on the left rear of the base — its trunk leans slightly inward, arching above the house. Position the right-side tall conical tree on the rear right edge; it should be trimmed to a point and topped with a thick cap of snow. Add the smaller cone tree to the left front edge underneath the big tree’s lower branches. Place two low snow-covered shrub clusters near the front corners of the base: one to the right of the snowman and one to the left near the stairs. These shrubs sit just inside the white rim and should slightly overlap the platform top so their snow hugs the edge. When placing these elements, ensure the big left tree’s canopy creates an arch over the second-floor glass ceiling—this overlap is essential to reproduce the soft framing seen in Dreamy Room Level 369. Small shifts in trunk angle and canopy size will change shadows, so nudge them until the silhouette matches the finished image.
Step 3. Build the two-storey house shell and glass railing.
Now place the house shell: a square two-storey block with the front face partially open. The bottom floor opens to the front center and the top floor has a glass perimeter railing. Position the house so the open corner faces to the front-right of the base. Add the blue exterior walls and the pink interior wall panels: the top level’s interior walls are pale peach while the exterior trim is blue. On the top edge, attach a low transparent glass fence that runs along the top platform edge on three sides — this creates the balcony effect visible in Dreamy Room Level 369. Place the rounded arched window piece on the right exterior wall of the lower floor (mid-right) so warm light appears to stream from it. Finally, add the shallow staircase on the left inside the lower floor, leading up to the top floor; make sure the first stair tread meets the lower floor mat area precisely.
Step 4. Furnish the lower (ground) floor: kitchen, rug, and snowman.
On the lower floor place the cream refrigerator against the left interior wall right by the staircase; it sits with its handle facing the center. Center a cozy rectangular yellow rug in the lower floor’s middle, aligning it with the open front edge so you can still see the rug’s layered pattern. On that rug add a small low coffee table with a mug and a plate — place the plate near the mug and a small book beside them. To the right of the rug set the sink and stove cabinet in pastel pink; the stove surface faces the open front and the sink basin should be oriented so the faucet faces the center. Place the happy little snowman outside the house at the front corner — it should sit on the platform top near the rug’s front edge, wearing a black top hat and a red scarf. The precise location of the snowman in Dreamy Room Level 369 is slightly right of center on the platform’s front edge; nudge it until it visually balances with the front rug below the open house.
Step 5. Arrange the top (living) floor: seating, pouf, table, bookshelf, and plants.
The top floor is the heart of Dreamy Room Level 369’s personality. Place a soft green armchair in the left-rear corner of the upper level, angled slightly toward the center; drape a folded pink blanket over its arm. In front of the chair set a round wooden side table and place a small desk lamp on it, leaning the lamp head so it points toward the pouf. Add the large blue pouf with the fried-egg cushion toward the right front of the top level — the pouf should rest close to the glass railing so it appears cozy and reachable. Fit a low round coffee table near the chair and pouf and scatter a small open book and a teacup on top. Against the back wall install the tall bookshelf unit: stack colorful books, jars, and folded towels across its shelves; place two small potted plants on the top shelf — one left, one right — and a larger potted plant on the floor to the far left. On the far back left, place a coat rack with hanging outerwear and a drying rack with a light curtain; these vertical props add height and the lived-in feeling that defines Dreamy Room Level 369.
Step 6. Add finishing touches: tiny props, snowfall, and lighting.
Finish Dreamy Room Level 369 by adding the small decorative details that sell the scene. Scatter the tiny pebbles and leaf icons near the front rim and platform indentations; place a little tray with pastries on the top of the lower coffee table and a tiny radio on a shelf next to the fridge. Drop the little decorative jars, a pastel basket, and a folded towel into the bookshelf cubbies. Add falling snow particle effects across the scene and a soft vignette so the background transitions from teal to deep blue. Finally, tune ambient lighting: set warm interior lights for the lower window and a soft neutral light on the top level so textures read correctly. These last micro-placements are essential — Dreamy Room Level 369 depends on detail precision to match the completed image.
Notes and Precautions
• Placement precision matters: small offsets in tree canopy, rug position, or the glass railing will change perceived depth. For Dreamy Room Level 369 always use nudges of 1–3 pixels (or the smallest movement available) when aligning. • Layer order is critical: ensure snow clumps are above base rim but below tree trunks where they overlap, and place the glass railing above the top floor furniture. • Collision snapping can flip rotation: if your editor “snaps” items to grid, temporarily toggle snapping off to match the original angles in Dreamy Room Level 369. • Performance tip: hide particle snowfall while making fine placements; enable them only to preview or export once all placements are final.
Tips and Tricks from top player
- Work from largest anchors to smallest details: add base → house shell → trees → floors → furniture → props. This top-down workflow mirrors how Dreamy Room Level 369 was composed and reduces rework.
- Use a two-pass alignment: first center major masses (base, house, major trees), then zoom in and refine small props. For Dreamy Room Level 369 this prevents cumulative misalignment.
- Mirror check: once you think placements are correct, flip the view horizontally and compare silhouette shapes — mismatched silhouettes betray errors in branch angles or furniture spacing.
- Save incremental versions: when you reach a milestone (base + trees; then floors; then furniture), save a snapshot so you can revert tiny changes that break composition.
- Lighting shortcut: temporarily place a neutral grey plane behind the scene to check for unwanted color casts; adjust light temperatures so the top level interior reads warm while the exterior stays cool.
Final Scene Description
The completed Dreamy Room Level 369 presents a cozy two-story winter diorama perched on a snow-rimmed blue platform. A large snow-capped tree arches over the left side while a tall conical tree stands to the right, their trunks and shrubs framing a cute two-level house. The lower floor opens to a yellow rug, cream refrigerator by the left stairs, and a pastel kitchen with a tiny coffee setup; a cheerful snowman sits at the front, tipping his black hat. The upper floor is an intimate living nook: a soft green armchair with a pink blanket, a round blue pouf topped with a fried-egg cushion, a low side table with a lamp, and a tall bookshelf stuffed with colorful books and jars. Transparent glass railings wrap the top, and delicate snowfall drifts through the scene. Warm interior windows and careful micro-details make Dreamy Room Level 369 feel lived-in and gently nostalgic.


