Dreamy Room Dreamy Park Level 9
Dreamy Room Dreamy Park Level 9 guide walkthrough.

Share this Guide with your friends:
Dreamy Room Dreamy Park Level 9 Walkthroughs & Guide
Step 1. Place the three-domed pastel castle at the upper-center platform.
Place the primary castle cluster — three blue-and-gold domes and the circular stage between them — on the raised upper-center stone area of the platform. In Dreamy Room Dreamy Park Level 9 the castle is the anchor; set it flush with the rear curved edge so the domes sit just inside the terrace. When placing the castle in Dreamy Room Dreamy Park Level 9, align the central dome to face the front pathway and make sure the two smaller domes sit slightly behind the decorative hedges. This placement ensures the castle’s front semicircular staircase aligns with the bilateral stone railings that lead down into the park plaza. In Dreamy Room Dreamy Park Level 9 the castle must visually balance with the Ferris wheel behind it and the hedged courtyard in front. Take care that the castle’s lower circular platform is centered on the upper terrace, so that cat characters placed later have the correct step space. Remember — Dreamy Room Dreamy Park Level 9 is mostly solved by precise alignment: if the castle is off by a few pixels the surrounding railings and stairs won’t snap into the expected positions.
Step 2. Place the Ferris wheel behind the castle slightly to the left.
Add the pink-and-gold Ferris wheel to the rear of the park, placing it directly behind and a bit left of the castle’s tallest dome so its gondolas peek above the domes. In Dreamy Room Dreamy Park Level 9 the Ferris wheel acts as a vertical landmark and must be positioned so the wheel’s center falls roughly one notch left of the castle’s centerline. Push it back toward the distant backdrop so the wheel appears behind the castle structures, and raise it so the gondola bottoms are level with the top of the castle domes. In Dreamy Room Dreamy Park Level 9 correct overlap is critical: if the wheel is too far forward it will obscure the turrets; if too far right it will break the left-right visual balance. Once the Ferris wheel is placed, you can use it as a visual guide to place clouds, string lights, and the top-left terrace picnic area so that everything aligns with the wheel’s silhouette and the castle’s towers.
Step 3. Lay the roller coaster track around the platform’s outer edge.
In Dreamy Room Dreamy Park Level 9 the roller coaster is the looping track that frames the whole scene: place the track pieces around the platform perimeter, following the carved stone edge. Start at the lower-left corner and snap track segments clockwise so the coaster arches behind the carousel, curves up the right edge near the purple monster, and finally returns near the sun-face car near the bottom. Each piece in Dreamy Room Dreamy Park Level 9 must join snugly at the corners; test-fit the curved rails so they match the small ledge notches at the platform sides. The coaster’s high segments should sit behind the castle and Ferris wheel, giving the impression of height. Correct track placement in Dreamy Room Dreamy Park Level 9 also leaves room for the front entrance and lower platform attractions — if the track intrudes inward you will not be able to place the carousel or the moon scene later. Track alignment affects how guests (the cat characters) will be placed along benches and walkways, so treat the coaster as part of the scaffolding that determines where everything else belongs.
Step 4. Place the carousel and the prize/ticket booth at the lower-left plaza.
Set the circular carousel with its golden canopy on the bottom-left terrace inside the roller coaster curve. Align the carousel so the ride platform sits level with the plaza edge and its entrance faces toward the central walkway. Next to the carousel place the striped ticket booth, clock, and small prize-machine cart; these should sit at the immediate front-left of the main stage, facing outward toward the viewer so players read the signage. In Dreamy Room Dreamy Park Level 9, the carousel and ticket area must maintain a narrow walkway between them and the coaster track — this spacing allows room for reward stations and the ride queue where small cat characters will be positioned. Confirm that the carousel’s light bulbs and the booth’s awning line up with the stone floor patterns: when properly placed in Dreamy Room Dreamy Park Level 9 these two attractions form the lower-left anchor and create a natural flow from the front gate toward the center moon plaza.
Step 5. Place the luminous crescent moon and mid-plaza seating at center-right.
Position the large glowing crescent moon sculpture slightly right-of-center on the mid-plaza, suspended over a small fountain area so the moon’s base touches the central walkway. In Dreamy Room Dreamy Park Level 9 the moon is the focal seating feature: place it so two or three cat characters fit comfortably on the moon’s curve. Arrange benches and a lamppost near the moon to its right so visitors in Dreamy Room Dreamy Park Level 9 appear to stroll toward the luminous feature. The moon’s golden hue should overlap a faint patch of glittering ground so it appears to cast light over the nearby pathway; adjust vertical placement so the moon does not clip the hedges or the waterfall. Proper moon placement in Dreamy Room Dreamy Park Level 9 balances the visual weight between the carousel on the left and the sleeping purple monster on the right, and it creates a tripod of attractions that guides character placement and animations.
Step 6. Place the purple sleeping monster and park bench area on the right edge.
Add the large lavender monster with horns to the lower-right staircase area, tucking its body partially behind hedges and a walkway so it looks like it’s curled into the hillside. In Dreamy Room Dreamy Park Level 9 the monster must be set toward the rightmost vertical path where the coaster ascends, with the monster’s door and a bench nearby. Place a tall lamppost just to the left of the monster and a wooden bench directly in front so visiting cat characters can sit facing the moon. In Dreamy Room Dreamy Park Level 9 the balance between bench, lamppost, and monster is subtle — if the monster sits too far forward it will block the roller coaster’s approach; too far back and it will float without relation to the path. Anchor the hedge line near the monster, matching the castle’s hedged courtyard, to create a coherent right-side composition.
Step 7. Add the waterfall princess head, hedged bridges, and terraced picnic at the upper-left.
Place the large princess head water feature on the upper-left terrace where the castle stairs meet the left wall; position the face so the waterfall flows down into the mid-park gorge. In Dreamy Room Dreamy Park Level 9 the waterfall must feed a little stream or glittering pool at the base of the stairs, adjacent to the pink cloud patches. Install the stone bridge and the short curved rail leading from the left terrace to the mid-plaza, and lay trimmed hedges along both sides of the walkway. Add the top-left picnic terrace with round tables, string lights, and cat diners on the elevated ledge to the left of the Ferris wheel. In Dreamy Room Dreamy Park Level 9 the terrace’s railing should align with the Ferris wheel base and the castle’s left turret. Properly positioning the waterfall and bridge ensures the central fountain and moon plaza sit naturally below, and that the picnic area overlooks the whole park without overlapping other attractions.
Step 8. Place finishing touches: sun-face car, ride cars, small statues, clouds, string lights, and plant pots.
Finally, populate Dreamy Room Dreamy Park Level 9 with all smaller objects visible in the scene. Place the cheerful sun-face car at the bottom track corner, and position the small ride cars in the coaster’s train on the lower-left. Add the little animal statues and prize toys near the ticket booth, set planters along the front railing, and hang the string lights connecting poles around the picnic terrace and mid-plaza. Scatter pink cloud clusters along the outer background and add a few star-shaped lanterns around the moon so the lighting feels dreamy. In Dreamy Room Dreamy Park Level 9 these details anchor the composition — once added, step back and confirm every object sits without clipping. If any items overlap incorrectly, nudge them fractionally until the scene reads like the completed illustration.
Notes and Precautions
Notes and Precautions for Dreamy Room Dreamy Park Level 9: placement order matters — always anchor the castle first, then add major verticals (Ferris wheel, coaster), then fill in mid-ground attractions, and finish with small decor. In Dreamy Room Dreamy Park Level 9 the snapping grid can be sensitive; use tiny nudges to avoid overlaps and ensure objects register on the intended platform layers. Watch for occlusion: items placed too far forward will block underlying pathways or stairs and make later placements impossible. In Dreamy Room Dreamy Park Level 9 be mindful of scale — do not attempt to scale attractions beyond their intended size since collisions will prevent correct snapping. Backup your progress by noting the exact order you placed grouped items; if something misaligns in Dreamy Room Dreamy Park Level 9, reversing the last few placements often restores correct layering. Also: some decorative elements (string lights, planters, clouds) must be placed last because they auto-align to the nearest posts and rails in Dreamy Room Dreamy Park Level 9.
Tips and Tricks from top player
Top-player tips for Dreamy Room Dreamy Park Level 9: use the castle and Ferris wheel as immutable anchors — place them early and build outward. Toggle the grid and zoom in for pixel-perfect nudges when aligning the roller coaster track and hedges. In Dreamy Room Dreamy Park Level 9, group small props (like planters and lanterns) and place them in batches so they auto-snap into symmetric patterns; this saves time and preserves balance. If an item refuses to snap, temporarily move an adjacent piece out of the way, drop the stubborn object, then return the neighbor. Use the moon and water features to mask slight misalignments: the glow and flowing water distract the eye from tiny offsets. Lastly, take screenshots after major stages in Dreamy Room Dreamy Park Level 9 — you can compare and correct placements more confidently that way.
Final Scene Description
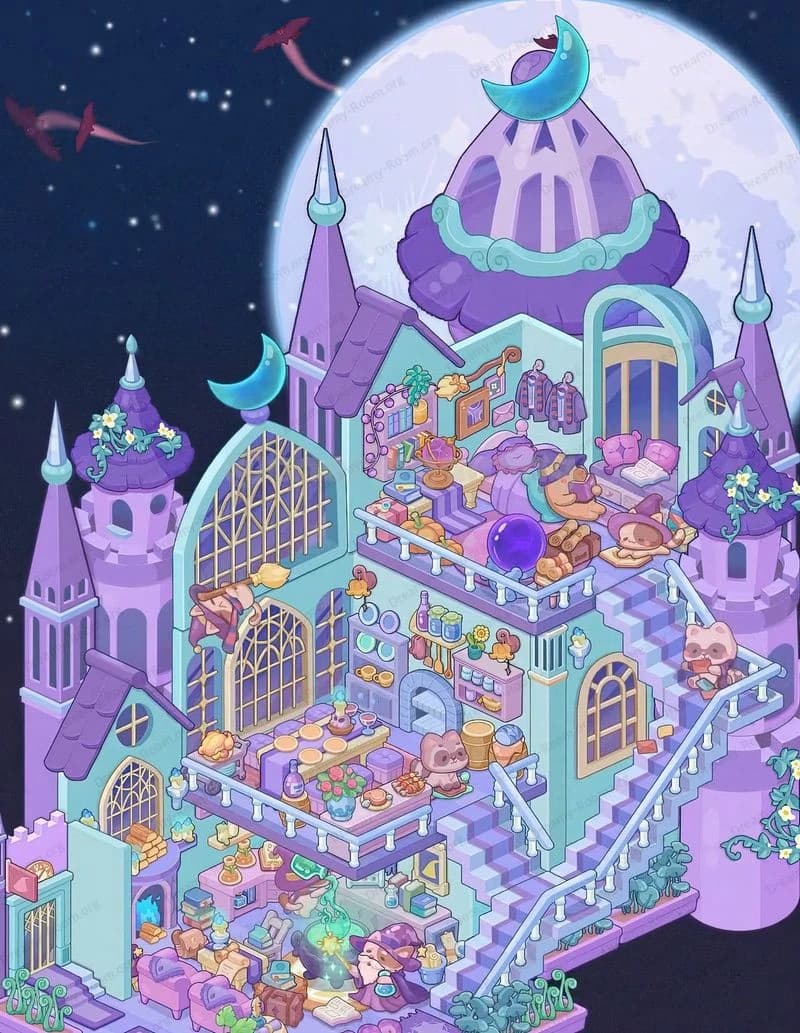
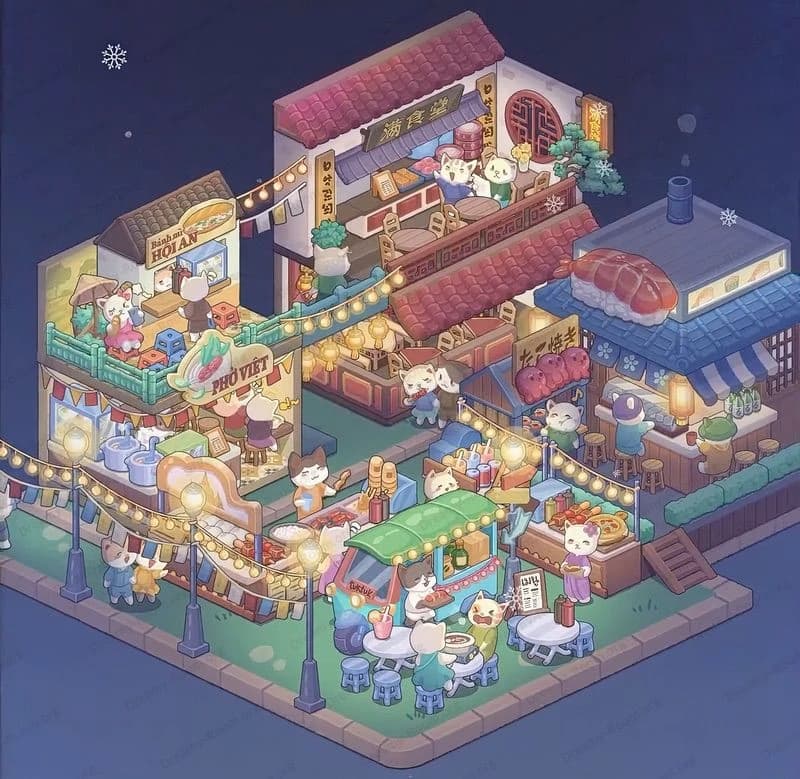
The final Dreamy Room Dreamy Park Level 9 scene is a pastel carnival oasis balanced across the stone platform: the three-domed blue-and-gold castle perches at the upper-center terrace, backed by the pink Ferris wheel and framed by the looping roller coaster. Below, a golden crescent moon glows over a mid-plaza fountain where cat characters lounge on benches beneath a lamppost. The lower-left carousel and ticket booth sit snug inside the coaster curve, with the sun-face car rounding the corner. To the right, the lavender sleeping monster provides a whimsical hillside backdrop beside a winding walkway. The upper-left terrace hosts a picnic nook and the princess-head waterfall that spills into the central gorge, bridged by trimmed hedges and stone steps. String lights, planters, prize machines, and pink clouds wrap the park in a soft, dreamy light. This completed Dreamy Room Dreamy Park Level 9 tableau showcases careful placement, where each object’s position matters to the overall harmony and to the little stories told by every cat, ride, and glowing ornament.


