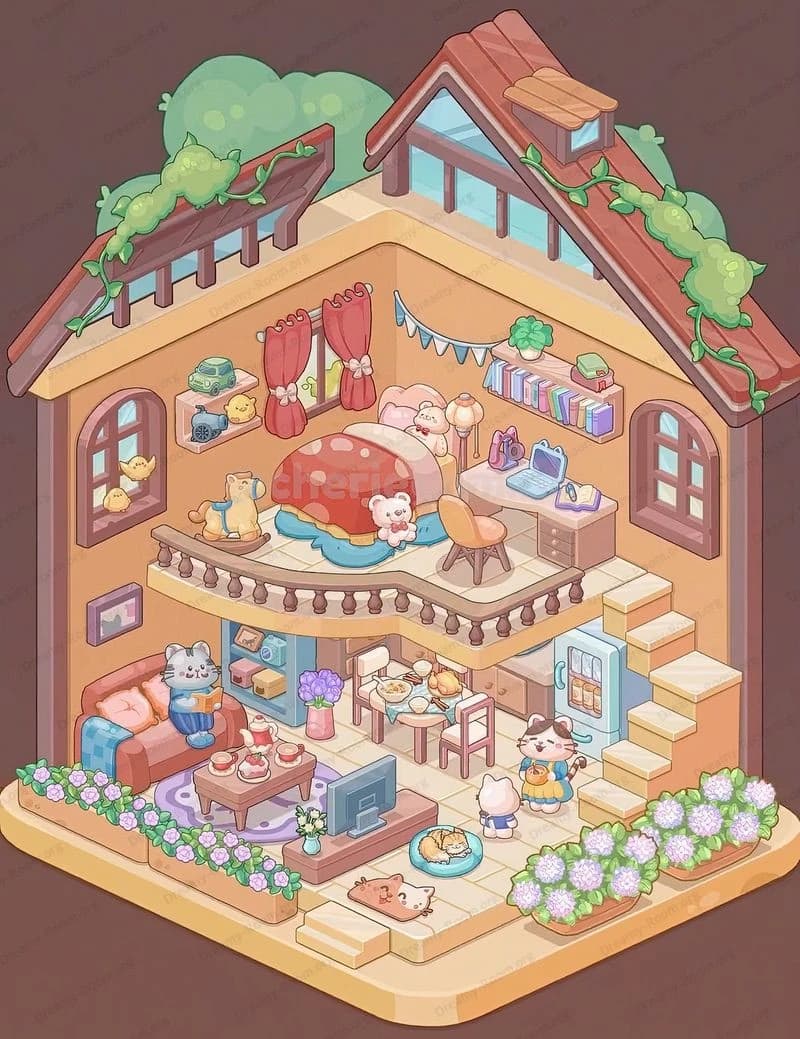
Dreamy Room Level 299
Dreamy Room Level 299 guide - Dreamy Room 299 Walkthrough & Solution.

Important Notice Regarding Level Numbering
Due to frequent changes in Dreamy Room's level numbering and differences between platforms (Android/iOS) – for example, level 299 on Android might not be the same as level 299 on iOS – the text guide below may not always match the images and video above. Please prioritize the image and video guides. If you find that the guide content doesn't match your current level, please visit the All Level Walkthroughs page to find the correct guide based on level images. Thank you for your understanding.
Dreamy Room Level 299 Walkthroughs & Guide
Step 1. Place the tiled floor on the base platform.
Begin by laying the beige square tiles across the raised base platform — this is the visual foundation for Dreamy Room Level 299. Work left to right and top to bottom so the grid aligns with the isometric base: the tiled area should cover almost the entire internal floor space except for the front entry ramp and the small step around the edge. In Dreamy Room Level 299 the exact alignment of each tile matters: a one-tile offset will make table legs and booths look misaligned, so nudge tiles carefully until the tile seams sit neatly under where chairs and booths will go. Keep a slim border of exposed base around the outside edge to match the reference. This is the first critical placement decision in Dreamy Room Level 299 and sets up scale for everything else in the room.
Step 2. Place the back and side walls with green wainscoting and the left entry door.
Next, erect the two interior walls: the long back wall and the short right wall, and add the lower green wainscoting strip that wraps around the interior at hip height. In Dreamy Room Level 299 the wainscoting is a pale green band that runs around the room — align its top with the tile grid so the booths' backs sit snug against it. Install the left-side door opening inside the long wall about one quarter from the left edge; the teal door inset aligns visually with the outer platform edge. Make sure the upper recessed ceiling band (the darker recessed strip near the wall tops) also matches the image — this band gives the restaurant the correct depth and shadow which Dreamy Room Level 299 relies on to look three-dimensional.
Step 3. Place the counter and back shelf with condiment jars and display trays.
Now build the service counter along the left interior wall and place the shelving above it. In Dreamy Room Level 299 the counter has a raised service top, a register area near the front, and display trays of buns, pastries, and small dishes to the left. On the shelf above the counter add three jars/bottles spaced evenly under the small overhead lamps; these jars appear as condiments and decorative glass bottles. Place a round illuminated hotpot logo sign above the counter to the right, just below the recessed ceiling band — its glow should slightly overlap the adjacent wall to match the reference. Carefully align the counter front with the tile grout lines so that the tray edges line up with the nearest tile seam; otherwise stools and table flow will look off in Dreamy Room Level 299.
Step 4. Place the central dining tables and chairs in a neat grid.
Populate the central floor area with four two-top tables and two four-top table groupings, each with brown chairs and tabletop dishes. In Dreamy Room Level 299 place the tables in two rows, leaving a central aisle toward the front steps. For each table place the round white plates and hotpot bowls (small central pots) with napkins beside them. Angle chairs so they face the aisle or the tables naturally; avoid floating chairs — legs must touch the tile seams. Keep consistent spacing between tables: two tile gaps between each table is the right rhythm for Dreamy Room Level 299. This grid-like arrangement is important to reproduce the busy yet orderly dining room look in the completed scene.
Step 5. Place the booth seats, wall mural, and overhead lights along the back wall.
Install three booth benches along the back wall (two booth pairs plus a single corner booth) with teal seat cushions and low dividing backs. In Dreamy Room Level 299 the booths sit directly against the green wainscoting; ensure their back rails align with the wainscot top. Above the booths center a large floral-patterned mural framed inside the recessed panel and mount three downward spotlights that cast soft cones onto the mural and booths. Add small side tables beside the booths and put decorative plates and small bowls on each table. Proper vertical spacing here is crucial — booths too low or lights too close will break the layered depth that Dreamy Room Level 299’s lighting depends on.
Step 6. Place exterior planters, yellow flowers, and the right-side tree and signboard.
Add the rectangular flower planters on the outer left edge (outside the dining area) filled with rows of small yellow blossoms. In Dreamy Room Level 299 these planters act as an exterior border and should sit flush with the platform edge. On the right exterior, place the large leafy tree so its trunk sits on the outer right platform and the canopy extends above the wall height — position the tree so leaves slightly overlap the right wall corner for that playful, organic feel. Install the vertical “HOTPOT” signboard on the right-side wall under the canopy and the round illuminated “MeO” logo disc on the inner right wall; these signs anchor the shop identity in Dreamy Room Level 299 and must be clearly visible from the front.
Step 7. Place plants, the cashier desk, and small decorative props.
Fill gaps with potted green plants in front of booth dividers and near the entry steps; these plants in Dreamy Room Level 299 soften the hard lines and guide the eye inward. Place the cashier desk near the right front corner with a small register and a tray for bills; align the desk top with the platform step so the cashier stands behind it naturally. Scatter small props — condiment bottles on the counter, a vase with flowers on the left corner of the counter, and a stack of plates near the display trays. These little details require precise placement in Dreamy Room Level 299: offset them by one tile if needed to ensure they look like they rest on counters rather than hovering.
Step 8. Place the characters (cats), front steps, and final human-scale touches.
Populate the scene with the three cat characters: one greeting at the front ramp bottom, one walking up the center aisle, and one behind the counter serving. In Dreamy Room Level 299 position the front cat on the lower right platform step facing inward and the server cat just behind the counter register, slightly turned toward customers. Add the short stair and ramp system at the front center with a thin walkway leading up to the dining area — ensure the ramp edge aligns with the tiles so characters’ feet meet the steps naturally. Finally, add the hanging large “MeO Hotpot” sign above the left wall top and the “Nice to meet you!” banner along the upper back lip. Proper character stance and step placement are the final alignment decisions that make Dreamy Room Level 299 feel lived-in and welcoming.
Notes and Precautions
When working through Dreamy Room Level 299, patience with micro-adjustments is essential. Each object’s base should visually contact the floor or wall — avoid floating items. In Dreamy Room Level 299 repeatedly toggle object snap/grid if your editor has it and zoom in to check shadow contact and leg-to-tile alignment. Preserve color relationships: the pale green wainscoting, teal booth cushions, and beige tiles must remain balanced; overly saturated replacements will break the soft pastel palette that defines the scene. Watch for occlusion: the tree canopy must not completely hide the right wall logo. Lastly, save incremental versions as you place major groups (floor, walls, counters, seating) so you can revert if a later placement skews the overall composition.
Tips and Tricks from top player
Top players of Dreamy Room Level 299 recommend building in “zones”: floor & walls, service counter, seating, exterior, then props/characters. Use a temporary low-opacity guide layer to align tiles and furniture quickly, then hide the guide before final render. In Dreamy Room Level 299 prioritize the big visual anchors first (floor grid, large signs, tree) and then place medium props (booths, counter) followed by small details (plates, jars, lamps). Reuse a two-tile spacing rule for tables and a one-tile inset for counters — this speeds placement while retaining the reference rhythm. If the scene feels cluttered, slightly increase aisle spacing to enhance readability. Finally, step back often: Dreamy Room Level 299’s charm comes from balanced negative space as much as object richness.
Final scene description
The finished Dreamy Room Level 299 presents a cozy MeO Hotpot shop where warm pastels and tidy layout invite customers inside. Beige square tiles form a neat floor plane, leading past planters of yellow flowers to a welcoming raised entry ramp. On the left a service counter and condiment shelf glow beneath three lamps while a round illuminated hotpot logo hangs nearby. The back wall hosts teal booth seating beneath a framed floral mural, lit by three soft spotlights, and a “Nice to meet you!” banner crowns the space. Multiple wooden tables with brown chairs populate the center, each set with bowls, plates, and tiny hotpots for communal dining. A large leafy tree anchors the right exterior beside a vertical HOTPOT sign, its canopy drifting above the roofline. Friendly cat staff and patrons animate the scene — a greeter on the front step, a server behind the register, and a strolling guest — together making Dreamy Room Level 299 feel bustling and warmly complete.


