Dreamy Room Level 319
Dreamy Room Level 319 guide - Dreamy Room 319 Walkthrough & Solution.

Important Notice Regarding Level Numbering
Due to frequent changes in Dreamy Room's level numbering and differences between platforms (Android/iOS) – for example, level 319 on Android might not be the same as level 319 on iOS – the text guide below may not always match the images and video above. Please prioritize the image and video guides. If you find that the guide content doesn't match your current level, please visit the All Level Walkthroughs page to find the correct guide based on level images. Thank you for your understanding.
Dreamy Room Level 319 Walkthroughs & Guide
Step 1. Place the building shell and terrace fence.
Begin Dreamy Room Level 319 by framing the peach-colored walls that hug the back and right edges of the grid. The lower roofless patio occupies the front-left quadrant; the raised upper deck sits back-right. Snap the chunky stone coping along the upper deck’s edge so it overhangs slightly. Fit short brown awnings to the lower left and front edges, creating shade above the window and seating area. Now outline the patio with a white picket fence: run it across the front edge and up the right side until it meets the step. Leave a small opening at the bottom-center for the entry. This fence placement in Dreamy Room Level 319 is vital because it will later define where tables, stools, and planters can sit without clipping or blocking NPC paths.
Step 2. Place the counter, register, stools, and café sign.
On Dreamy Room Level 319’s lower patio, tuck the yellow service counter against the back wall under the striped yellow-and-cream awning. Center the blue-screen register on that counter and angle it toward the doorway so customers face the clerk naturally. Hang the framed honey poster on the left wall beside the window to anchor the serving zone visually. Slide two low square stools under the counter’s overhang to read as tucked seating. Set two round café tables inside the fence: one near the left-front corner and one mid-center. Drop one takeaway cup on each tabletop and a third cup at the counter edge to imply active service. This exact arrangement in Dreamy Room Level 319 keeps walkable lanes clear from the entry to the counter and along the fence.
Step 3. Place the right tower, striped awning, barrels, and arch jars.
Move to the raised right side of Dreamy Room Level 319. Build the short tower that rises above the patio, leaving its arched opening facing left. Inside that arch, slide a shelf of golden honey jars so the glass catches light from the patio. Attach a second striped canopy on the tower’s right façade; its scallops should hang just above head height. Now mount two wooden barrels with big green leaf caps on the outer right wall under that canopy; align their taps so the spigots point forward and slightly down. Add the small wooden braces beneath each barrel. Thread a honeycomb-shaped accent tile between the canopies to make a visual link. This right-side composition is a major anchor in Dreamy Room Level 319 and must sit flush with the coping of the upper deck.
Step 4. Place the rooftop honey works, jars, and vine window.
On the upper left roof of Dreamy Room Level 319, center the giant bronze honey kettle on a low pedestal. Attach the pipe so the ladle curves and pours into a wide bowl just in front of it; make sure the stream visually clears the coping. Line three glass honey jars along the front lip of this roof—left to right—so their highlights align. Add a dangling honeycomb key beside the front canopy for a thematic cue. On the lower left wall, place the window with wooden awning and trail a green vine with peach-pink blossoms down the jamb; the vine should brush the fence top but not cross it. This set of placements in Dreamy Room Level 319 creates a believable production-to-service story: honey is made above and displayed below.
Step 5. Place the top garden, apple tree, sunflowers, pond, and NPCs.
Crown Dreamy Room Level 319 with a flowered rooftop garden on the very top: a chunky brown roof frame filled with dense green foliage and pastel blooms. Outside the fence on the right, plant the apple tree so red fruit faces forward; attach the short back deck just behind it. At the fence corner, place a sunflower clump as a cheerful marker. Down-right on the grass, assemble the pond: blue water ring, central lily pad with a singing frog, and three ducklings orbiting. Add two stray cups on the pond’s rim for playful clutter. Finally, place the characters: the clerk in green behind the counter, a seated bear at the center table with a drink, and a parent holding a child near the right doorway. With characters added, Dreamy Room Level 319 comes alive and pathing can be tested.
Notes and Precautions
Dreamy Room Level 319 rewards attention to elevation. Items for the upper deck (kettle, jars, coping) must snap to the higher grid; if they drop to the patio, rotate once and re-place to force the height change. Keep fence corners visible—don’t let vines or posters overlap rails, or NPCs may clip. The barrel taps must point outward; facing them sideways breaks the silhouette in Dreamy Room Level 319. Leave a one-tile aisle from gate → counter and from counter → right doorway for walking logic. Don’t crowd the pond: keep decorative cups on grass, not on water tiles. Lastly, ensure the rooftop garden sits centered; offset planting can hide the tower roof line in Dreamy Room Level 319 and make the scene read messy.
Tips and Tricks from top player
Veterans clear Dreamy Room Level 319 by anchoring big shapes first: fence, tower, kettle, and apple tree. Once those are locked, “feather in” smalls—cups, jars, honeycombs—to fill visual gaps. Use shadows as rulers; matching shadow angles instantly aligns the barrels and coping in Dreamy Room Level 319. If an object won’t snap to a ledge, rotate it 90° and rotate back; this often toggles the correct height. Group similar tones (gold jars near the kettle, green vine near garden) to guide the eye. Place NPCs last so you can test pathing. Keep tables inside the fence rails; in Dreamy Room Level 319, a half-tile drift can block the bear’s chair animation. Screenshot before moving anything, then iterate confidently.
Final Scene Description
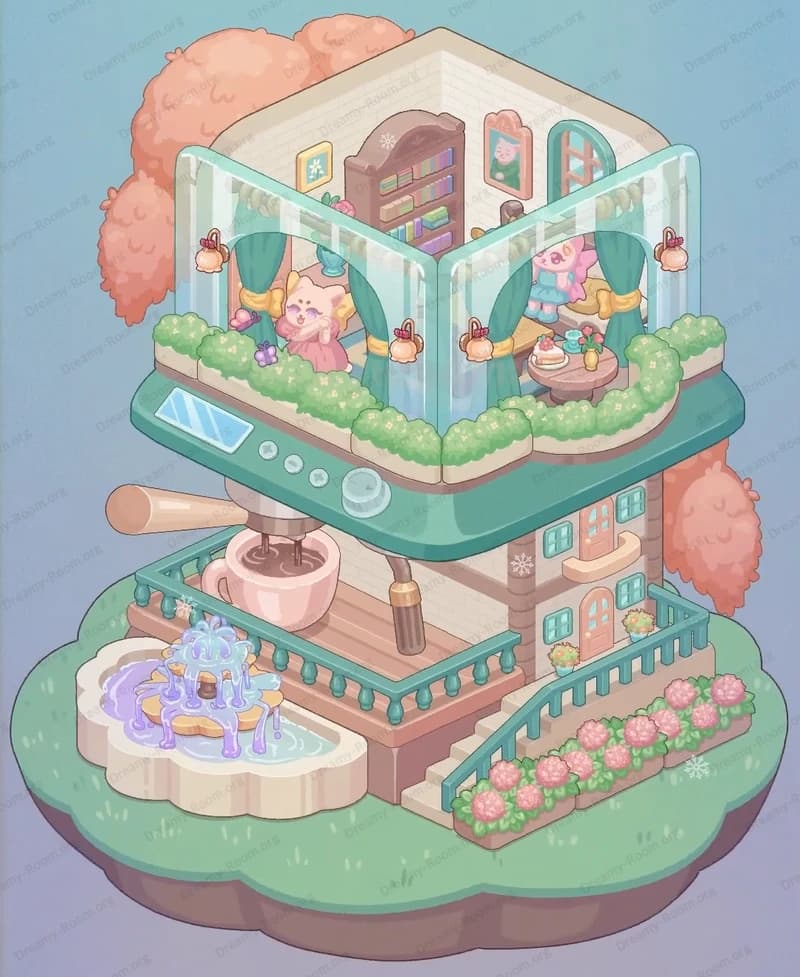
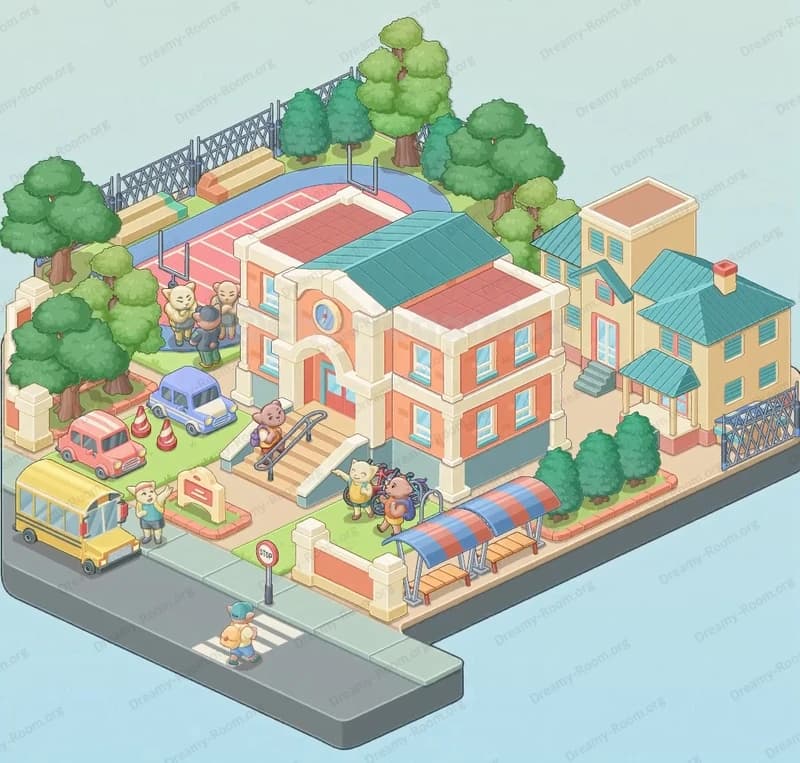
When everything clicks, Dreamy Room Level 319 becomes a little honey haven. A white fence frames a sunny terrace where two round tables host warm drinks, a cheerful bear, and a tidy counter under a striped canopy. To the right, a compact tower supports twin leaf-topped barrels with shining taps, while an arched niche glows with jars of golden honey. Above the left roof, a bronze kettle pours a lazy stream into a bowl, flanked by more jars and a dangling honeycomb charm. The very top blooms with a lush flower garden. Outside the fence, sunflowers nod beside an apple-laden tree, and a small pond ripples with a frog and ducklings. Characters mingle comfortably, and Dreamy Room Level 319 radiates cozy café energy.


