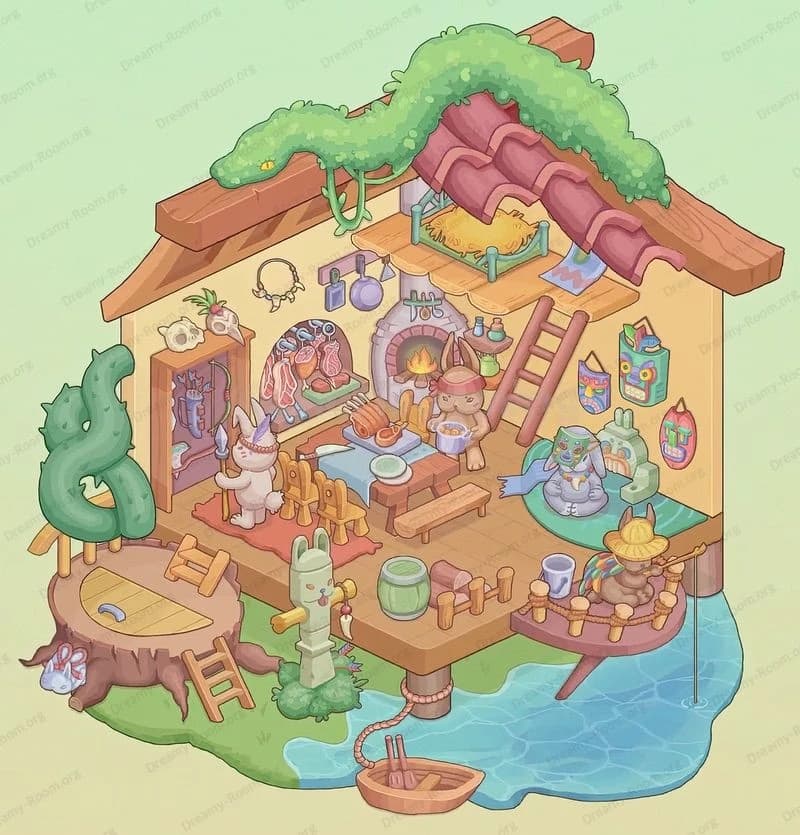
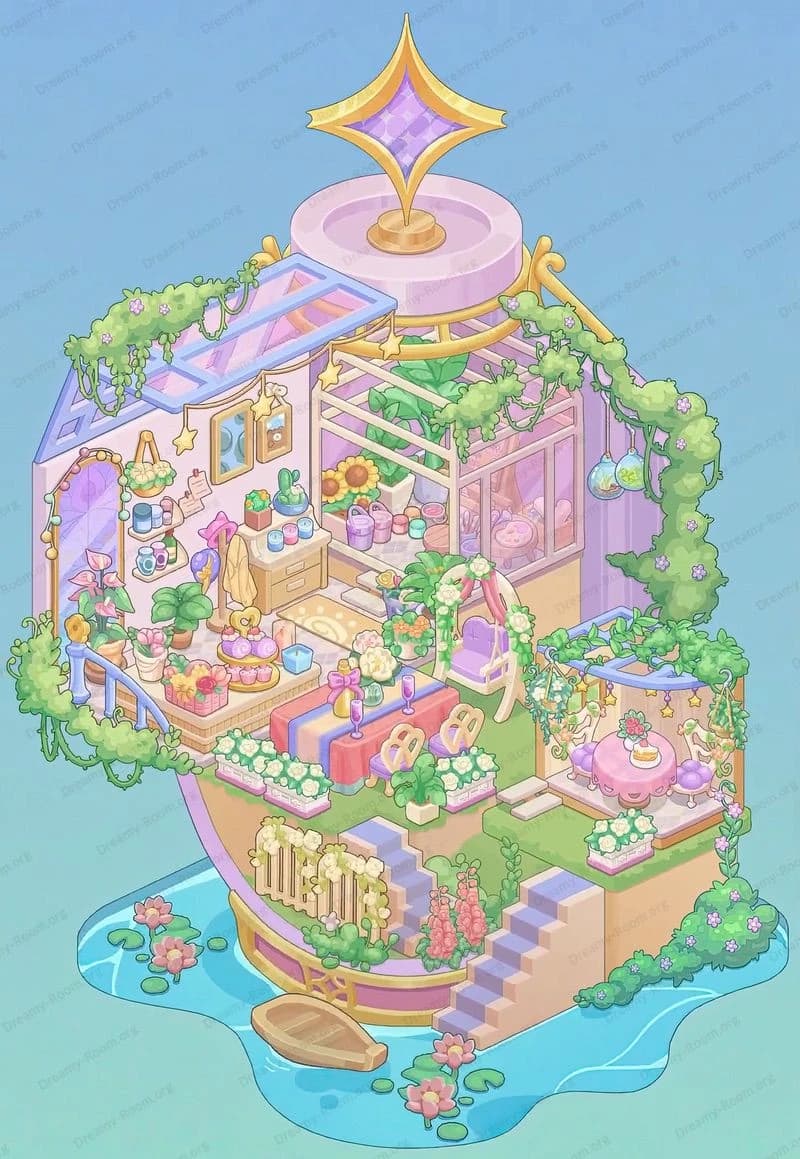
Dreamy Room Level 397
Dreamy Room Level 397 guide - Dreamy Room 397 Walkthrough & Solution.

Important Notice Regarding Level Numbering
Due to frequent changes in Dreamy Room's level numbering and differences between platforms (Android/iOS) – for example, level 397 on Android might not be the same as level 397 on iOS – the text guide below may not always match the images and video above. Please prioritize the image and video guides. If you find that the guide content doesn't match your current level, please visit the All Level Walkthroughs page to find the correct guide based on level images. Thank you for your understanding.
Dreamy Room Level 397 Walkthroughs & Guide
Step 1. Place the patterned floor and define the curved right wall
Begin Dreamy Room Level 397 by committing to the room’s footprint. Keep the brown, diamond-patterned floor visible across the entire base and respect the curved right-side wall: that curve foreshadows the glass observatory turret you’ll build later. The flat back wall forms a shallow zig-zag; leave that negative space free so upstairs shelving reads cleanly later. Nudge the floor’s front edge so the wood trim is slightly proud of the grass rim—this sets up the front balcony posts. Do not place furniture yet; leaving a clear staging area will keep pathing open for stairs, railings, and the lion fountain that sits at the left exterior corner.
Step 2. Erect the balcony rails with globe finials at the front corners
Next in Dreamy Room Level 397, anchor two stout columns at the front corners. Each column is topped with pale spherical finials. Between them, mount a short balustrade with a burgundy marquee panel facing forward; this becomes the mini proscenium of the parlor. On the balcony lip, sprinkle tiny white snowflakes particle effects—yes, they can overlap the rail; the effect reads as drifting foreground. This rail frame is crucial because dozens of later objects (flowers, detective bear, and table set) visually key off these posts. Keep a 1-tile gap between the right finial and the curve so the flower beds can slot without clipping the window frame.
Step 3. Install the outdoor waterfall scene on the left
Now we build the left vignette that defines Dreamy Room Level 397’s garden feel. Set a gray rock basin just outside the left wall line, aligned with the front column. Into the back of that basin, mount the stone lion head spout; water should arc down into the pool. A small, round bistro table goes in front of the rocks, slightly left of center, with two curved-back chairs angled toward the house. On the table, place a ring-shaped cake on a plate, a teacup, and cutlery. This trio should face the parlor so it feels like an active tea break, not storage. Keep vine loops under the island edge visible; don’t cover them with large bushes.
Step 4. Build the central stairs and lower flower arches
Place a terracotta-colored stair run starting near the front-left quadrant, rising diagonally toward the back. The first step should sit between the two front columns; the top step meets the mezzanine you’ll add later. Flank the stair with low rails and cap posts to echo the balcony finials. At the base, add a rounded, wooden doorframe; attach a lattice arch with climbing ivy to its left side. Across the lower façade of Dreamy Room Level 397, plant thick clusters of purple blossoms and short blue flower beds along the right-front planter. These beds must hug the windowsill line for cohesion. Ensure there’s walking space for the detective bear avatar to patrol.
Step 5. Glaze the right façade with twin arched windows and the chaise
Shift to the right-front. Snap in two tall, arched glass windows: one on the ground level behind the lounge corner, another mirroring above. Between them, mount thin vine trails that twist around the mullions. Now set the red, tufted chaise lounge slightly off the right wall, yellow cushion centered. On the chaise, place the blue teapot with a curving gold handle—spout facing left toward the room. Behind the chaise, seat a low planter full of neat blue flowers. This cluster forms the warm, inviting reading nook that Dreamy Room Level 397 is known for, so keep lines clean and avoid blocking the right window’s lower panes.
Step 6. Create the music-and-memorabilia console along the center wall
Against the ground-floor center wall, put a wooden console table with a decorative mirror above. On the table, place a brass gramophone (horn pointing right), a blue teacup and saucer, and a framed portrait with a green-haired figure. Frame the console with violet flower bushes on both sides to stitch the garden language with the indoor parlor. This table is visually busy, so space items evenly: gramophone on the left, portrait leaning mid-right, cup to the far right. In Dreamy Room Level 397, the symmetry here stabilizes the ground floor once the staircase slices the room; don’t push the console too far left or it will intersect the stair rail.
Step 7. Raise the mezzanine with balustrade, then add chandelier and turret
Add a wooden mezzanine that wraps the back and curves into the right turret. Ring it with gold-tipped posts and rails matching the balcony style. Center a large chandelier beneath the mezzanine’s front edge so its crystals hang above the chaise zone. Now build the curved glass turret at the top-right: a half-dome roof, slim posts around a circular platform, and inside it a bluish plinth supporting a puffy cloud-like sculpture. This “cloud bust” lives dead-center of the turret. In Dreamy Room Level 397, the chandelier must read through the open void; keep it low enough to be visible but high enough to clear pathing on the ground floor.
Step 8. Furnish the upper music corner with the grand piano
On the mezzanine’s right-center, place the black grand piano angled so its keys face the railing and its tail points toward the back wall. Add a small, cushioned piano stool in front, and drape a ribbon of musical notes along the back for flair. Stretch “KEEP OUT” caution tape along the mezzanine’s far back corner posts—but only after the piano sits, so it doesn’t clip. Dreamy Room Level 397 wants the keyboard’s white keys readable from the balcony; aim for a three-quarter view. Scatter sheet music or a small open book atop the stand to sell the practice area without crowding the walkway.
Step 9. Stage the museum-mystery vignette with case, shards, and outline
Move to the mezzanine’s left. Install wall-mounted shelves filled with aqua vases, urns, and glass bottles along the tall, open wall. In front of them, place a square glass display case containing a brown statuette. Then, to its right on the floor, lay a chalked body outline and a scatter of blue glass shards. Rope the whole area with multiple runs of “KEEP OUT” tape spanning between posts, clearly demarcating a crime-scene exhibit. This is a signature composition of Dreamy Room Level 397; the glass shards must sit inside the cordoned zone, and the outline should be positioned so its head points toward the shelves. Add two small, upholstered stools just outside the tape for onlookers.
Step 10. Cap the roof, dormer, and tree framing; add the sleuth
Finally, finish the exterior silhouette. Set the red, multi-gabled roof over the left half with a small dormer bump near the ridge. Leave the right turret’s domed glazing exposed. Let leafy green trees swell around both sides—thicker on the left to nestle the waterfall, tidier on the right to frame the turret. Sprinkle soft snowflakes across the roofline to echo the balcony’s particles. Place the bear detective avatar—tan fur, round hat, magnifying glass—on the ground floor near the front center, facing slightly right. In Dreamy Room Level 397, he patrols the stage-like balcony, so keep his tile free of props. That’s the last placement—scene complete!
Notes and Precautions
- Snap order matters. In Dreamy Room Level 397, rails and stairs establish collision boxes; place them before tight furniture like the console and chaise to prevent snapping errors.
- Layering rules. The chandelier must be under the mezzanine but above ground-floor props; if it disappears, nudge it one layer forward.
- Turret clearance. Keep the cloud statue centered; if pushed left, it clips the window arch.
- Tape and shards. Place the “KEEP OUT” tape after the case and outline; otherwise the tape may auto-reattach to corner posts and block the piano.
- Pathing. Leave a full tile in front of the door arch and two tiles at the stair base so the sleuth animation looks natural throughout Dreamy Room Level 397.
Tips and Tricks from top player
- Anchor by vignettes. Divide Dreamy Room Level 397 into four scenes—garden café, parlor console, piano loft, and museum corner—and complete each fully before the next.
- Use symmetry as a compass. Match finials, posts, and rails left-to-right to spot misaligned parts fast.
- Color cues. Burgundy (sofas, marquee, roof) ties inside to outside; place a red object in each quadrant to balance the palette.
- Height rhythm. Alternate tall (turret, shelves) with low (chaise, stools) so the camera never feels top-heavy.
- Micro-props last. Snowflakes, sheet music, teacups, and shards should be final drops so they don’t get swept away by auto-snap when moving big pieces in Dreamy Room Level 397.
Final Scene Description
The completed Dreamy Room Level 397 is a whimsical two-story salon wrapped in trees and crowned by a red, storybook roof. A lion-spouted waterfall gurgles beside a dainty café table laden with cake and tea, while a flower-laced balcony frames the entrance. Inside, a plush red chaise and blue teapot invite lounging under tall arched windows. A golden chandelier floats beneath a mezzanine that curves into a glass turret, where a dreamy cloud statue glows above. Upstairs, a grand piano faces the rail, and a roped-off museum corner—glass case, chalk outline, and scattered shards—adds playful intrigue. Purple and blue blossoms stitch every edge together as the little bear detective inspects the scene, bringing the mysterious charm of Dreamy Room Level 397 to life.


