Dreamy Room Level 240
Dreamy Room Level 240 guide - Dreamy Room 240 Walkthrough & Solution.

Important Notice Regarding Level Numbering
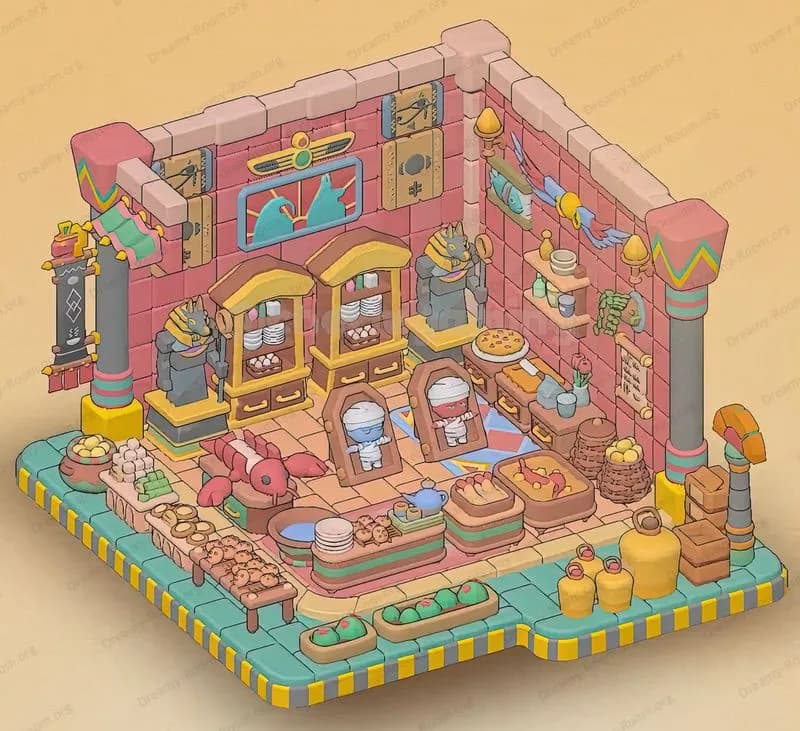
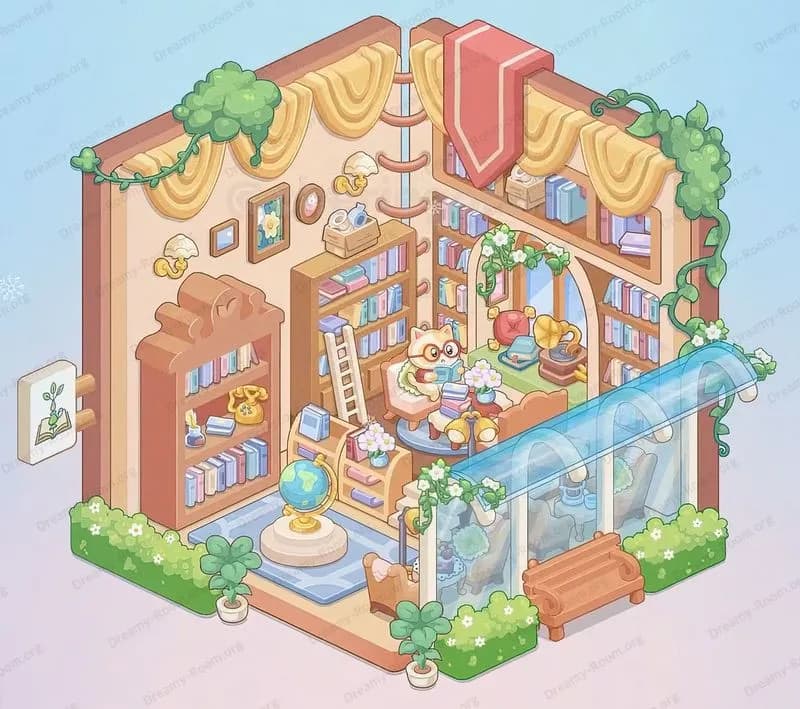
Due to frequent changes in Dreamy Room's level numbering and differences between platforms (Android/iOS) – for example, level 240 on Android might not be the same as level 240 on iOS – the text guide below may not always match the images and video above. Please prioritize the image and video guides. If you find that the guide content doesn't match your current level, please visit the All Level Walkthroughs page to find the correct guide based on level images. Thank you for your understanding.
Dreamy Room Level 240 Walkthroughs & Guide
Step 1. Place the wall sconces and portrait on the left wall in Dreamy Room Level 240
To start transforming the empty shell in Dreamy Room Level 240, focus first on the left wall. Dreamy Room Level 240 challenges you to position two ornate, golden wall sconces so that soft, magical light spills across the hexagonal floor below. Carefully select each sconce from your inventory and place one near the front corner and one near the back corner, exactly at the same height to maintain clean symmetry for Dreamy Room Level 240’s aesthetic standards. After you’ve nailed the lighting, pick up the whimsical gilded portrait—a detailed painting of a smiling witch—and center it directly between the two sconces, slightly above the midpoint of the wall. Completing this first step in Dreamy Room Level 240 ensures the room already feels alive with mystic energy before you move on to heavier furnishings.
Step 2. Place the arched windows and wall shelf on the back wall in Dreamy Room Level 240
Now that your left wall has character, move to the back wall in Dreamy Room Level 240 and install the two iconic arched windows that filter soft daylight across your checkered floor. In Dreamy Room Level 240 logic, window placement is crucial: align each window equidistant from the corners, ensuring they mirror each other. Once your windows are firmly in place, turn your attention to the accompanying wall shelf. Dreamy Room Level 240 provides a simple wooden bracket that supports a narrow board; select this shelf and position it just below the mezzanine height on the back wall. Populate the shelf with three books and two magical potions, choosing any vibrant-colored books and a glowing green flask to match Dreamy Room Level 240’s palette. This step brings height and depth to the rear wall before adding larger structures.
Step 3. Place the wooden staircase and mezzanine railing on the left side in Dreamy Room Level 240
After solidifying your back wall, it’s time to add vertical movement to Dreamy Room Level 240 by placing the wooden staircase on the left floor edge. In Dreamy Room Level 240, the staircase object snaps to grid cells, so you’ll want to align its bottom-most step at the front-left junction of the checkered floor. Next, click the opposite side to extend the staircase upward, then attach the wooden railing along the edge of the mezzanine platform. Dreamy Room Level 240 emphasizes safety and style, so position each baluster to create a uniform barrier that keeps characters in place. By completing these placements for Dreamy Room Level 240, you’ll establish smooth navigation between levels before adding decorative items and under-stair storage in the following steps.
Step 4. Place the seated cat and broom on the mezzanine and furnish the under-stair nook in Dreamy Room Level 240
Next, Dreamy Room Level 240 invites you to bring life to the mezzanine level. Select the charming cat figurine wearing a pointed hat and position it mid-way along the wooden walkway. Pair this character with its trusty broom, placing the broom directly at the cat’s side as if mid-sweep. In Dreamy Room Level 240, object layering matters: ensure the broom overlaps the cat’s paw area so it appears held naturally. Then, focus on the cozy under-stair nook. Pick the small ladder, scroll bundles, and stack of wooden logs to create a functional storage zone beneath the staircase. Finally, add the robed red-hood character reading a letter, centering it within the niche. Completing these placements in Dreamy Room Level 240 establishes personality and narrative beneath your main platform.
Step 5. Place the desks, chairs, and desktop items in the main classroom area in Dreamy Room Level 240
In Dreamy Room Level 240, the ground floor transforms into a whimsical classroom once you position the desks and chairs. From your inventory, select three sturdy wooden desks and arrange them in two rows: one row of two desks at the front, and a single desk slightly behind to the right, maintaining equal spacing. Dreamy Room Level 240’s design grid will guide you—snap each desk onto the purple-tinged squares to ensure perfect alignment. Next, ensure that Dreamy Room Level 240’s aesthetic palette remains consistent as you choose potion colors for each station. Now, place matching chairs behind each desk, angling them slightly toward the center counter. Finally, add desktop accessories: a glowing potion flask, an open dusty book, and a small stray broom leaning against one chair. By placing these functional elements in Dreamy Room Level 240, your classroom takes immersive shape.
Step 6. Place the merchant counter, banners, and merchant cat in the center area in Dreamy Room Level 240
In Dreamy Room Level 240, the heart of commerce lies at the central trading counter. Begin by selecting the wooden counter module and snapping it into the exact center of your room, ensuring it straddles the gridline between the desks and cauldron area. Next, adorn the front of the counter with three colorful banner flags—green, gray, and red—spaced evenly to add vibrancy. Dreamy Room Level 240 rewards attention to detail, so adjust the banner heights until they hover just above knee level. Now, choose the merchant cat figurine perched on the counter’s surface and place it so that it gazes directly toward the desks. Dreamy Room Level 240’s interactive elements will spark when you position the cat precisely on the counter block. By completing this step in Dreamy Room Level 240, you’ll create a focal gathering point between study and magic zones.
Step 7. Place the large cauldron, floating runes, and reading cat in the magical corner in Dreamy Room Level 240
Dreamy Room Level 240’s most dynamic feature is the bubbling cauldron corner. First, grab the oversized cauldron prop and position it at the far right of the main floor, just adjacent to the central counter. In Dreamy Room Level 240, proper spacing ensures that runes can swirl overhead without clipping into other objects. Next, place the floating rune overlay above the cauldron, adjusting its opacity slider until the effervescent violet symbols glow softly. Then, select the cat in wizard attire and arrange it on the rightmost block near the cauldron, angling its head downward as if reading a spellbook laid on a low pedestal. Dreamy Room Level 240 guides you with blue snap lines—use these to fine-tune each element’s position. By following these instructions in Dreamy Room Level 240, the corner bursts with alchemical energy and narrative charm.
Step 8. Place the sorceress pedestal, plant table, pumpkins, mushrooms, ghost, and tomato scroll in the top area in Dreamy Room Level 240
In Dreamy Room Level 240, the final touch transforms the upper right corner into a layered mystical tableau. Start by selecting the circular sorceress pedestal and gently click it onto the raised platform, then place the cloaked witch figurine facing inward toward the center of the room. Dreamy Room Level 240 allows micro-adjustments, so nudge the figurine slightly off-center to create depth. Next, pick the arched windows’ accompanying side table and position it beneath one window—stack a small pumpkin, two potted mushrooms, and a succulent for a botanical flourish. Then, select the mischievous floating ghost and hovering tomato props and place them to the right of the window at alternating heights. Finally, add the parchment scroll on the adjacent wall mount. This final arrangement in Dreamy Room Level 240 ensures layering and thematic consistency. By completing these placements in Dreamy Room Level 240, your room achieves its final magical narrative.
Notes and Precautions
- Grid Alignment: Always ensure that each object snaps to the grid in Dreamy Room Level 240 to avoid overlaps and clipping issues.
- Lighting Reflection: Be cautious when placing the wall sconces in Dreamy Room Level 240 near dark backdrops, as improper placement can create unwanted shadow flicker.
- Object Layering: Be mindful of overlapping props to maintain realistic depth and avoid visual glitches.
- Performance Impact: Filling every corner with animations and interactive units can affect game performance; disable extra effects if the frame rate drops.
- Save Progress: Regularly use the save feature to prevent loss of work when experimenting with complex layouts.
Tips and Tricks from top player
- Mirror Symmetry: To quickly achieve balance, place one object in Dreamy Room Level 240, then duplicate and flip it across the central axis.
- Inventory Hotkeys: Utilize quick-select hotkeys in Dreamy Room Level 240 to grab recurring props like potion flasks and desk items without scrolling through menus.
- Precision Mode: Activate pixel-precise placement in Dreamy Room Level 240 settings to nudge objects by single pixels for perfect alignment.
- Batch Placement: Drag-select multiple related items such as desks or banners in Dreamy Room Level 240 to place them simultaneously on mirrored grid positions.
Final Scene Description
Dreamy Room Level 240’s final scene unveils a richly decorated isometric magical workshop with soft lavender walls illuminated by glowing sconces framing a whimsical gilded portrait. Two arched windows cast light onto a hexagonal checkered floor. A sturdy wooden staircase ascends to a mezzanine where a cat in a witch’s hat sweeps. Below, a cozy study nook stores scrolls and books beside a secret ladder. On the main level, three handcrafted oak desks stand in neat, orderly rows, each holding sparkling potions, dusty tomes, and a stray broom. Centered is a merchant’s counter draped in colorful banners where a curious tabby cat examines a parchment. To the right, a bubbling cauldron emits effervescent violet runes amid mystical ingredients and another cat absorbed in a spellbook. Above, a round platform supports a cloaked sorceress, and the rear corner offers a table of pumpkins and potted mushrooms, completing Dreamy Room Level 240.


