Dreamy Room Level 200
Dreamy Room Level 200 guide - Dreamy Room 200 Walkthrough & Solution.

Important Notice Regarding Level Numbering
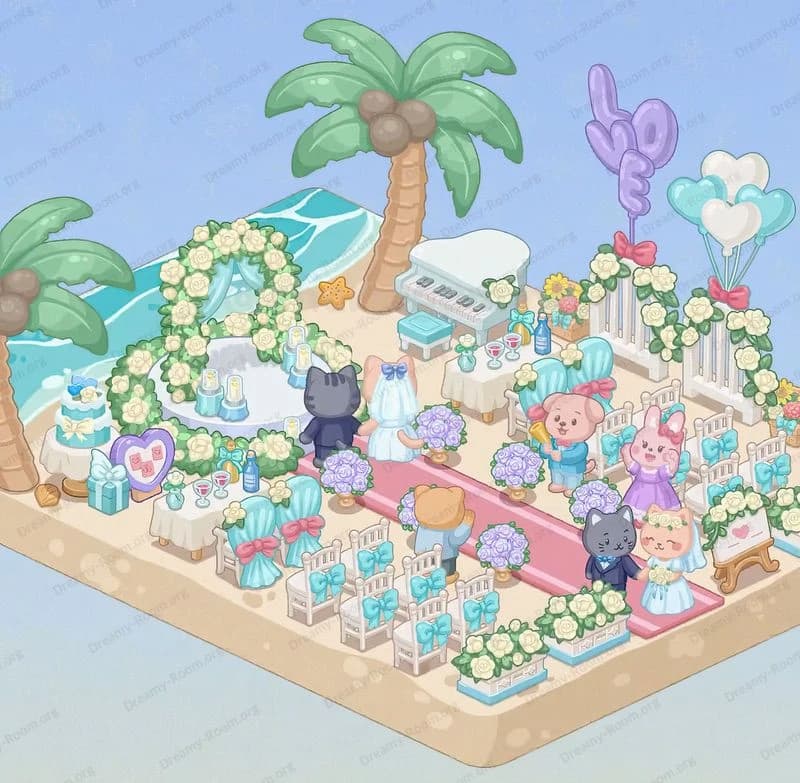
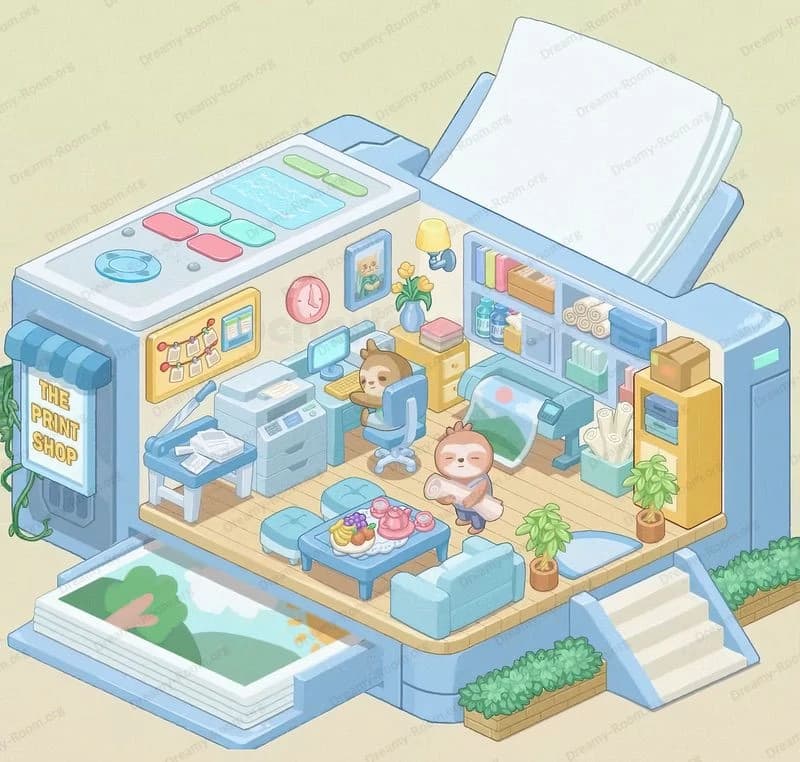
Due to frequent changes in Dreamy Room's level numbering and differences between platforms (Android/iOS) – for example, level 200 on Android might not be the same as level 200 on iOS – the text guide below may not always match the images and video above. Please prioritize the image and video guides. If you find that the guide content doesn't match your current level, please visit the All Level Walkthroughs page to find the correct guide based on level images. Thank you for your understanding.
Dreamy Room Level 200 Walkthroughs & Guide
Step 1. Fill the Bowl with Pool Water.
In Dreamy Room Level 200, the very first task is to pour the translucent pool water into the lime-green half-bowl container until it sits just below the white inner rim. In Dreamy Room Level 200, the main challenge is always determining the correct placement for each object, so this initial water fill must be perfectly level. Start by selecting the water tool and aim your pour so that the entire base is covered evenly. In Dreamy Room Level 200, an uneven water surface will throw off every subsequent decoration step, so take your time. Use the “fine adjust” control to nudge the water plane up or down until it aligns symmetrically with the bowl’s curve. Because Dreamy Room Level 200 requires spatial precision, double-check from multiple angles to confirm that the water fill looks uniform before moving on.
Step 2. Position the Ice Cream Truck on the Left Rim.
Next in Dreamy Room Level 200, place the pastel orange ice cream truck snugly on the left inner rim of the bowl. The main challenge of Dreamy Room Level 200 is correct placement, so angle the truck so that its front bumper is flush with the rim’s curve. In Dreamy Room Level 200, you’ll notice the truck features a pink-striped roof, an “ICE CREAM” sign on its side, and miniature popsicle and ice cream bar ornaments on top. Gently drag and rotate the truck until its wheels sit evenly on the rim without tipping forward or backward. In Dreamy Room Level 200, there’s also a large vanilla swirl cone prop beside the driver’s door—be careful not to let it clip through the rim. Fine-tune the truck’s orientation so it appears balanced and stable, ready to serve sweet treats.
Step 3. Place the Ladder and Life Rings at the Pool Edge.
In Dreamy Room Level 200, the pool ladder and life rings are essential safety props that must hug the bowl’s inner wall. First, select the white ladder and slide it down the left side so the top hooks latch over the rim and the bottom rests just above the water surface. Dreamy Room Level 200 demands that the ladder stands upright—use the rotation controls to tilt it precisely 90 degrees so it doesn’t float or sink. Then, in Dreamy Room Level 200, grab the two red-and-white life rings: one goes beneath the ladder, hanging on the inner wall, and the second attaches near the back of the truck. The main challenge in Dreamy Room Level 200 is spatial arrangement, so ensure the rings are evenly spaced and parallel to the waterline. A symmetrical layout here sets the tone for balance throughout the scene.
Step 4. Pour in and Level the Central Table with Drinks.
For Dreamy Room Level 200, the small life-ring table with pastel drink cups is next. Select the round table prop, align it centrally in the pool so it floats at the water’s surface, and rotate it until its life-ring shape faces the camera. In Dreamy Room Level 200, you’ll see three pastel cups on top—adjust their spacing evenly around the table’s edge to avoid overlap. Because Dreamy Room Level 200 emphasizes precise visuals, zoom in and nudge each cup so that none of the straws intersect. Use the “snap” feature sparingly in Dreamy Room Level 200 to maintain slight gaps between objects. Confirm that the table floats without tilting; this is critical because the main challenge in Dreamy Room Level 200 is correct object balance and positioning.
Step 5. Add the Beach Ball and Cat-Faced Drink Jar with Umbrella.
In Dreamy Room Level 200, select the multicolored beach ball and place it to the right of the floating table, letting it bob gently on the water’s surface. Next, pick the oversized drink jar with a cat-face rim, a curved mint straw, and a red-and-white umbrella. In Dreamy Room Level 200, position this jar on the right inner rim so its base rests flush against the bowl’s curve. Rotate the jar so the cat face faces forward, then adjust the straw angle to point toward the center. In Dreamy Room Level 200, make sure the umbrella is angled slightly toward the viewer for maximum charm. The main challenge of Dreamy Room Level 200 here is to prevent any part of the umbrella from extending beyond the bowl’s edge.
Step 6. Attach the Pink Spiral Slide to the Drink Jar.
Now in Dreamy Room Level 200, take the long pink spiral slide and snap its top connector onto the rim beside the drink jar. Pull the slide down so its coil wraps neatly around the jar body and ends just above the water level. In Dreamy Room Level 200, the spiral must clear the umbrella and straw—use rotation controls to adjust the curve until no intersections occur. The main challenge in Dreamy Room Level 200 is spatial awareness, so walk around the scene to check for clipping. If the slide brushes the bowl’s lip, raise or lower the path slightly. Once aligned, lock the slide in place—this will secure it throughout the rest of Dreamy Room Level 200.
Step 7. Arrange the Palm Trees Around the Pool Edge.
In Dreamy Room Level 200, there are three palm tree props. First, select the tallest tree and position it behind the ice cream truck, ensuring its trunk touches the inner rim and the fronds extend above the bowl’s top edge. Next, take the two smaller trees and place them on either side of the pink spiral slide, letting their leaves arch over the water. In Dreamy Room Level 200, rotate each tree so the shadows fall naturally toward the center. The main challenge in Dreamy Room Level 200 is balancing height and symmetry—spacing these trees equally will frame your scene. Use the measurement grid in Dreamy Room Level 200 to mark equal distances between trunks and avoid overcrowding the focal areas.
Step 8. Position the Cat Characters on Floating Props.
In Dreamy Room Level 200, you have two adorable cat characters: one pink and one white. Select the pink cat and place it on the pink lounger to the left of the life-ring table. Rotate its body so it faces the viewer at a slight angle, paws relaxed. Then, choose the white cat and sit it in the yellow duck ring to the right of the table. In Dreamy Room Level 200, the main challenge is precise alignment—nudge each cat so their floats don’t overlap the table or beach ball. Ensure their gaze direction is toward the center fountain of activity. Because Dreamy Room Level 200 emphasizes storytelling through placement, positioning these characters correctly brings the entire scene to life.
Step 9. Decorate the Front with Large Flowers.
Finally in Dreamy Room Level 200, select the two oversized flower props—a red blossom and a blue blossom with yellow centers. Place them at the front exterior of the lime-green bowl so their petals overlap slightly and the green leaves spread evenly. In Dreamy Room Level 200, the main challenge is to avoid having petals clip through the bowl’s wall. Rotate each flower so the faces are visible and the stems align with the bowl’s curvature. Use the “fine-tweak” arrows in Dreamy Room Level 200 to adjust depth, ensuring the flowers appear just in front of the bowl. This final decorative touch underlines the perfect harmony that defines Dreamy Room Level 200.
Notes and Precautions
- Balance Is Key: Throughout Dreamy Room Level 200, the primary challenge is achieving perfect balance and avoiding clipping—always check from multiple angles.
- Use Fine Adjustments: In Dreamy Room Level 200, rely on the fine-tweak controls for micro-movements; rushing will cause misalignment.
- Layer Order Matters: Objects in Dreamy Room Level 200 can occlude one another—set the correct draw order to ensure trees don’t hide the slide or cats.
- Snap Settings: While Dreamy Room Level 200 offers snap-to-grid, excessive use can override organic placement—use it sparingly.
- Camera Angles: Rotate your viewport in Dreamy Room Level 200 to reveal hidden intersections and confirm that no props extend outside the bowl boundaries.
Tips and Tricks from Top Player
- Pre-Plan Your Layout: Sketch the arrangement for Dreamy Room Level 200 on paper first to minimize trial-and-error.
- Group Similar Props: Use grouping tools in Dreamy Room Level 200 to move the ice cream truck and adjacent life rings together for faster alignment.
- Shortcut Keys: Memorize the rotate-and-nudge shortcuts in Dreamy Room Level 200 (e.g., Shift+Arrow for fine-tweaks) to speed up placement.
- Shadow Testing: Toggle dynamic shadows in Dreamy Room Level 200 to see how lighting interacts with each prop—adjust heights accordingly.
- Use Preset Viewpoints: Save custom camera angles in Dreamy Room Level 200 to jump between top, side, and isometric views for quick inspections.
Final Scene Description
In Dreamy Room Level 200’s final scene, you see an oasis inside a lime-green bowl. On the left rim, a pastel orange ice cream truck with a pink-striped roof and “ICE CREAM” sign displays ice cream bar ornaments and a large vanilla swirl cone. A blue pool covers the bowl’s base, complete with a white ladder at the left edge and two life rings hanging on the inner wall. Three palm trees frame the view, two by the slide and one behind the truck. On the right rim, a cat-faced drink jar with mint straw and umbrella stands entwined by a looping pink slide. Two cats float on a pink lounger and a yellow duck ring around a life-ring table piled with pastel drinks, while a beach ball drifts nearby. At the front, two red and blue flowers with green leaves finish the scene exactly as shown in Dreamy Room Level 200.


