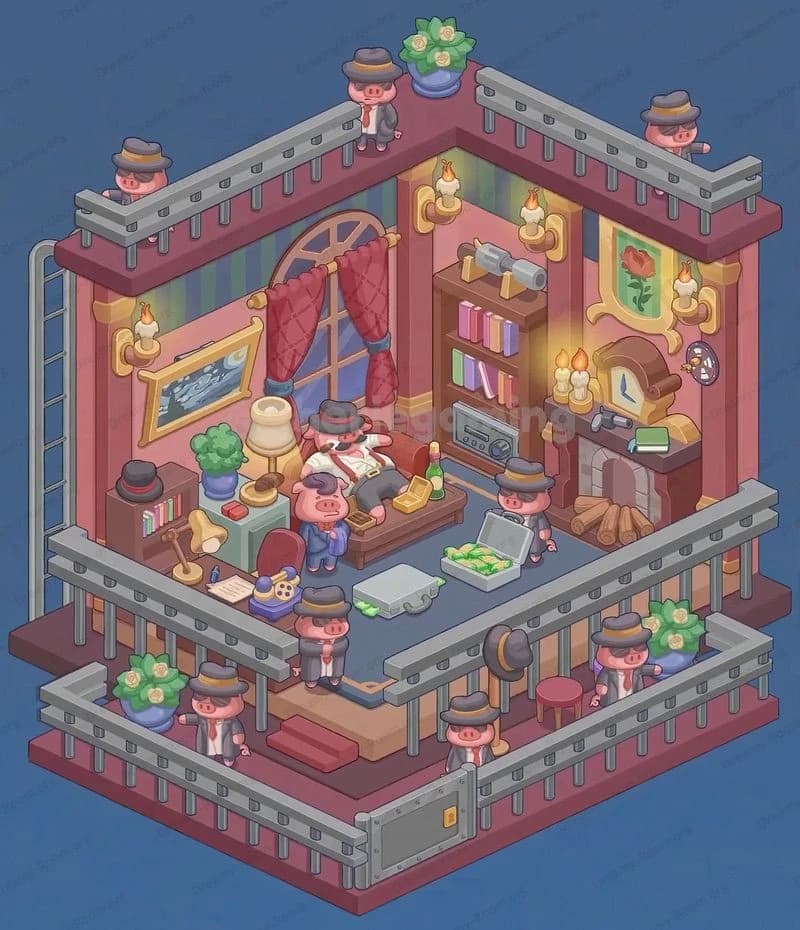
Dreamy Room Level 361
Dreamy Room Level 361 guide - Dreamy Room 361 Walkthrough & Solution.

Important Notice Regarding Level Numbering
Due to frequent changes in Dreamy Room's level numbering and differences between platforms (Android/iOS) – for example, level 361 on Android might not be the same as level 361 on iOS – the text guide below may not always match the images and video above. Please prioritize the image and video guides. If you find that the guide content doesn't match your current level, please visit the All Level Walkthroughs page to find the correct guide based on level images. Thank you for your understanding.
Dreamy Room Level 361 Walkthroughs & Guide
Step 1. Place the main base platform and the rear clock wheel.
Begin by laying down the large blue base plate at the lower-left corner of the scene; this is the foundational piece for Dreamy Room Level 361 and it anchors every subsequent object. Place the long teal extension platform that steps back to the upper right so the tall columns will sit on it — Dreamy Room Level 361 requires precise alignment so the columns, stairs, and grated walkways will snap into their correct positions. Next add the pale mint grid platform centered over the middle of the base; this mint tile must slightly overlap the left blue base so the big golden gear motif beneath shows through as in the reference for Dreamy Room Level 361. Finish Step 1 by sliding the large golden clock wheel behind the left column so its teeth peek above the structure; in Dreamy Room Level 361 that rear wheel creates the iconic silhouette and must sit flush against the back columns to allow the gears to mesh properly.
Step 2. Add the twin columns, top railings, and connecting pipes.
Place the two tall cylindrical columns on the mint-and-blue platforms you set in Step 1; these columns form the vertical backbone of Dreamy Room Level 361 and must be equidistant from the center so the arching gear bridge fits. Attach the teal-green walkway that runs between the column tops and secure the small railing along its outer edge — in Dreamy Room Level 361 the placement of this railing prevents the rail from clipping into the columns and keeps the high gears visible. Install the pair of purple distillation tanks to the right platform and route the curved teal pipe from their tops to the large gear/clock assembly behind; Dreamy Room Level 361 depends on the pipe angles to echo the reference image. Double-check spacing so the tanks’ metal braces and the rooftop grate align with the walkway supports — these elements in Dreamy Room Level 361 visually balance the left and right mechanical clusters.
Step 3. Build the stairs, control booth, and the seated character.
Now place the stepped stair block that descends from the center entrance down to the lower floor; this staircase in Dreamy Room Level 361 leads the eye to the control booth and must line up with the conveyor threshold. Position the small control cabin at the mid-elevation, centering the round-faced wall clock directly above its doorway — Dreamy Room Level 361 shows a seated operator inside, so rotate and place the seated figure on the cabin bench looking outward. Add the safety orange railings around the elevated walkway and install the grated platform to the right of the cabin to create the service area; Dreamy Room Level 361’s rails are important for depth and should not overlap the cabin doorway. Finally set the little bear helper on the left catwalk near the small gear assembly so the character appears to be inspecting the machinery; in Dreamy Room Level 361 character placement is a key part of the scene’s narrative, and the bear’s position helps establish scale.
Step 4. Attach gears, clocks, and decorative trees.
Populate the left and center sections with the cluster of interlocking gears — start with the large golden gear at lower-left, then add the medium and small blue gears so their teeth visibly mesh; the gear cluster is a focal point in Dreamy Room Level 361 and requires careful orientation. Place the ornate brass clock face behind the right column and a secondary clock wheel tucked behind the left arches so the big hands align with the smaller gear teeth; Dreamy Room Level 361 pays attention to clock hand direction for a cohesive look. Add the two slim teal trees at the far left and right edges to soften the industrial forms; in Dreamy Room Level 361 these trees act as frame elements and need to sit just outside the railing posts so they don’t clip. Finish this step with small snowflake decals in the background and faint clock silhouettes on the backdrop to match the dreamy atmosphere in Dreamy Room Level 361.
Step 5. Furnish the workshop floor: desk, laptop, tools and small details.
On the lower floor, position the cluttered desk near the front-right corner and place the open laptop, a small coffee mug, and a roll of tape atop it — these tiny props complete the lived-in feeling central to Dreamy Room Level 361. Arrange the toolbox, spare gears, and a tray of parts on the conveyor-side table so they read clearly from the front perspective; Dreamy Room Level 361 thrives on these small details, and placing them slightly offset prevents overlap with the walkway railings. Mount gauges and pressure meters on visible panels near the tanks and add a couple of valve wheels on the piping; Dreamy Room Level 361’s authenticity comes from accurate gauge placement, so ensure they sit facing the player. Finally add safety markers, a fire extinguisher by the steps, and a potted plant near the desk to introduce warmth — these finishing props make Dreamy Room Level 361 feel purposeful and well-loved.
Notes and Precautions
When assembling the scene for Dreamy Room Level 361, work in logical sub-assemblies: base, columns, walkways, and decorations. This order prevents collision and snapping errors that are the main source of frustration in Dreamy Room Level 361. Watch for object overlap — especially with the teal pipes and the purple tanks; misaligned pipes will clip into columns and break the composition in Dreamy Room Level 361. If an object refuses to snap, nudge it slightly forward or rotate it by small increments; Dreamy Room Level 361’s grid can be picky about rotations. Save frequently as you complete clusters (base + columns, control areas, gear assemblies) so you can revert without losing work. Lastly, remember the core challenge in Dreamy Room Level 361 is placement accuracy — every prop must be in the right spot for the room to read correctly and for all gears and clocks to visually interlock.
Tips and Tricks from top player
Top players tackling Dreamy Room Level 361 recommend following a left-to-right assembly flow to keep sightlines clear and to ensure that background clock wheels do not obstruct foreground elements. Use the snap-grid to align repeated rails and stairs — Dreamy Room Level 361 rewards precise repetition because railings and stairs share a common offset. When placing the small gears, toggle micro-rotation and use slight forward offsets so their teeth visually mesh without collision; Dreamy Room Level 361 looks best when gear teeth are clearly visible. For characters and tiny props in Dreamy Room Level 361, set them after the large structures are locked in place to avoid accidental repositioning. Finally, if you need to match the reference lighting, place the greenery and small props last — Dreamy Room Level 361’s atmosphere depends on those finishing touches to sell the scene.
Final Scene Description
The completed Dreamy Room Level 361 reveals a bustling, clockwork atelier where pastel gears, glassy pressure tanks, and brass clock faces harmonize across layered platforms. On the left, tall golden wheels arch behind twin cyan columns; central stairs lead to a small control booth with a seated character and a round wall clock above. Conveyor belts, safety railings, and grated platforms cross the scene, while the right side shows twin purple distillation columns connected by teal pipes. A cheerful worker at a cluttered desk types on a laptop beneath hanging gauges, and a helper bear stands on a raised catwalk near a small gear assembly. Potted greenery softens the industrial edges, and scattered tools, a roll of tape, and a tray of parts add lived-in detail. Subtle snowflake motifs and background clock faces complete the dreamy mechanical tableau, underscoring that Dreamy Room Level 361 is both whimsical and meticulously arranged.


