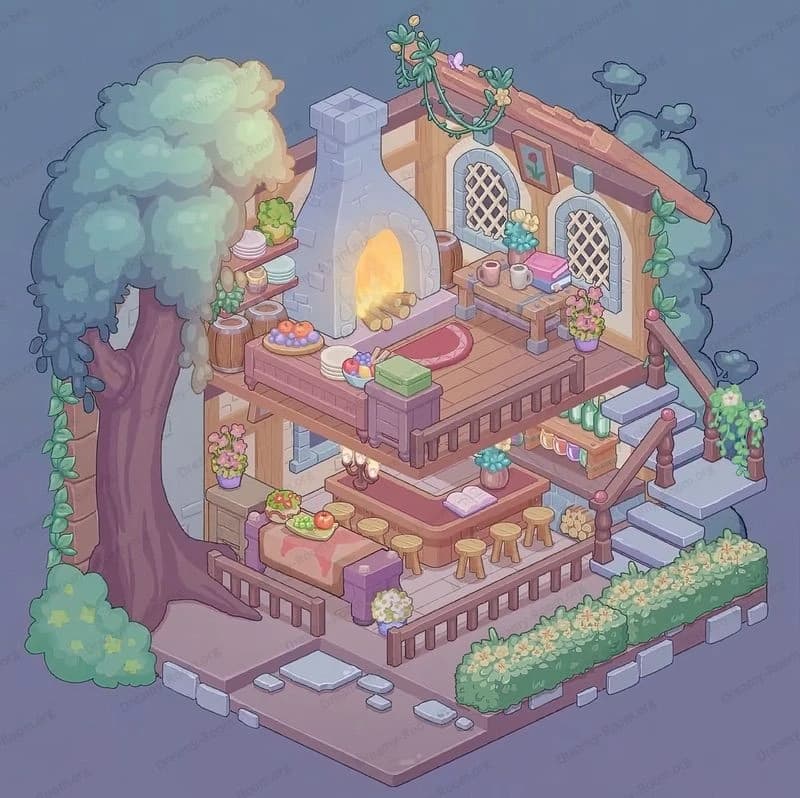
Dreamy Room Level 295
Dreamy Room Level 295 guide - Dreamy Room 295 Walkthrough & Solution.

Important Notice Regarding Level Numbering
Due to frequent changes in Dreamy Room's level numbering and differences between platforms (Android/iOS) – for example, level 295 on Android might not be the same as level 295 on iOS – the text guide below may not always match the images and video above. Please prioritize the image and video guides. If you find that the guide content doesn't match your current level, please visit the All Level Walkthroughs page to find the correct guide based on level images. Thank you for your understanding.
Dreamy Room Level 295 Walkthroughs & Guide
Step 1. Place the grassy floating island as the base (centered).
Begin by setting the turquoise grassy platform centrally on the canvas — this is the floor of Dreamy Room Level 295 and must sit squarely in the middle so later objects align properly. Make sure the platform’s top edge is slightly above the vertical center to leave room for the house and taller corals. In Dreamy Room Level 295, anchoring the base precisely affects shadows and overlap: place it so the scalloped turquoise grass covers the stone rim equally on the left and right. If the platform drifts to one side, the house and shells will look awkwardly off-balance. When you place the base, check small details: the darker circular patches on the grass should face slightly right-of-center, matching the reference for Dreamy Room Level 295. This base must not be rotated; keep its orientation level so the house sits naturally on top. Confirm the island’s drop shadow sits directly below — this helps the entire composition read as a single floating chunk in Dreamy Room Level 295.
Step 2. Place the fish-shaped cottage at the island’s center-left, front-facing.
Next, place the fish-shaped cottage so the door faces slightly left of straight forward and the decorative tail extends toward the right rear of the island. In Dreamy Room Level 295, the house is the focal object: its base sits on the grass about one third from the left edge of the platform and slightly forward, so the front door is clearly visible. Ensure the scalloped fish scales on the roof curve upward and the big curled wave-like trim crosses the front; this trim should sweep from the left roof eave and curl into the center, as in the reference. The circular porthole window must be positioned on the roof’s right slope; align it so the crossbar in the porthole is vertical. When placing the cottage in Dreamy Room Level 295, nudge it forward slightly so the foundation overlaps the grass edge — this small overlap gives depth and believability. If the cottage sits too far back, the foreground shells won’t tuck under the house edge correctly in Dreamy Room Level 295.
Step 3. Place the front door and lower window details (front center).
Now add the pinkish door to the house front, centered on the cottage face, with the round blue doorknob on the right side of the door panel. In Dreamy Room Level 295, the door’s arch should sit directly under the curling roof trim so it reads as the entry. Add the rectangular lower window to the house’s right face, with its small overhang — this window should sit above the grass line and slightly inset beneath the fish-scale roof edge. Confirm the door shadow and threshold are darker toward the bottom so players perceive depth in Dreamy Room Level 295. While positioning these architectural details, keep proportions matched: the door height is roughly half the house façade height. Properly placed, they anchor the house and make surrounding decorative shells and plants feel intentional within Dreamy Room Level 295.
Step 4. Arrange the large coral cluster behind the cottage (rear-left).
Place the tall purple coral and green wavy seaweed behind and slightly to the left of the fish-house, rising above the roofline. In Dreamy Room Level 295, these background corals should appear layered: the purple branching coral sits closest to the roof back, with the teal, curved seaweed forms behind it for a sense of depth. Ensure the tallest coral tips extend just above the highest point of the fish roof without overlapping the sky gradient too closely. The background coral cluster must be tucked behind the roof crest so the house remains the foreground focus in Dreamy Room Level 295. If corals are placed in front of the roof, they draw attention away from the whimsical tail — keep them behind the house and slightly left so the right side of the roof and tail can remain visible.
Step 5. Add the roof tail and decorative rooftop elements (rear-right).
Now position the fish tail that forms the house’s rear roof extension on the right side, so it arches skyward and slightly backward. In Dreamy Room Level 295, the tail curves outward like a flamboyant fin and is a critical silhouette marker; place it so its tip reaches just beyond the rightmost coral and its base aligns with the roof ridge. Also add the small wood-textured planks and decorative swirls along the roof front — these should layer over the fish-scale pattern but under the circular porthole rim. When assembling the roof elements for Dreamy Room Level 295, be precise with overlap: the tail should appear above the roof scales and cast a tiny shadow down onto the scales for depth. Misaligned tail placement will break the cohesive fish-house illusion in Dreamy Room Level 295.
Step 6. Place shells, the open pearl clam, and foreground smaller shells (front-left).
Cluster assorted shells and the open clam with a pink pearl in the foreground left of the door, resting on the grass edge. In Dreamy Room Level 295, the large open clam sits near the left front corner of the house base — its pearl should catch a tiny highlight so it reads luminous. Add a spiral conch and two smaller pink shells to the immediate right of the clam, arranged with slight overlaps so they read naturally scattered. Place a golden shell (or spiral) near the house right front and a pale spiral shell to the far right to balance the composition. These foreground shells must overlap the grass edge slightly and sit in front of the house foundation in Dreamy Room Level 295 so they register as foreground objects. If shells are too large or far from the house, they will throw off scale in Dreamy Room Level 295.
Step 7. Add small decorative items and the two fish (floating midair).
Finish by placing a small starfish on the far right grass, an extra curled shell near it, and two little orange fish — one swimming just above the left roof curl and another nearer the right tail tip. In Dreamy Room Level 295, the fish should hover above the house (not intersecting the roof) and face inward toward the cottage, adding life. Place a circular spiral shell on the far right grass rim and a rounded golden shell near the door’s right side. Also tuck small sprigs of seaweed by the front foundation — these should overlap the house base and the grass to unify foreground and midground. These final decorative placements complete the vignette for Dreamy Room Level 295 and balance color and form.
Notes and Precautions
- Precision matters in Dreamy Room Level 295: the game’s primary puzzle is placement. Small shifts in object location change perceived depth and can prevent the scene from reading as coherent.
- Layer order is critical for Dreamy Room Level 295: background corals must sit behind the roof, the house must sit on the grass, and shells must rest in front of the house foundation. Always check the stacking order after placing objects.
- Scale caution for Dreamy Room Level 295: matching shell and fish sizes to the cottage prevents a toy-like mismatch. Compare object sizes to the door height as a reference.
- Color and lighting: keep the small highlights on the pearl and fish consistent with the scene’s soft top-down lighting in Dreamy Room Level 295 to maintain a cohesive, dreamy atmosphere.
- Undo and nudge: use small nudge increments so placements remain subtle and accurate in Dreamy Room Level 295.
Tips and Tricks from top player
- Work from back to front in Dreamy Room Level 295: place background corals and roof tail first, then the house, then foreground shells and fish. This prevents re-ordering later.
- Use the door as a scale ruler in Dreamy Room Level 295: almost every decorative item’s size is proportional to the door height — use that to keep objects believable.
- Save presets: if the editor supports layers or groups, group the cottage and roof as one object after placement in Dreamy Room Level 295 so you can freely position shells without altering the house accidentally.
- Mirror test: flip the scene horizontally (if allowed) to verify balance for Dreamy Room Level 295; if it looks wrong when mirrored, consider tiny shifts to the coral or shells.
- Final check: zoom out to confirm that the silhouette of the house + tail + corals reads cleanly in Dreamy Room Level 295; silhouettes matter more than small interior details for readability.
Final scene description
The final vignette in Dreamy Room Level 295 is a tranquil floating islet crowned by a whimsical fish-shaped cottage. The turquoise grassy top rests evenly on a pale stone platform; a pink arched door and round blue knob face forward, anchored under a curling wave-trim that frames the entrance. To the right, the fish-scale roof sweeps into a dramatic fin tail, its tip lifting above the seaweed and purple coral that rise behind the house. An open clam with a luminous pink pearl nestles to the left front, flanked by spiral and conch shells across the grass rim. Small starfish and a golden shell dot the right foreground. Two tiny orange fish hover just above the roof curl and tail tip, adding motion. Soft highlights on the pearl and porthole, layered shadows beneath the house, and carefully placed seaweed tie every element together — the precise object placement is what makes this Dreamy Room Level 295 scene sing.


