Dreamy Room Level 221
Dreamy Room Level 221 guide - Dreamy Room 221 Walkthrough & Solution.

Important Notice Regarding Level Numbering
Due to frequent changes in Dreamy Room's level numbering and differences between platforms (Android/iOS) – for example, level 221 on Android might not be the same as level 221 on iOS – the text guide below may not always match the images and video above. Please prioritize the image and video guides. If you find that the guide content doesn't match your current level, please visit the All Level Walkthroughs page to find the correct guide based on level images. Thank you for your understanding.
Dreamy Room Level 221 Walkthroughs & Guide
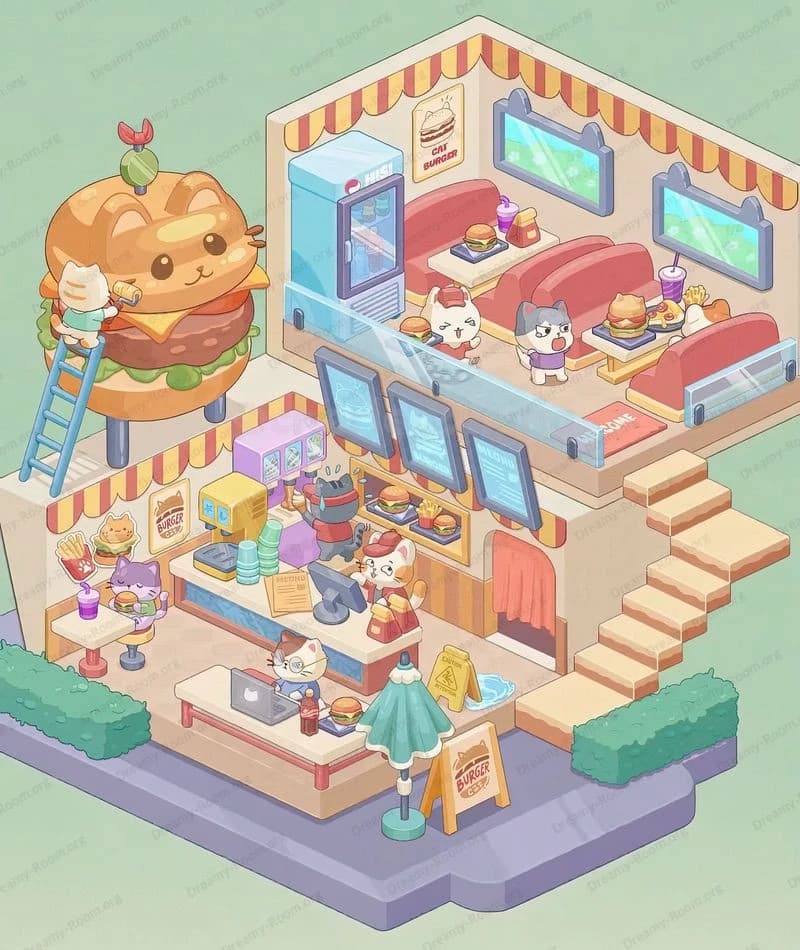
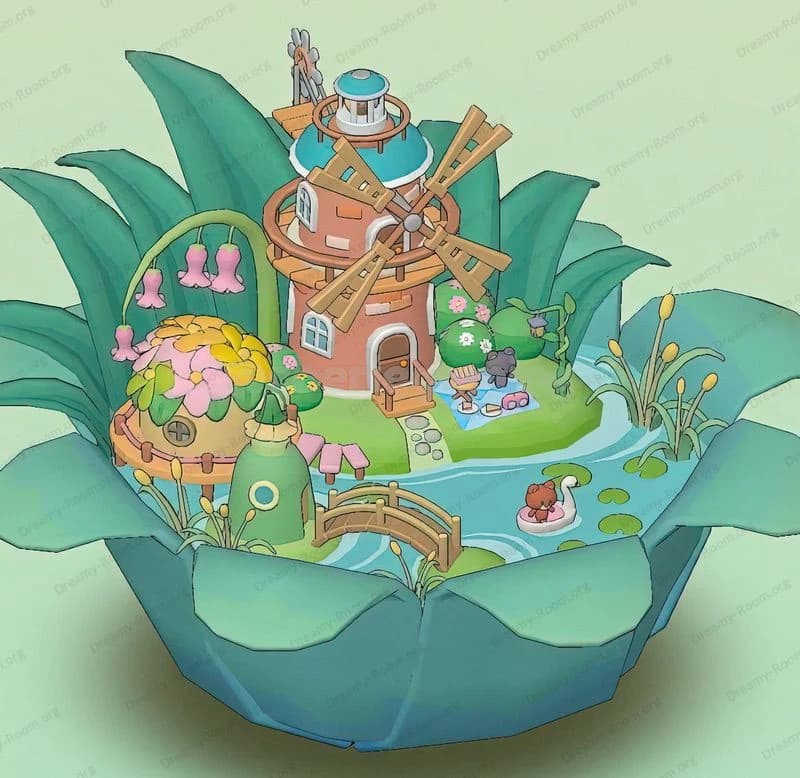
This comprehensive Dreamy Room Level 221 walkthrough will guide you step by step through transforming the empty isometric space into the charming, fully decorated two–story scene you see in the completed image. In this Dreamy Room Level 221 guide, you’ll follow each placement instruction carefully to recreate the exact layout of every window, planter, piece of furniture, and whimsical detail. This Dreamy Room Level 221 walkthrough integrates official design pointers and player-tested strategies . By following this Dreamy Room Level 221 tutorial, you’ll master the art of precise object placement and enjoy the relaxing chaos of bringing every treasured keepsake to life.
Step 1. Place the arched windows with planters on the upper balcony
At the very beginning of Dreamy Room Level 221, you’ll notice an empty two–story layout. The first thing you need to do in Dreamy Room Level 221 is to add the three large arched window frames along the upper balcony front. In Dreamy Room Level 221, these arches serve as the structural backbone for your flower displays. Click on each of the arched window objects in your inventory and snap them onto the wall slots of the upper floor. Then, in this Dreamy Room Level 221 stage, select the white planter boxes and attach them directly beneath each window. Finally, choose the clusters of blue hydrangea blooms and drop them into the planters. Getting this right in Dreamy Room Level 221 ensures that later vine and flower decorations will align perfectly without clipping or overlapping errors.
Step 2. Place the vine-draped trellis panels on the upper balcony
Once the windows and planter boxes are set, the next Dreamy Room Level 221 task is to add the vertical trellis sections on either side of the arched windows. In Dreamy Room Level 221, these trellis panels with trailing ivy will frame your space and create a lush greenhouse feel. Begin by selecting the lattice trellis from the decoration menu and snapping it into place against the balcony railing posts. Next, in Dreamy Room Level 221, take the green vine asset and drag it along the edges of each trellis until the vines fully wrap around the latticework. Remember that in Dreamy Room Level 221, precise alignment here prevents later pieces—like hanging lanterns or climbing rose bushes—from floating oddly. Spend extra time in this Dreamy Room Level 221 step to nudge the vine handles and ensure they flow naturally.
Step 3. Place the canopy bed and seating on the upper floor
With the architectural framework complete in Dreamy Room Level 221, it’s time to furnish the cozy upper chamber. The Dreamy Room Level 221 strategy starts by placing the round canopy bed against the left back wall. Click to rotate the canopy so the closed curtains face the room interior. Next, in Dreamy Room Level 221, pick the small loveseat and drop it next to the bed, creating a snug seating nook. Then select the plush rocking chair and position it to the right of the loveseat, angled slightly toward the fireplace area. In this Dreamy Room Level 221 stage, don’t forget to line up the legs of each furniture piece with the floor grid—this ensures they don’t hover or sink into the floor. Careful alignment in Dreamy Room Level 221 pays dividends when you add pillows and side tables in later steps.
Step 4. Place the coffee table, tea set, and pillows
Now that the primary furniture is set, Dreamy Room Level 221 calls for detailed tabletop and accent pieces. Begin this Dreamy Room Level 221 sequence by selecting the green-topped coffee table and positioning it between the loveseat and the rocking chair. In Dreamy Room Level 221, you’ll then choose the delicate pink tea set—two teacups and a teapot—and place each piece on the table’s surface, ensuring they don’t clip through the edges. After that, in Dreamy Room Level 221, add the four embroidered floor cushions around the table for extra charm. Finally, scatter the three colorful throw pillows—yellow, orange, and teal—across the loveseat and bed edge. Achieving pixel-perfect placement in Dreamy Room Level 221 here enriches the scene and avoids collisions when the camera pans.
Step 5. Place the bookshelf cabinet and wall art
With seating complete in Dreamy Room Level 221, it’s time to outfit the far wall. First, pick the teal bookshelf cabinet and snap it against the right back wall of the upper floor. In Dreamy Room Level 221, ensure the cabinet doors face the room interior and that it sits flush with the wall panel. Next, in Dreamy Room Level 221, select the two framed botanical prints and place them above the cabinet—center them horizontally and space them evenly for symmetry. Then, choose the golden decorative molding piece and affix it atop the cabinet, completing this Dreamy Room Level 221 vignette. Proper placement in Dreamy Room Level 221 here ensures you have room later for the fireplace mantle and additional plants without overlap.
Step 6. Place the fireplace, griddle, and plush toy
Dreamy Room Level 221 wouldn’t be complete without a cozy hearth scene. Start this Dreamy Room Level 221 segment by dragging the purple fireplace unit to the lower right wall of the upper floor. In Dreamy Room Level 221, align it so the grate is flush with the room’s corner. Next, click on the green shelf extension and attach it to the top right of the fireplace, then place the retro gramophone and vinyl record box onto this shelf. After that, in Dreamy Room Level 221, add the plush sheep toy on the mantle ledge. Finally, select the golden flower vase on the right side of the fireplace and adjust it until it sits exactly on the ledge edge. Attention to detail in Dreamy Room Level 221 ensures no objects float or intersect.
Step 7. Place the garden arch, fountain, and hedges on the lower level
Transitioning to the lower floor in Dreamy Room Level 221, you’ll create a magical garden courtyard. Begin by placing the trellis archway at the center front of the lower level. In Dreamy Room Level 221, snap it onto the front railing posts. Next, select the circular water fountain piece and position it just behind the arch, making sure it’s centered within the archway frame. Then, in Dreamy Room Level 221, add the tall hedge sections along the right and left lower walls to border the space. Finally, choose the decorative potted shrubs and evenly space them along the lower balcony edge. Completing this Dreamy Room Level 221 step first gives you a structured garden foundation for additional floral details.
Step 8. Place the sheep, cake table, tea trolley, and final foliage
The final Dreamy Room Level 221 step brings playful details to your garden scene. First, in Dreamy Room Level 221, add the watering sheep figurine near the fountain’s left side—rotate the sheep so it appears to drink from the fountain stream. Next, place the round cake table with strawberry shortcake topping just to the right of the fountain in Dreamy Room Level 221, then arrange the pink tea trolley beside it. After that, in Dreamy Room Level 221, dot the remaining vine clusters and potted rose bushes across the garden floor. Finally, sprinkle the animated snowflake effects in the sky background to complete your Dreamy Room Level 221 transformation. When satisfied, review the entire scene in Dreamy Room Level 221 to ensure cohesion and balance.
Notes and Precautions
- Object Overlap: In Dreamy Room Level 221, improper layering can cause items to clip. Always check each object after placement, especially transparent vines and glass planters, to avoid visual glitches.
- Rotation Alignment: Dreamy Room Level 221 relies on grid alignment. Rotate each piece in 45° increments where possible to align with the isometric perspective.
- Inventory Order: Some players in Dreamy Room Level 221 suggest placing large furniture first (beds, sofas, fireplaces) before smaller décor to prevent blocking placement slots.
- Performance Tip: On lower-end devices, Dreamy Room Level 221 may lag when too many animated vines or snowflakes are active. Consider disabling animations in settings if the frame rate drops.
- Undo Function: Dreamy Room Level 221 offers an undo button. If a piece snaps incorrectly, immediately tap undo rather than dragging it away, preserving your precise coordinates.
Tips and Tricks from top player
- Batch Placement: In Dreamy Room Level 221, select similar objects (like flower planters or cushions) in succession and place them in a batch. This Dreamy Room Level 221 tactic speeds up decoration and ensures uniform spacing.
- Use Zoom & Pan: Zoom in close on the grid during Dreamy Room Level 221 for pixel-perfect alignment. Panning while zoomed prevents accidental placement in adjacent slots.
- Corner Anchoring: Top players in Dreamy Room Level 221 start by anchoring objects in corners—this Dreamy Room Level 221 approach provides reference points for the rest of the layout.
- Save Presets: After mastering your Dreamy Room Level 221 style, save your layout presets (if available) so you can quickly apply the same spacing and rotation on similar levels.
- Color Harmony: Maintain pastel and muted tones that align with the Dreamy Room Level 221 aesthetic. Too many contrasting colors will break the cozy atmosphere.
Final Scene Description
In the final Dreamy Room Level 221 scene, the upper floor resembles an enchanted conservatory where a round canopy bed draped in dark teal curtains stands against the back wall, flanked by a cozy loveseat and a rocking chair. A green coffee table adorned with pink tea cups and floral cushions nestles between them. To the right, a teal bookshelf cabinet holds colorful tomes beneath framed botanical prints, and a purple fireplace mantle displays a gramophone, plush toy, and golden vase. Below, a white trellis arch opens into a lush garden with climbing vines, a trickling fountain guarded by a watering sheep figurine, and hedge fences. A cake table topped with strawberry shortcake and a pink tea trolley sit amidst potted flowers, all under softly falling snowflakes. The entire Dreamy Room Level 221 tableau feels like a warm hug of nostalgia and botanical charm. ...


