Dreamy Room Level 602
Dreamy Room Level 602 guide - Dreamy Room 602 Walkthrough & Solution.
Important Notice Regarding Level Numbering
Due to frequent changes in Dreamy Room's level numbering and differences between platforms (Android/iOS) – for example, level 602 on Android might not be the same as level 602 on iOS – the text guide below may not always match the images and video above. Please prioritize the image and video guides. If you find that the guide content doesn't match your current level, please visit the All Level Walkthroughs page to find the correct guide based on level images. Thank you for your understanding.
Dreamy Room Level 602 Walkthroughs & Guide
Dreamy Room Level 602 Walkthrough
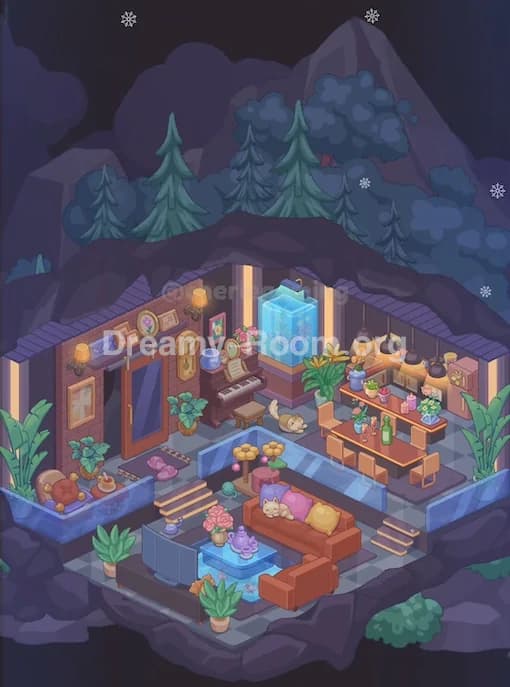
In Dreamy Room Level 602, the room begins as a purple corner space with starry wallpaper, a city-skyline border near the bottom of the walls, and a glossy lavender floor decorated with pink stars. The whole puzzle in Dreamy Room Level 602 is not about filling the room with many separate furniture pieces. Instead, the challenge is recognizing that this level transforms the space into one giant arcade-themed display, and every visible detail must be placed in the correct order and exact position. Because the final design is compact but highly detailed, Dreamy Room Level 602 can be tricky if you rush and place the small decorative pieces before the main body is aligned.
Step 1. Place the main arcade cabinet body in the center of Dreamy Room Level 602
The first priority in Dreamy Room Level 602 is to set down the main arcade cabinet shell, because every other item depends on its angle and footprint. Position the large cabinet so it sits squarely on the floor area, slightly angled to match the room’s isometric perspective, with the front facing toward the lower left and the right side panel facing outward. The base of the arcade unit should rest on a dark purple platform that feels heavier than the glossy floor beneath it. Make sure the cabinet does not touch the walls directly; it should sit comfortably inside the room, leaving the starry wallpaper and skyline border visible behind it. This is important because Dreamy Room Level 602 is designed to make the cabinet feel like a centerpiece rather than a wall-mounted object. Once the cabinet body is correctly placed, you should already see the room’s theme shift from an empty cosmic corner into the foundation of a playful retro gaming display.
Step 2. Add the upper marquee box and top decorations in Dreamy Room Level 602
After the main shell is secure, build the tall upper section of the arcade machine. In Dreamy Room Level 602, this top block is purple on the front and roof, with a bright pink right side panel. Place it so it rises cleanly from the back of the control section, forming the recognizable arcade silhouette. On the front upper strip, leave space for the glowing title panel, and on the far upper left edge add the horizontal vent slats. Then decorate the top surface carefully: place the large tan heart shape near the left side of the roof, the small blue star near the center-left, and the larger mint-green star closer to the right side. The right exterior wall also needs two decals: a large orange star higher up and a smaller mint star below it. Dreamy Room Level 602 becomes much easier once these stickers are aligned, because they help confirm you have the cabinet facing the correct direction and not mirrored by mistake.
Step 3. Install the ARCADE sign and the screen assembly in Dreamy Room Level 602
Now focus on the front face of the machine. In Dreamy Room Level 602, the marquee sign belongs at the top front, directly below the roof and above the display screen. Insert the dark rectangular sign panel first, then place the bright cyan “ARCADE” lettering across it so the word reads clearly from left to right. Under that, fit the large rectangular screen with its thick mint-colored bezel. The screen should sit centered on the front, neither too high nor too low, and it should feel slightly recessed into the cabinet. Inside the display, there is faint game artwork visible through reflective glass, so keep the screen clean and unobstructed. This part matters because Dreamy Room Level 602 relies on layering: the cabinet body creates mass, the sign creates identity, and the screen creates the impression that the machine is alive. If the sign or bezel is crooked, the whole finished look will feel off-balance even if the smaller accessories are correct.
Step 4. Arrange the control panel buttons and joystick in Dreamy Room Level 602
With the screen in place, move to the slanted control deck beneath it. This is where Dreamy Room Level 602 tests your eye for tiny details. On the upper left side of the panel, place the three red round buttons in a tight triangular grouping. They should sit close together, not spread far apart. In the middle of the control surface, add the narrow purple rectangular strip, then place two yellow wedge-shaped buttons on its left side and two green wedge-shaped buttons on its right side. Finally, attach the large pink ball-top joystick on the right side of the deck, mounted on a dark circular base. The joystick is visually heavier than the other controls, so it should anchor the right side of the panel. The spacing here is essential in Dreamy Room Level 602, because the layout is asymmetric but still balanced: red buttons left, mixed colored buttons center, joystick right. When all of these are positioned correctly, the arcade machine starts to look fully playable.
Step 5. Complete the lower front panel and the rainbow ticket ribbons in Dreamy Room Level 602
The lower front section contains some of the easiest pieces to overlook in Dreamy Room Level 602. Start by fitting the angled front face beneath the controls. On the left side of this front panel, place the stylized pink “GAMES” text so it stretches diagonally across the lavender surface. To its right, keep the small vent-like slit visible rather than covering it. Lower down, install the two front openings framed in pale trim. These look like access panels or ticket slots and must sit symmetrically across the lower front area. Once those are in place, add the flowing rainbow ribbons emerging from the right-hand lower opening. Let the ribbons spill outward and downward in a loose, playful curve, with one strip crossing in front of the other. This decorative flourish is a big visual cue in Dreamy Room Level 602, because it breaks up the rigid boxy shape of the machine and adds motion. If the ribbons are missing or placed on the wrong opening, the cabinet looks incomplete immediately.
Step 6. Attach the side knob, purple side buttons, coin slot, and gold coins in Dreamy Room Level 602
Next, finish the right exterior side of the cabinet. In Dreamy Room Level 602, this side is not plain decoration; it contains several mechanical details that give the arcade machine personality. Near the lower center-right, place the square pale mounting plate and set the large blue-gray rotary knob on top of it. To the right of that knob, line up the three small purple circular buttons vertically. They should form a neat column rather than a diagonal arrangement. Farther right, insert the rectangular coin slot plate, then place the stack of gold coins so they appear partly inserted and partly spilling outward. This cluster should sit near the lower back corner of the cabinet’s right side. The order matters in Dreamy Room Level 602 because the knob visually balances the joystick on the front, while the coin stack adds a bright finishing accent. These pieces are small, but if one is misplaced, the side panel loses its clean arcade-machine logic.
Step 7. Check the cabinet against the cosmic room backdrop in Dreamy Room Level 602
The final placement step in Dreamy Room Level 602 is really a full-scene alignment check. Step back and compare the completed arcade unit with the room itself. The purple star-patterned wallpaper should still dominate the background, and the dark skyline silhouette along the lower wall should remain visible behind the cabinet. The glossy floor with pink stars should frame the machine rather than disappear under it. Confirm that the dark purple cabinet base sits naturally on the room’s platform and that the top decorations, side stars, sign, screen, buttons, joystick, rainbow ribbons, knob, and coins all point in the same perspective. This last review is crucial because Dreamy Room Level 602 is all about precision. The game’s main challenge is determining the correct placement for each object, and even a tiny offset can make the whole arcade centerpiece feel disconnected from the dreamy room around it. Once every part aligns, the level reads as one cohesive retro display.
Notes and Precautions
In Dreamy Room Level 602, always place the biggest structural pieces before touching the decorative ones. The cabinet body, upper marquee block, and screen establish the correct perspective. If you try to place the small stars, buttons, or coins first, it becomes much harder to judge their exact positions later. This level also uses a lot of color contrast between purple, pink, mint, yellow, green, and gold, so pay attention to which detail belongs on the front and which belongs on the right side.
Another important point in Dreamy Room Level 602 is that the room itself remains part of the final composition. Do not mentally treat the wallpaper, skyline border, and glossy star floor as filler. They help you judge where the arcade cabinet should sit. The biggest mistake players make is shifting the cabinet too far toward one wall, which causes the finished scene to look cramped and throws off the visual balance.
Tips and Tricks from top player
A strong strategy for Dreamy Room Level 602 is to work from “shape to detail.” First confirm the dark base, then the cabinet shell, then the marquee, then the screen, and only after that should you add the controls and decorations. This prevents rework and makes it easier to notice mirrored mistakes. The top stickers are especially useful as orientation markers: tan heart on the left side of the roof, small blue star near the center, large mint star on the right.
Top players also clear Dreamy Room Level 602 faster by grouping pieces by function. Put all control items together mentally: three red buttons, four wedge buttons, and one joystick. Then group the side mechanics: knob, three purple side buttons, coin slot, and coins. Finally, treat the rainbow ribbons and decals as finishing pieces. This method reduces confusion and helps you solve the level without random trial and error.
Final Scene Description of Dreamy Room Level 602
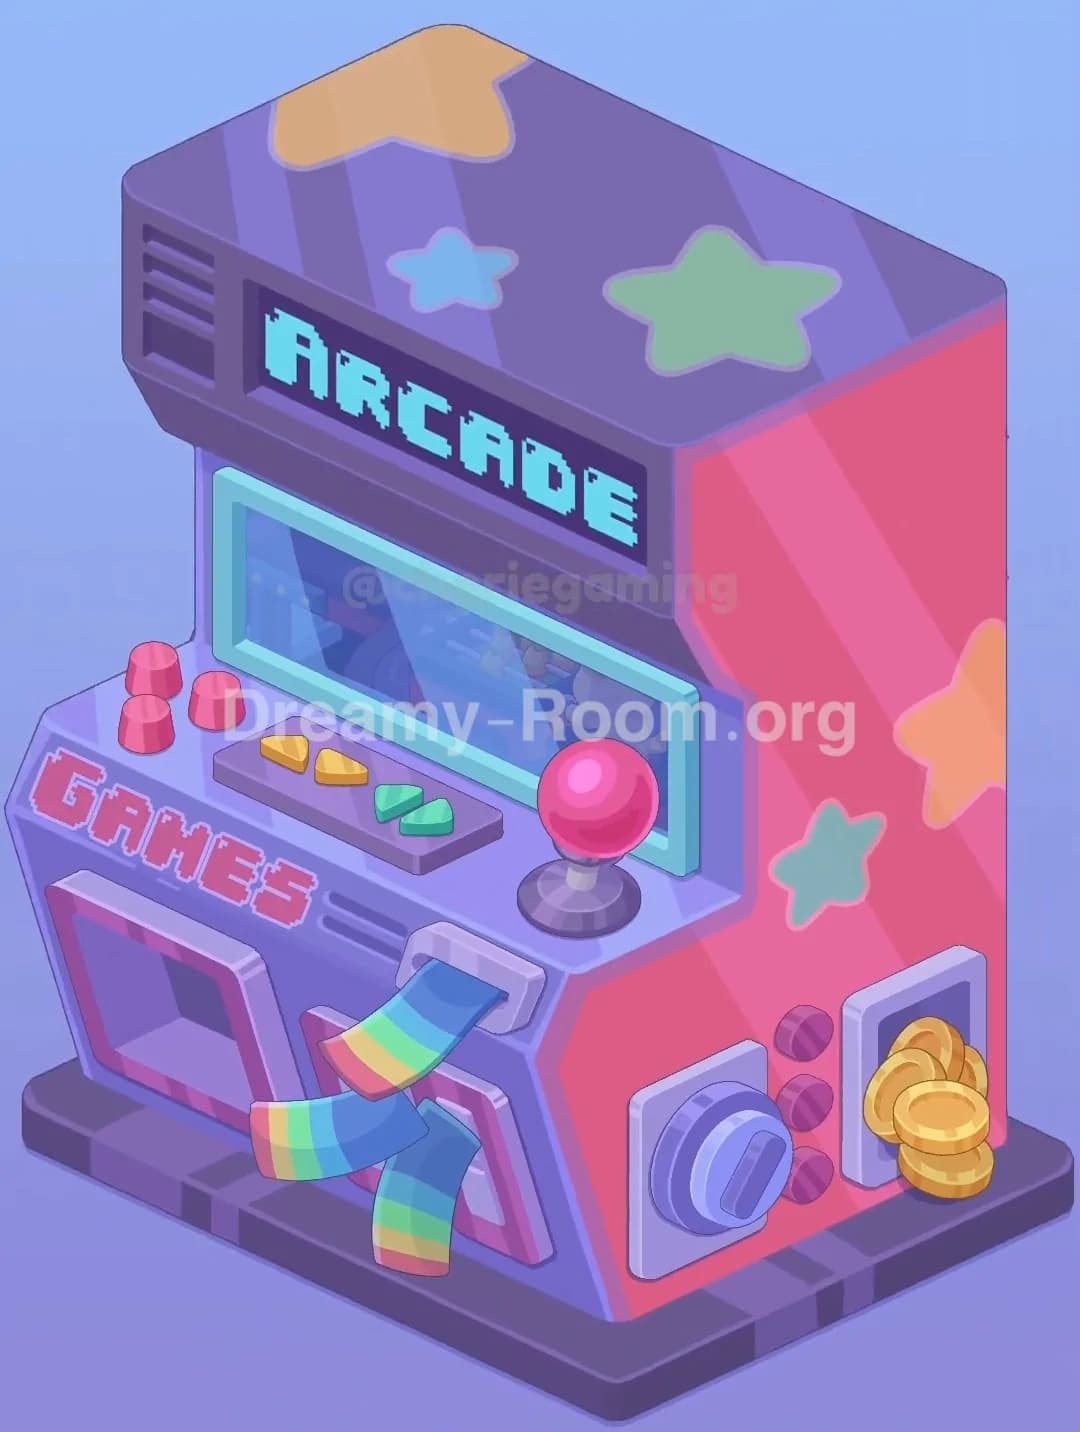
The completed look of Dreamy Room Level 602 is charming and compact, turning the once-empty cosmic corner into a giant retro arcade display. At the center sits a purple-and-pink arcade machine on a dark base, perfectly framed by the starry wallpaper and neon-style skyline border behind it. The top roof features a tan heart and colorful star decals, while the front marquee glows with the word “ARCADE” in bright cyan. Beneath it, a large glass screen gives the cabinet life. The slanted control deck holds three red buttons on the left, yellow and green buttons in the center, and a glossy pink joystick on the right. The lower front shows the “GAMES” label and two framed openings, with rainbow ribbons spilling out playfully. On the right side, a large knob, three purple buttons, a coin slot, and shining gold coins complete the scene. Dreamy Room Level 602 feels nostalgic, whimsical, and perfectly arranged.