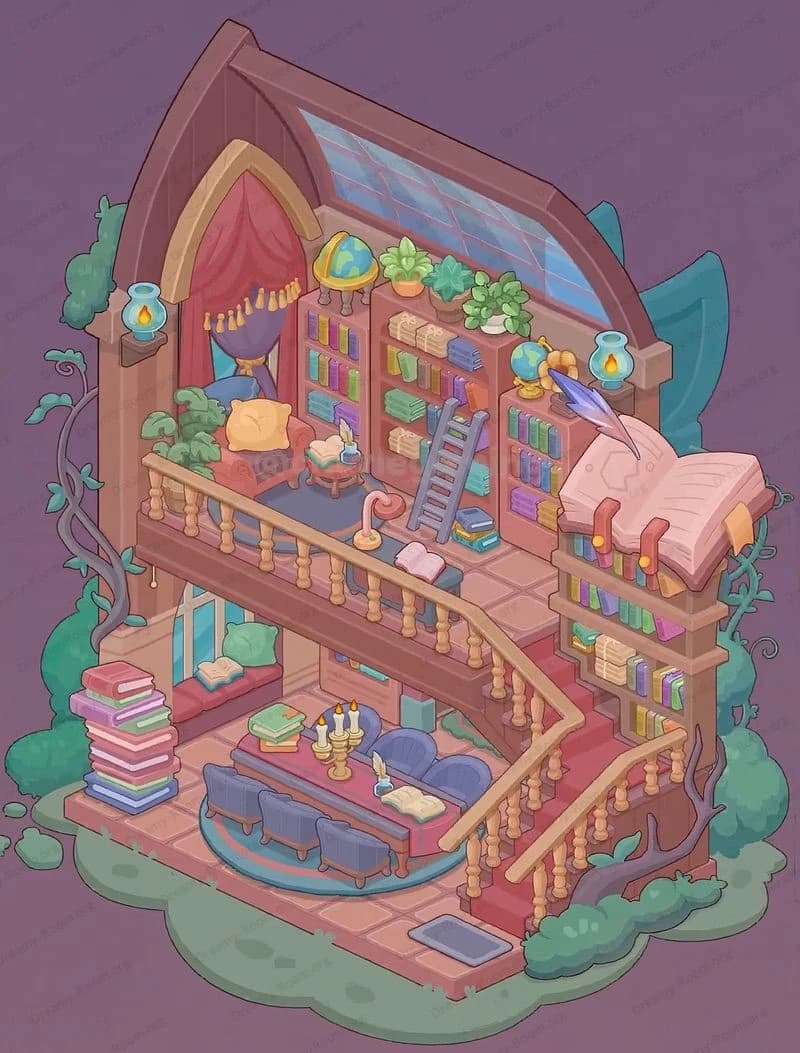
Dreamy Room Level 413
Dreamy Room Level 413 guide - Dreamy Room 413 Walkthrough & Solution.

Important Notice Regarding Level Numbering
Due to frequent changes in Dreamy Room's level numbering and differences between platforms (Android/iOS) – for example, level 413 on Android might not be the same as level 413 on iOS – the text guide below may not always match the images and video above. Please prioritize the image and video guides. If you find that the guide content doesn't match your current level, please visit the All Level Walkthroughs page to find the correct guide based on level images. Thank you for your understanding.
Dreamy Room Level 413 Walkthroughs & Guide
Step 1. Place the sliding glass door at the center front of the house (Dreamy Room Level 413)
Start by anchoring the façade. In Dreamy Room Level 413, the front wall takes a two-panel sliding glass door with gold handles exactly in the wall’s midpoint. The glass needs to align with the stone path notch on the platform so that later your stairs land squarely on the path. To the left wall, fit the wide picture window—it should wrap slightly toward the front so the indoor vase is visible from outside. This window’s lower edge sits a little above scooter height, so do not drop it too low or your later placements will clip. Confirm both frames show a faint interior reflection; that visual cue means you’ve snapped them correctly for Dreamy Room Level 413.
Step 2. Place the front stairs with twin rails on the stone path notch (Dreamy Room Level 413)
Next, add the four-step wooden staircase. It belongs dead center beneath the sliding door, landing precisely on the carved pebble stone path already impressed into the forecourt. The stairs’ brown handrails must sit symmetrically; the inner edges line up with the door frame, while the foot of the steps meets the lightest pebble in the path pattern. If the staircase is off by even a tile, later objects like flower beds and characters won’t have room. In Dreamy Room Level 413, that staircase is your grid reference for the rest of the ground items—treat it as the axis for left/right spacing throughout the level.
Step 3. Place the festival lantern pair on the wall flanking the door (Dreamy Room Level 413)
Mount two red lantern sconces on the house wall, one on each side of the door. Each lantern has a round top, a tassel, and a small knot ornament below. The left lantern centers above the future yellow flower bed and sits just below the roofline; the right lantern mirrors it on the other side, a tad higher than the stair handrail top. Don’t crowd them toward the corners, or the eave banners later will look off. In Dreamy Room Level 413, this balanced lantern placement is crucial: it frames the door, reflects warm light on the stairs, and tells the engine you’re ready to begin populating the yard with festive props.
Step 4. Place the left-side kumquat tree, scooter, and blossom pot along the fence line (Dreamy Room Level 413)
Turn to the left front corner. Set the large potted kumquat tree—thick trunk, round pot, and dozens of orange fruits—just inside the white picket fence, a half-step behind the front edge. Its crown should softly overlap the left roof corner. In front of that pot, park the blue scooter facing toward the right; its rear wheel touches the fence and the handlebar points toward the house window. Tuck a small pink blossom pot between scooter and wall so the petals appear in the window reflection. This cluster anchors the left side of Dreamy Room Level 413 and prevents empty space. Check that the scooter kickstand sits on the paving, not the dirt edge of the planter.
Step 5. Place the picnic mat, ingredients, and helpers in the center foreground (Dreamy Room Level 413)
Spread the woven festival mat in the center of the yard, slightly left of the stair axis so cooks have a path on the right. On the mat, arrange the banana leaves, rice bowls, and pink/white fillings (beans and pork) neatly around a square mold—a nod to wrapping bánh chưng. Seat the white cat helper in front of the mat, facing inward with a leaf in its paws. To the cat’s right, place the little tan cub kneeling with another leaf bundle. Leave a narrow lane from the stairs to the path so characters don’t overlap. Dreamy Room Level 413 treats this picnic cluster as a single puzzle: everything snaps only after the mat is aligned parallel to the stair treads.
Step 6. Place chrysanthemums and the lucky cub with ingots at the base of the wall (Dreamy Room Level 413)
Populate the area beneath the lanterns. Build a low bed of yellow chrysanthemums along the wall, starting near the left corner and stopping just short of the stair landing. Nestle a smiling gold-loving cub (miniature mascot) among the blooms to the left of the stairs, with tiny gold coins/ingots scattered at its feet. The flowers must ride the wall’s shadow line; if they drift onto the path, the coins won’t sparkle correctly. This bright strip balances the scene’s left heaviness from the kumquat pot and scooter. In Dreamy Room Level 413, this step also creates visual continuity from the lantern glow down to the ground-level gold accents.
Step 7. Place the boiling cauldron and the chef on the right side near the fence (Dreamy Room Level 413)
Now stage the cooking zone. On the front-right corner, slightly inside the fence, set a metal cauldron over a log fire with a tripod or stones—green broth bubbling on top. Park the blue-shirted pig chef just left of the pot, wooden paddle in hand, facing the boil. Keep a safe gap from the stairs so the pot doesn’t visually crowd the entry. Smoke puffs should rise without clipping the bushes behind the house. The firelight should fall on the pebble path’s front edge when correctly placed. This right-hand scene is essential in Dreamy Room Level 413 because it counterweights the picnic mat and completes the “prepping vs. cooking” narrative.
Step 8. Place the rooftop grass, giant kumquat tree with wish tags, and the laughing-luck statue (Dreamy Room Level 413)
Head to the roof. Lay down the soft grass slab so it hugs the parapet all around, leaving a neat brown trim visible. Plant the giant kumquat/orange tree slightly back-left on the roof, with its thick trunk leaning forward. Hang the lucky red and teal wish tags from the branches so they dangle center and right; the double-diamond “Tân Tài / Tân Lộc” style tag hangs on the right edge, visible from the yard. In front of the tree, seat the laughing fortune statue (a jolly bear-Buddha figure) on the grass, centered over the door line, with gold coins/ingots scattered around. This triumphant capstone screams Dreamy Room Level 413 and ties the ground festivities to rooftop blessings.
Step 9. Place the eave banners and finish the fence and bushes (Dreamy Room Level 413)
Attach the vertical red banners to the right eave, dropping in a stagger so the lowest diamond clears the lantern tassel below. Confirm the banners read outward toward the courtyard, not toward the wall. Complete the white picket fence around the forecourt, aligning the gate gap with the stone path and making sure the left run sits behind the scooter wheel. Finally, let the soft green bushes rise behind the house walls; they should embrace the structure without covering the lanterns. With these perimeter details set, Dreamy Room Level 413 should snap to completion, recognizing every object’s intended anchor point.
Notes and Precautions (Dreamy Room Level 413)
- Stair alignment first. If the stairs don’t sit squarely on the stone path notch in Dreamy Room Level 413, almost every ground item will refuse to snap.
- Symmetry matters. The lantern pair must mirror perfectly; one pixel too high or low will push banners out of place later.
- Left cluster spacing. Keep the scooter slightly forward so the big potted kumquat’s base is visible. Overlapping them too much hides the pot rim and blocks window reflections.
- Mat orientation. Rotate the picnic mat until its weave lines are parallel to the stair treads; ingredient bowls will otherwise stack instead of ring the mold.
- Fire clearance. The cauldron must not intersect the fence; if smoke or flame clip, move it a fraction inward.
- Roof order. Grass → tree → tags → statue → coins is the only order that avoids snap conflicts in Dreamy Room Level 413.
Tips and Tricks from top player (Dreamy Room Level 413)
- Use the door line as a global axis. In Dreamy Room Level 413, imagine a vertical line running from the door handle up to the roof statue. Keep major items balanced around that line.
- Shadow checks beat grid lines. Nudge each prop until its shadow looks natural; the game’s snap is easier to feel via lighting than by tile counting.
- Cluster then commit. Place the picnic group items loosely, rotate the mat to square, then pick up and drop each bowl/leaf once more so the set confirms correctly.
- Reserve right-side breathing room. Before placing the cauldron, drop the pig chef to see his paddle swing arc; that arc shows the pot’s ideal spot.
- Banner height trick. Temporarily push the right lantern one notch lower, hang the eave banners, then lift the lantern back—this prevents the banner from catching on the tassel in Dreamy Room Level 413.
- Coin sparkle cue. When rooftop coins are perfectly placed, a sparkle pops on the statue’s necklace; that’s your confirmation.
Final Scene Description (Dreamy Room Level 413)
The finished Dreamy Room Level 413 glows like a Tet postcard. A white picket fence frames a tidy courtyard where a stone path leads to wood steps and a glass-front door, flanked by warm red lanterns. On the left, a hefty potted kumquat tree watches over a parked blue scooter and a tiny pot of pink blossoms. Center stage, a woven mat hosts bowls of rice and fillings as a white cat and a tan cub wrap square cakes. To the right, a blue-shirted pig stirs a bubbling green cauldron over a log fire. Overhead, a grassy roof garden supports a giant fruit-laden tree strung with wish tags, while a laughing golden-luck statue sits amid shining coins, blessing the feast below in Dreamy Room Level 413.


