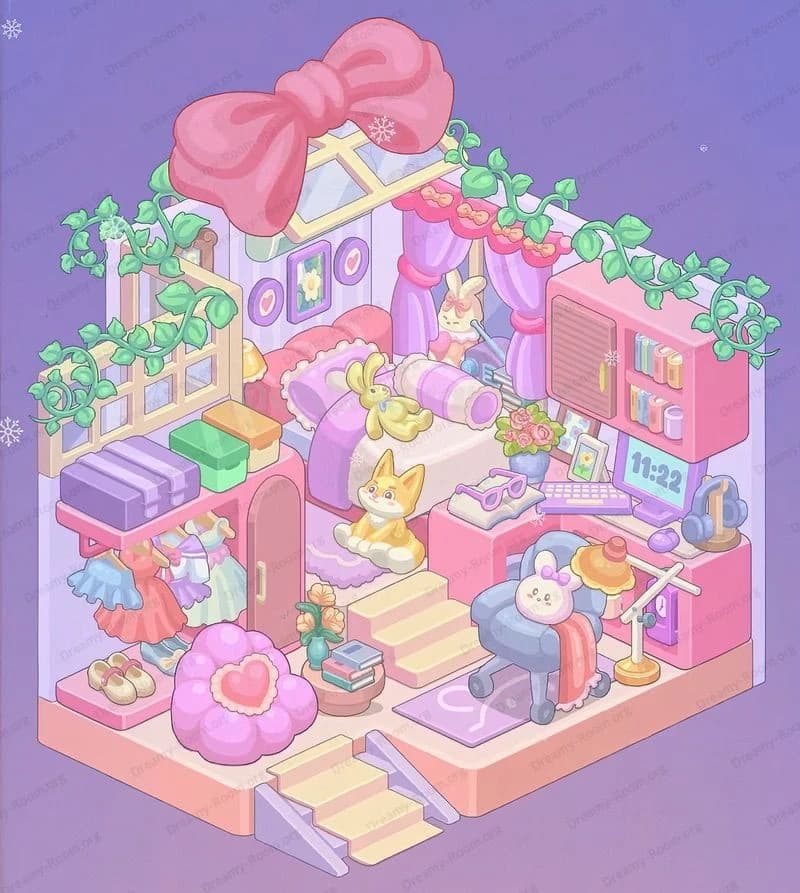
Dreamy Room Level 405
Dreamy Room Level 405 guide - Dreamy Room 405 Walkthrough & Solution.

Important Notice Regarding Level Numbering
Due to frequent changes in Dreamy Room's level numbering and differences between platforms (Android/iOS) – for example, level 405 on Android might not be the same as level 405 on iOS – the text guide below may not always match the images and video above. Please prioritize the image and video guides. If you find that the guide content doesn't match your current level, please visit the All Level Walkthroughs page to find the correct guide based on level images. Thank you for your understanding.
Dreamy Room Level 405 Walkthroughs & Guide
Step 1. Place the curved glass cylinder and telescope on the far left
Begin Dreamy Room Level 405 by anchoring the round, two-story glass observatory on the front-left corner of the platform. It should hug the rail, with the lower glass ring aligned to the edge and the upper dome set flush to the left wall. Slide the long silver telescope into the dome’s slot so it points diagonally outward. Inside the observatory, add the little researcher character holding a tablet and scatter the small pastel storage cubes around them. This establishes the circular silhouette that balances the rest of the rectangular structures in Dreamy Room Level 405 and ensures later bridges and vines can connect cleanly.
Step 2. Mount the central capsule roof and skylight block at mid-back
Next in Dreamy Room Level 405, place the rounded, light-gray capsule roof with cyan seams along the back wall, centered over the platform’s middle. Its transparent skylight panel must face forward. This is the structural “spine” for the top walkway. Add the small rectangular hatch on its right underside and the vertical wall module with a tiny orange handle under its left side. These details give you anchor points for stairs, lockers, and signage. Keep a one-tile gap on the right so the energy awnings and satellite module from later steps do not collide. Getting this height correct prevents path overlap in Dreamy Room Level 405.
Step 3. Install the right-side satellite stack and energy awnings
On the back-right, assemble the tall rectangular tower that houses the radar dish and turret-style antenna. The boxy tower should sit tight to the wall, with a narrow catwalk running leftward beneath the capsule roof. Attach two hinged green energy awnings with lightning icons under that catwalk, angling them toward the front so they float above the lower lounge. Perch the small fox-like mascot on the top walkway just left of the tower; it should face forward beside a short mint bench. This cluster is a signature landmark of Dreamy Room Level 405 and frames the whole right skyline while leaving clearance for the neon ramp at the floor’s edge.
Step 4. Bridge the levels with the narrow mezzanine and neon steps
Dreamy Room Level 405 requires a thin mezzanine platform that projects from the center toward the right. Snap it beneath the capsule roof and above the bar area. Add the trio of bottle-shaped pendant lights hanging from its belly; they must center over the turquoise floor mat below. Now, fit the small mint-colored locker near the back wall on the mezzanine and slide the tiny pink sleeping mat beside it. At the front-right floor edge, clip in the short neon staircase (three glowing treads) so it descends into the room corner cutout. This staircase aligns with the mezzanine’s right lip, visually connecting levels without blocking stools.
Step 5. Build the social core: rug, stools, and snack machines
At ground level of Dreamy Room Level 405, place the cyan glowing floor mat dead center. Set a flat yellow cushion on top as a focal accent. Around this hub, position five slender bar stools in a gentle arc, each with a round seat and single pedestal. Tuck a small green vending cube to the left of the rug near the glass column, and a second mint utility cabinet toward the back under the mezzanine edge. This cluster forms the active social nucleus and must keep clear walk lines from the front door to the right lounge, so angle stools slightly to avoid clipping with the hanging lamps.
Step 6. Arrange the cozy right-front lounge with beanbag and lamp
Move to the front-right niche of Dreamy Room Level 405. Place the crescent wall frame and hang a blue dome task lamp from its arch so the light pools over the seating. Center the oversized lilac beanbag with the sleeping puppy on it; the puppy should face left, nuzzled into a pale yellow pillow. Add a tiny pink coffee table just ahead of the beanbag and a tall tulip planter to the niche’s outer edge. This micro-scene must not jut past the front safety rail line. Aim the lamp slightly left so its glow overlaps the translucent cyan screen we’ll place next, tying the lounge into the tech theme.
Step 7. Set the translucent cyan screen, music corner, and potted greens
Across the front of Dreamy Room Level 405, snap the transparent cyan safety screen so it runs from the left entry gap to just before the right tulip niche. Behind its left half, mount a blue wall sconce and a pink musical-note sign above the turntable. The record player sits on a beige pedestal with a yellow platter—align it under the sconce. Add a leafy plant on the floor near the observatory door and a tall fridge-like storage column behind the glass curve. This trio—the screen, music corner, and greenery—gives the ground floor rhythm and depth while keeping sightlines to the stools and pendant bottles.
Step 8. Add vertical accents: elevator column, lockers, and conduit
Place the slim elevator-style column with the yellow up-arrow along the mid-left, exactly where the mezzanine begins overhead. It should sit between the observatory glass and the central rug. On the back wall, beneath the capsule roof’s left side, attach the gray locker block with a cyan rectangle and tiny handle. Run the short metallic conduit from the right tower down toward the energy awnings to imply power flow. In Dreamy Room Level 405, these vertical accents are crucial: they visually stitch floors, hint at movement, and keep the eye traveling from the lower social zone to the upper research deck and satellite stack.
Step 9. Finish with flowers, railings, and floor-edge details
Finally, frame Dreamy Room Level 405 with its soft botanical trim. String the cluster of pink and lavender blossoms between the observatory dome and the central capsule roof; the flowers should drape slightly forward. Along the very front edge, place the repeating purple flower boxes at equal intervals between the glass rail posts. Cap the left and right corners with small golden footers. Double-check the cyan glass balustrade segments: they must align seamlessly from the left entrance gap, across the center, and toward the right tulip niche without overlapping the screen. This ornamental pass softens all the sci-fi shapes and signals completion.
Notes and Precautions
- Layer order matters. In Dreamy Room Level 405, set the observatory and central roof before adding the mezzanine; otherwise, the pendant bottles or energy awnings may clip through ceilings.
- Mind collision boxes. The neon steps at the front-right must not intersect the glass screen, or pathing to the lounge breaks.
- Sightline consistency. Keep the five stools evenly spaced and clear of pendant-light projections to avoid visual clutter.
- Symmetry vs. flow. Aim for balanced left/right mass—observatory on the left, satellite tower on the right—so Dreamy Room Level 405 reads clearly from a distance.
- Botanical clearance. Don’t let flower strings intersect the skylight seam; place them slightly forward to avoid glow artifacts.
Tips and Tricks from top player
- Build tall first. Veteran players of Dreamy Room Level 405 erect the tower, roof, and observatory before any small props, which prevents mid-game rework.
- Use anchor cues. The turquoise rug is the ground-floor origin; center it, then orbit stools and the screen around it for perfect spacing.
- Echo shapes. Repeat circles (telescope lens, pendant bottles, stools, beanbag) to harmonize with the observatory; this makes Dreamy Room Level 405 feel intentional.
- Color mapping. Cyan = tech (screens, stairs, rail), pink/lilac = leisure (beanbag, table, blossoms). Placing by palette speeds decisions.
- Micro-storytelling. Add the fox mascot near the energy awnings and the sleepy puppy in the niche to signal “work above, rest below”—a quick mental map that helps you verify object positions in Dreamy Room Level 405 at a glance.
Final Scene Description
When finished, Dreamy Room Level 405 glows like a tranquil space-lab café. On the left, the round glass observatory cradles a tiny researcher beneath a silver telescope, while a garland of pastel blossoms arcs toward the central capsule roof with its cyan skylight. Below, a turquoise rug anchors five tidy stools and a trio of glowing bottle pendants. A translucent cyan screen guards the front, leading right into a cozy niche where a puppy naps on a lilac beanbag under a soft blue lamp and beside a pink table and tulip pot. The back-right tower rises with radar dish and turret, and two green energy awnings hover like wings. Plants, music notes, lockers, neon steps, and glass rails tie the layers together, turning the once-empty platform into a cheerful, lived-in haven.


